


Thailand: Find Your Journey
In the summer of 2016 we teamed up with New York based agency Curate Directive to create a VR campaign for the Tourism Authority of Thailand. The goal of the campaign was to create a virtual reality experience that would transport users across the incredible and diverse landscape of Thailand. This campaign would end up being one of our most ambitious projects and one of the most incredible adventures our team has ever taken.

creative APPROACH
In approaching the creative for the project we wanted to go deeper than just another tourism video full of resorts and beautiful beaches. We wanted to connect with viewers on a deeper level and leave them feeling enriched by the experience. To do this we decided to explore the idea of travel and it's deep roots in the human experience. We wanted to delve into the reasons that we're driven to travel and explore, and how those things can change us and allow us to grow.
To accomplish this we decided to make use of a cinematic voice over that accompanies the viewer along their journey through the campaign's main brand film. Throughout the writing process we were constantly doing research on the locations and imagery that we wanted to use in the brand film and how we could connect these visuals conceptually to the ideas we were exploring.


Research and Development
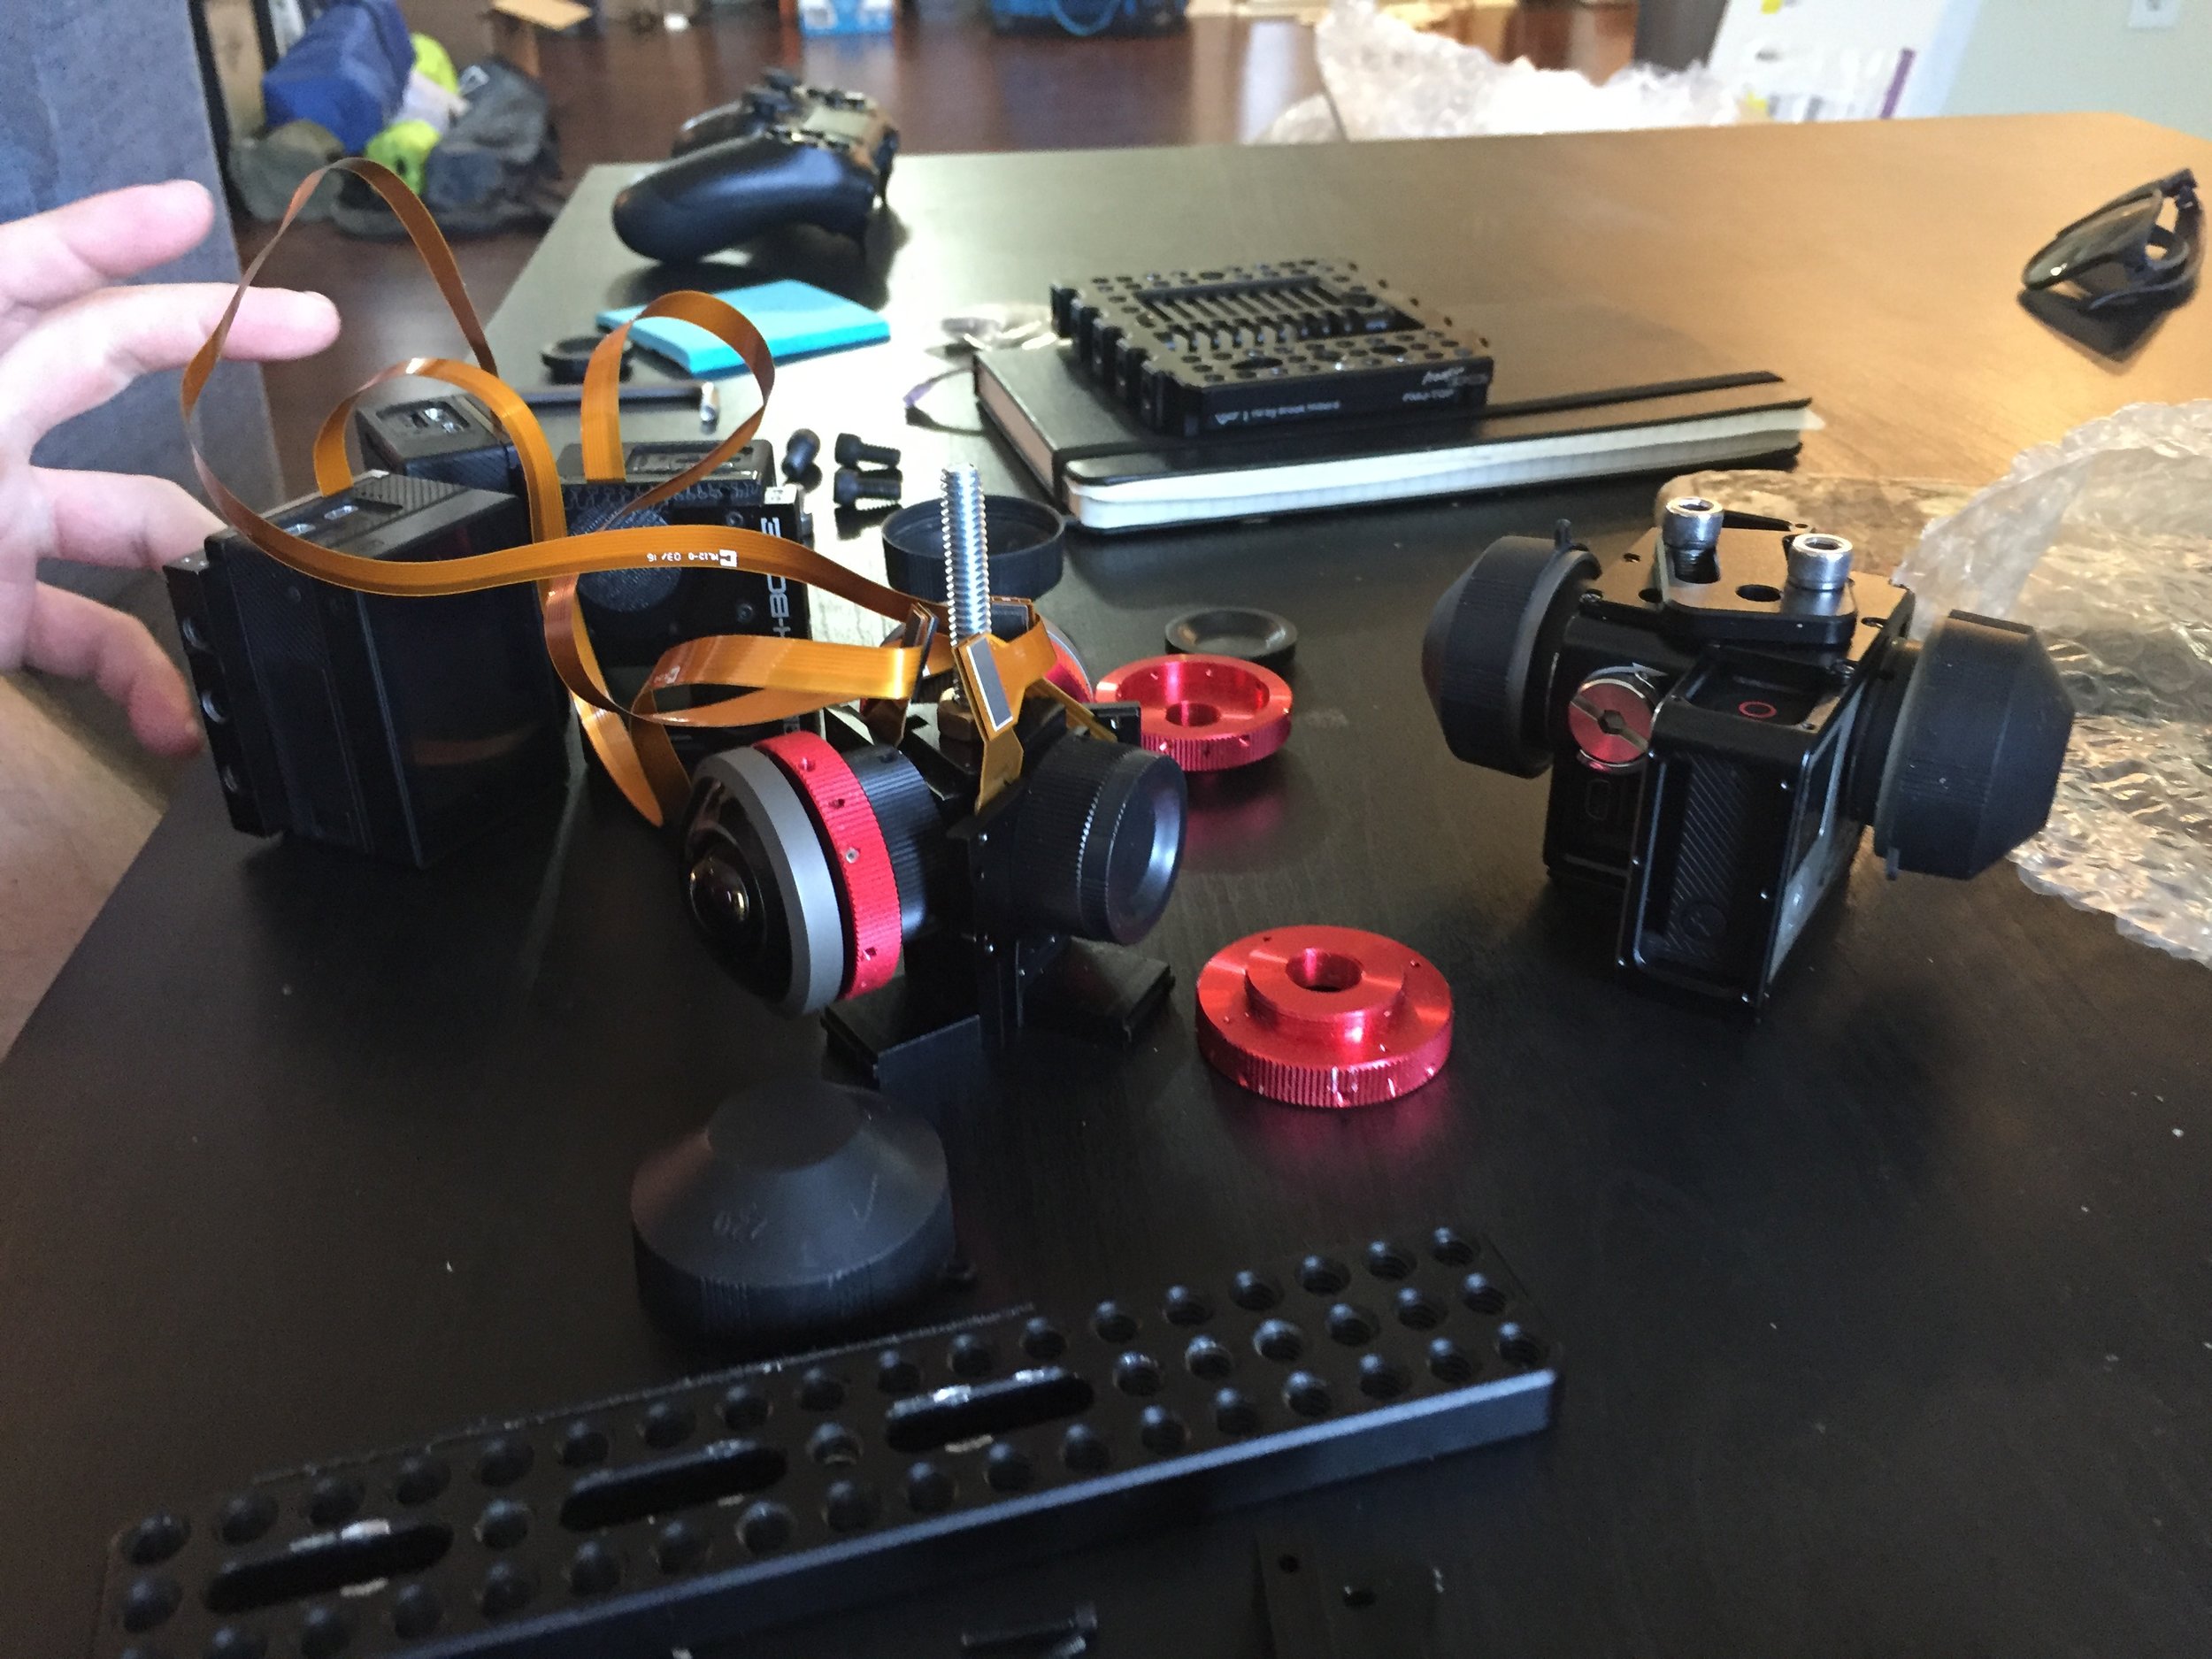
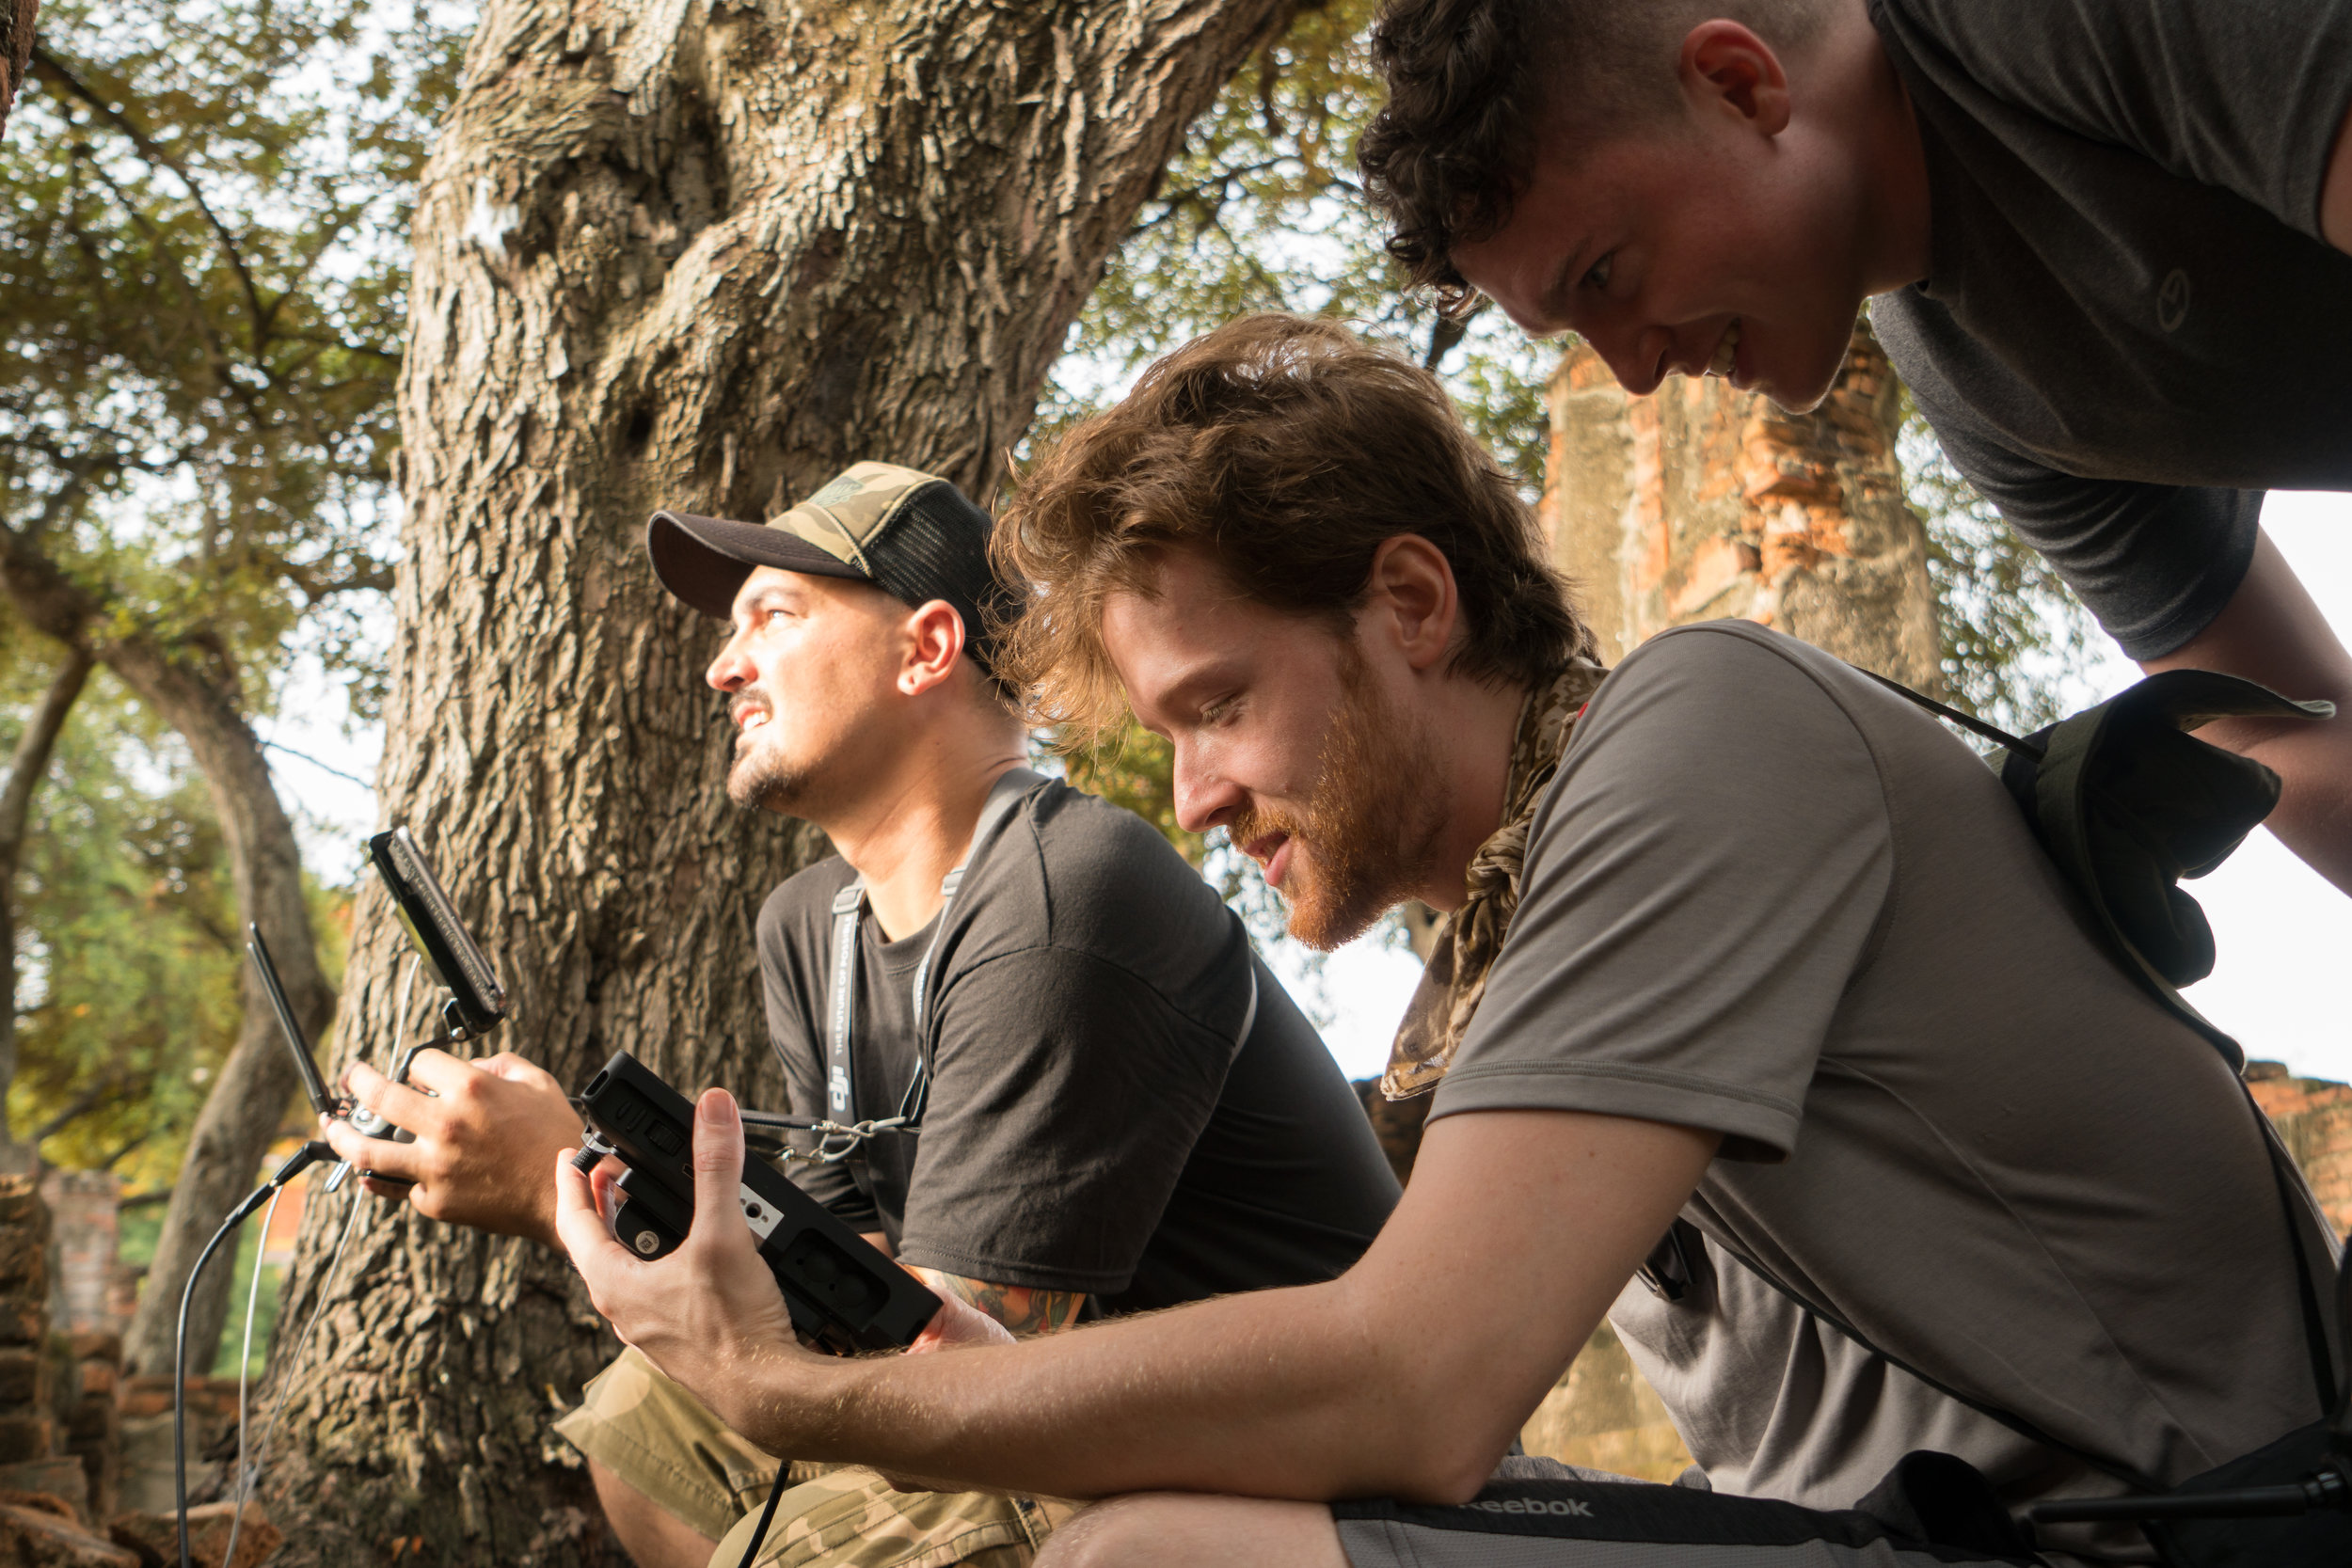
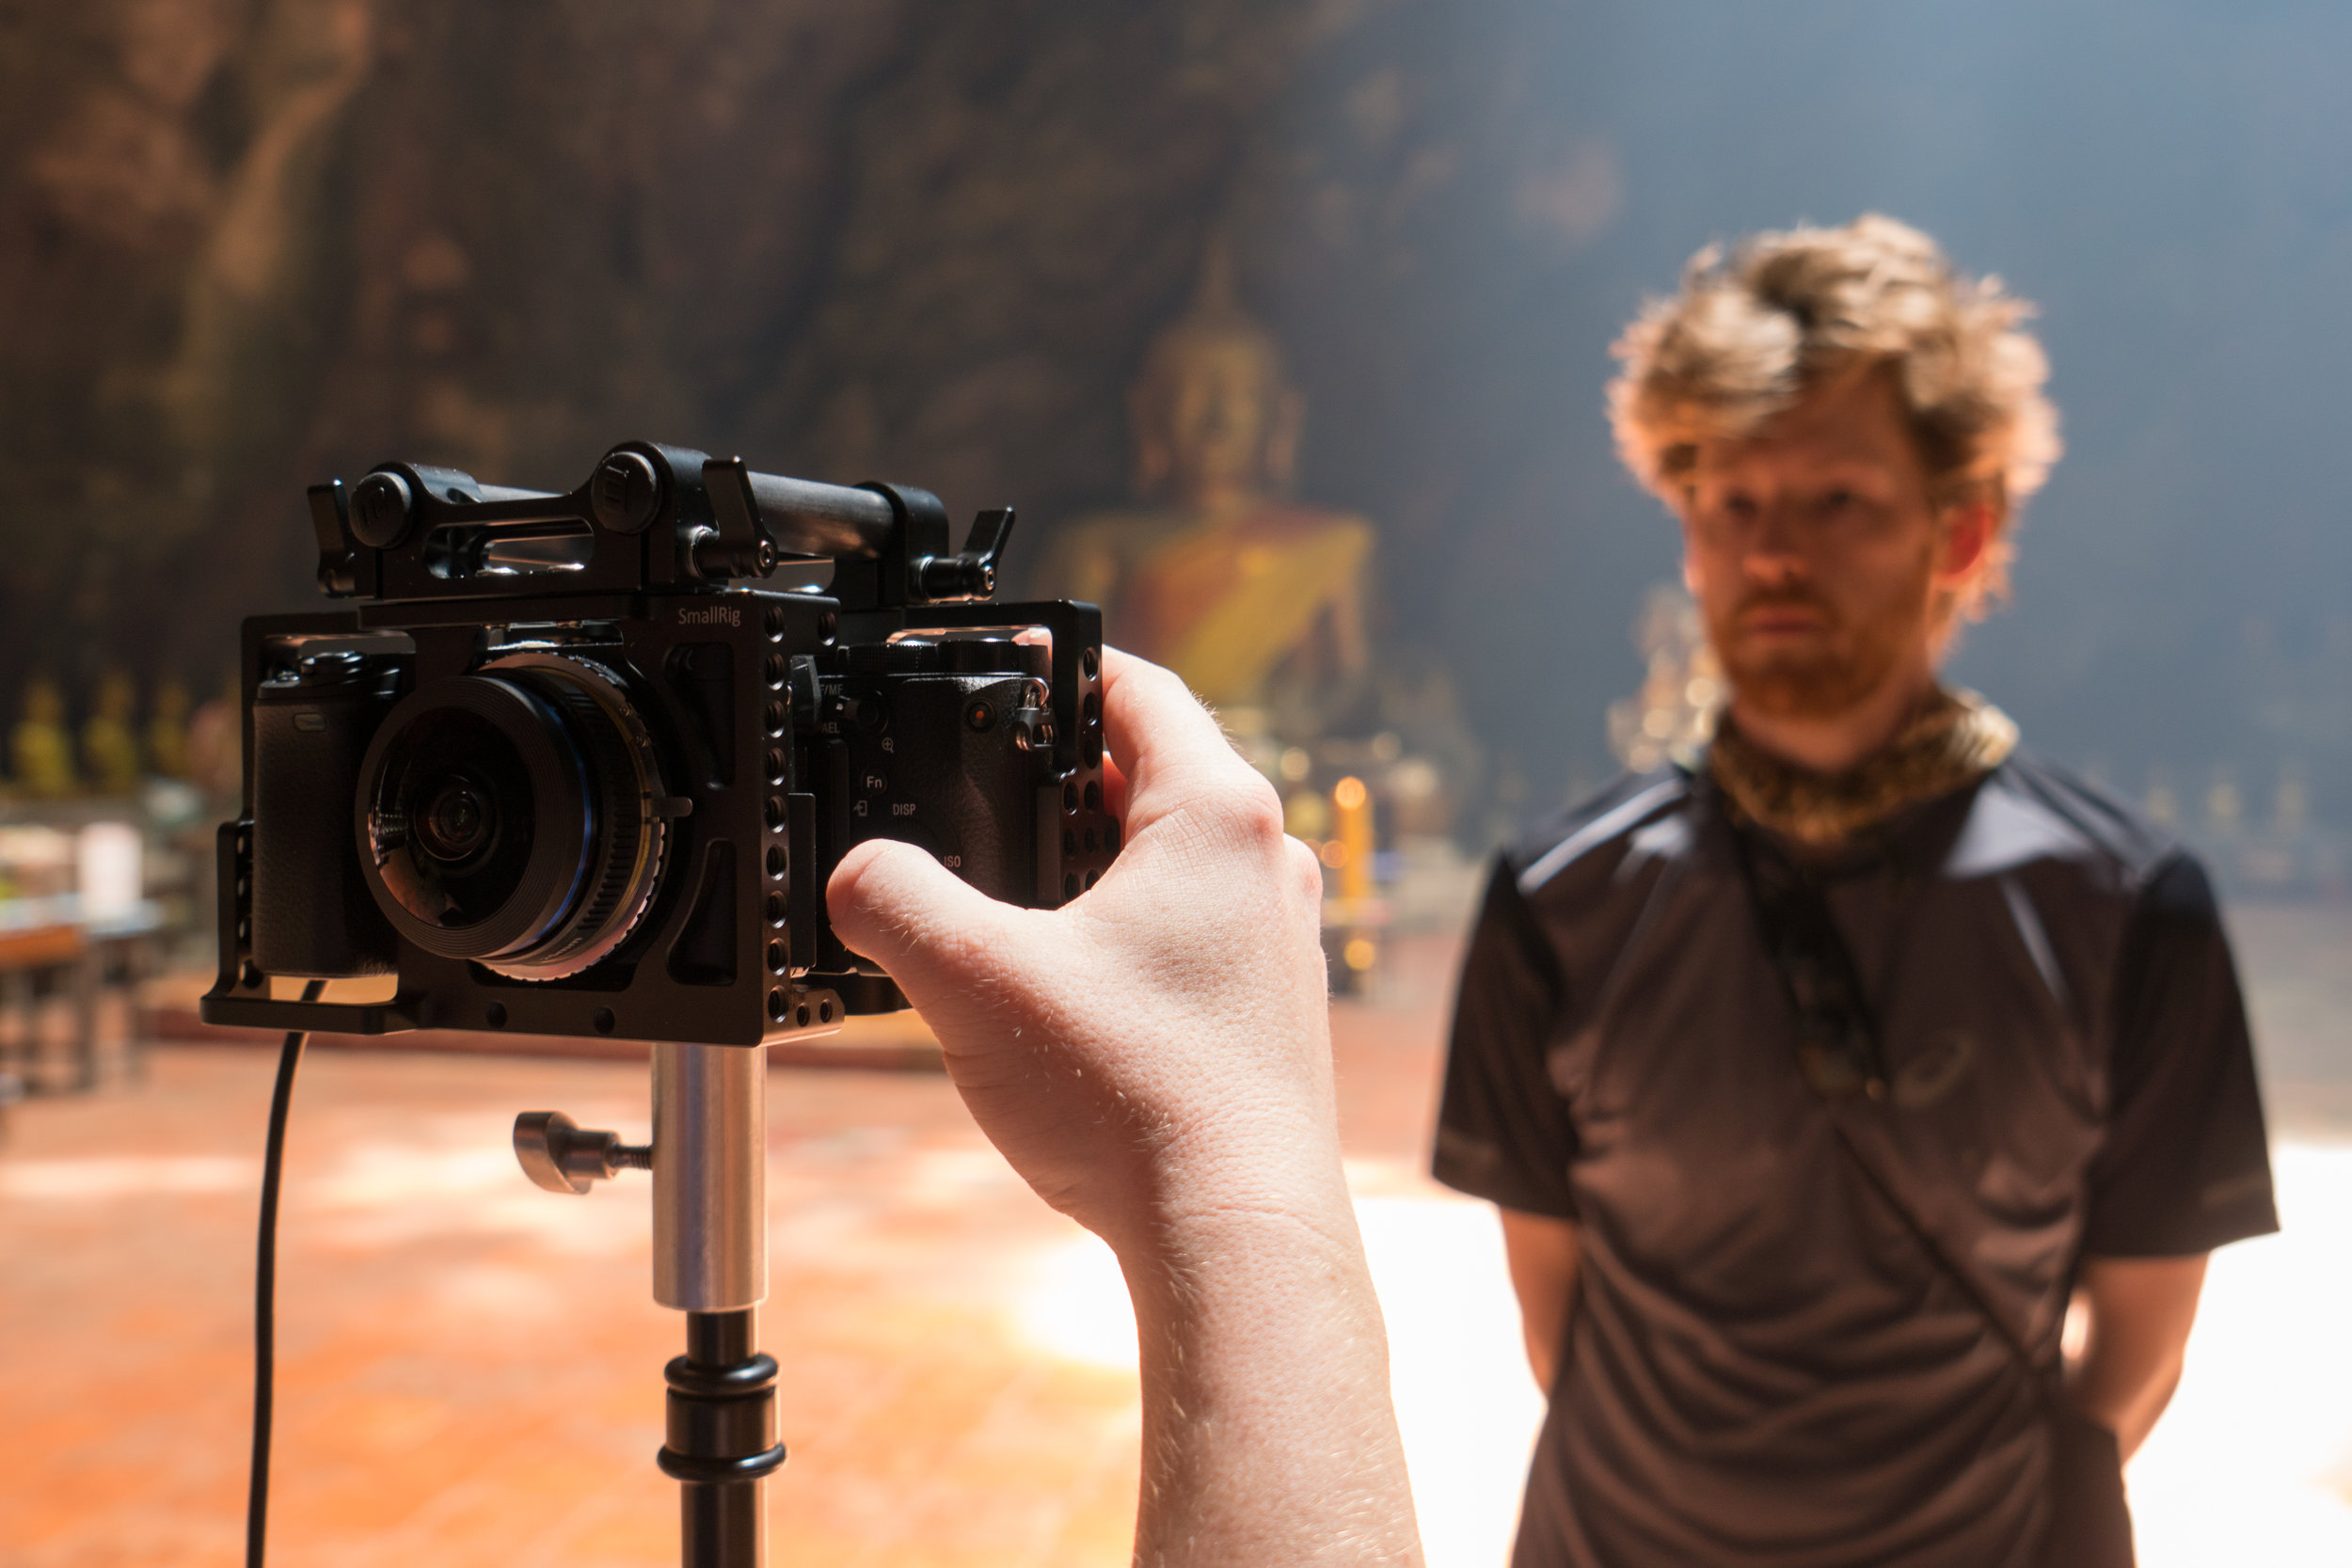
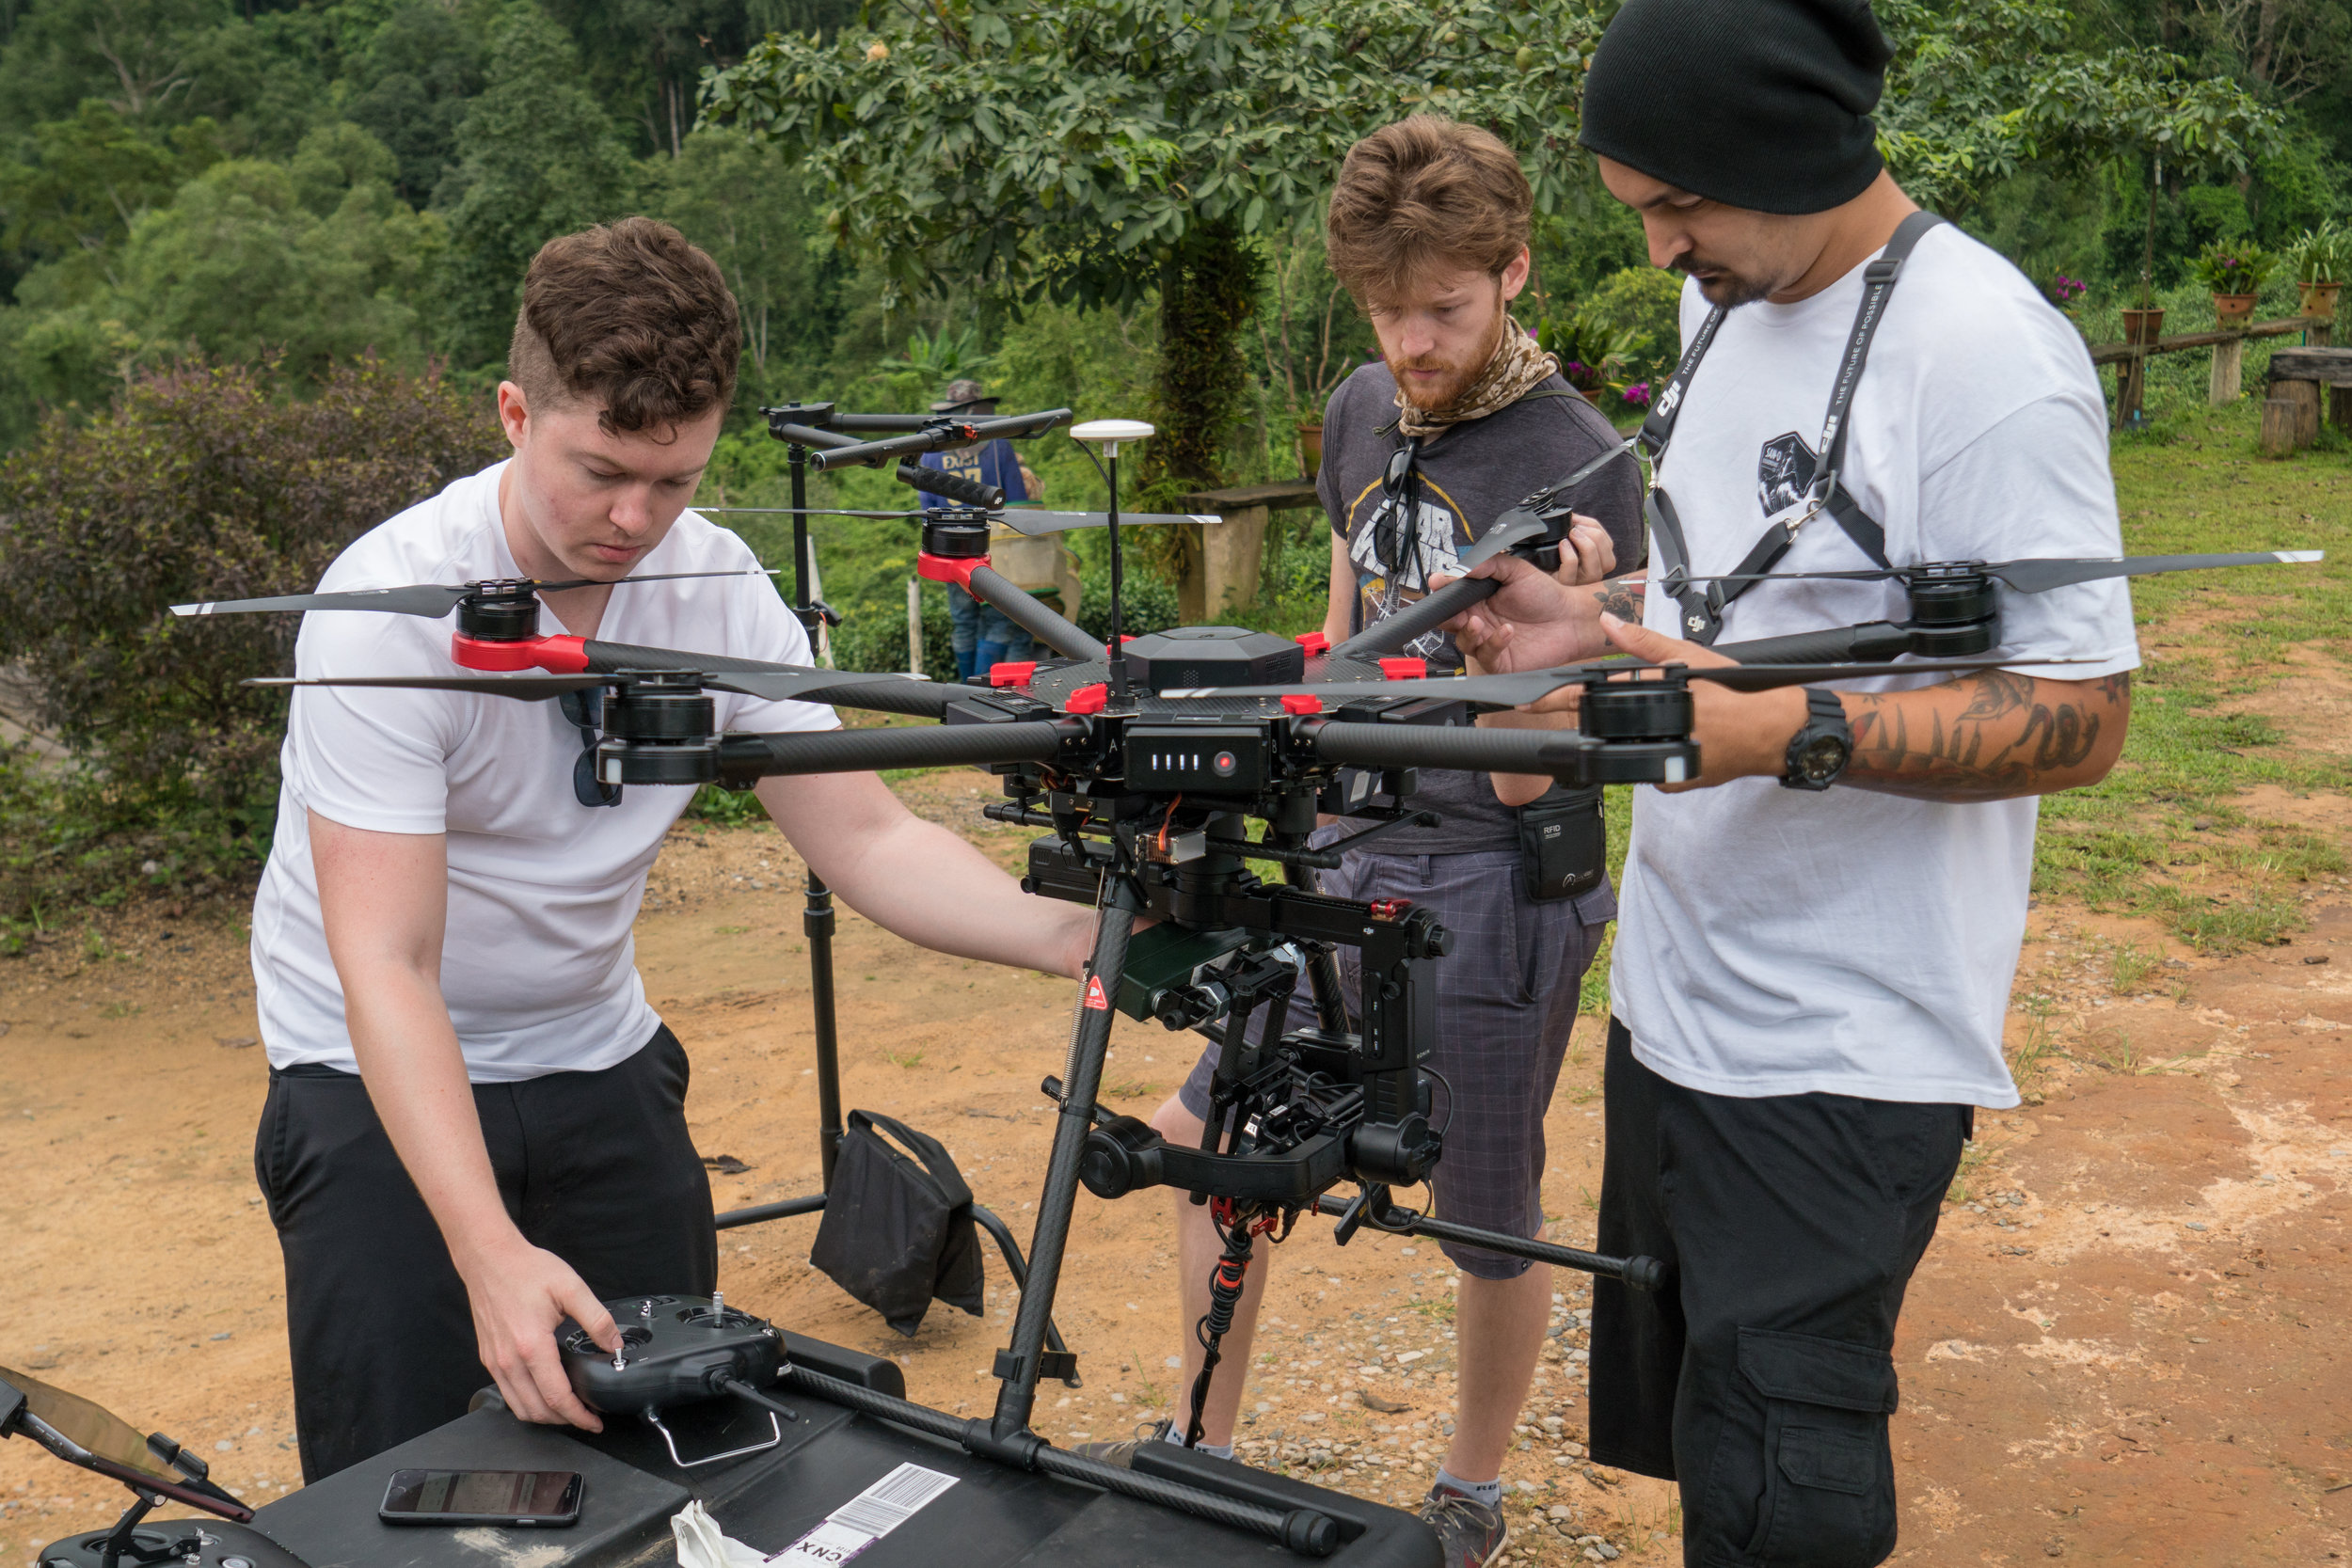
One of our biggest goals for this campaign was to put the viewer into a number of unique perspectives to capture the natural beauty and culture of Thailand in new and different way. To achieve this we pushed the envelope of what could be done with 360 cameras and in the process ended up developing and creating a number of custom camera rigs and mounting systems.

3 GoPro Entaniya Rig w/ Entaniya 220 lenses
http://www.entapano.com/en/l/3camesolution.html
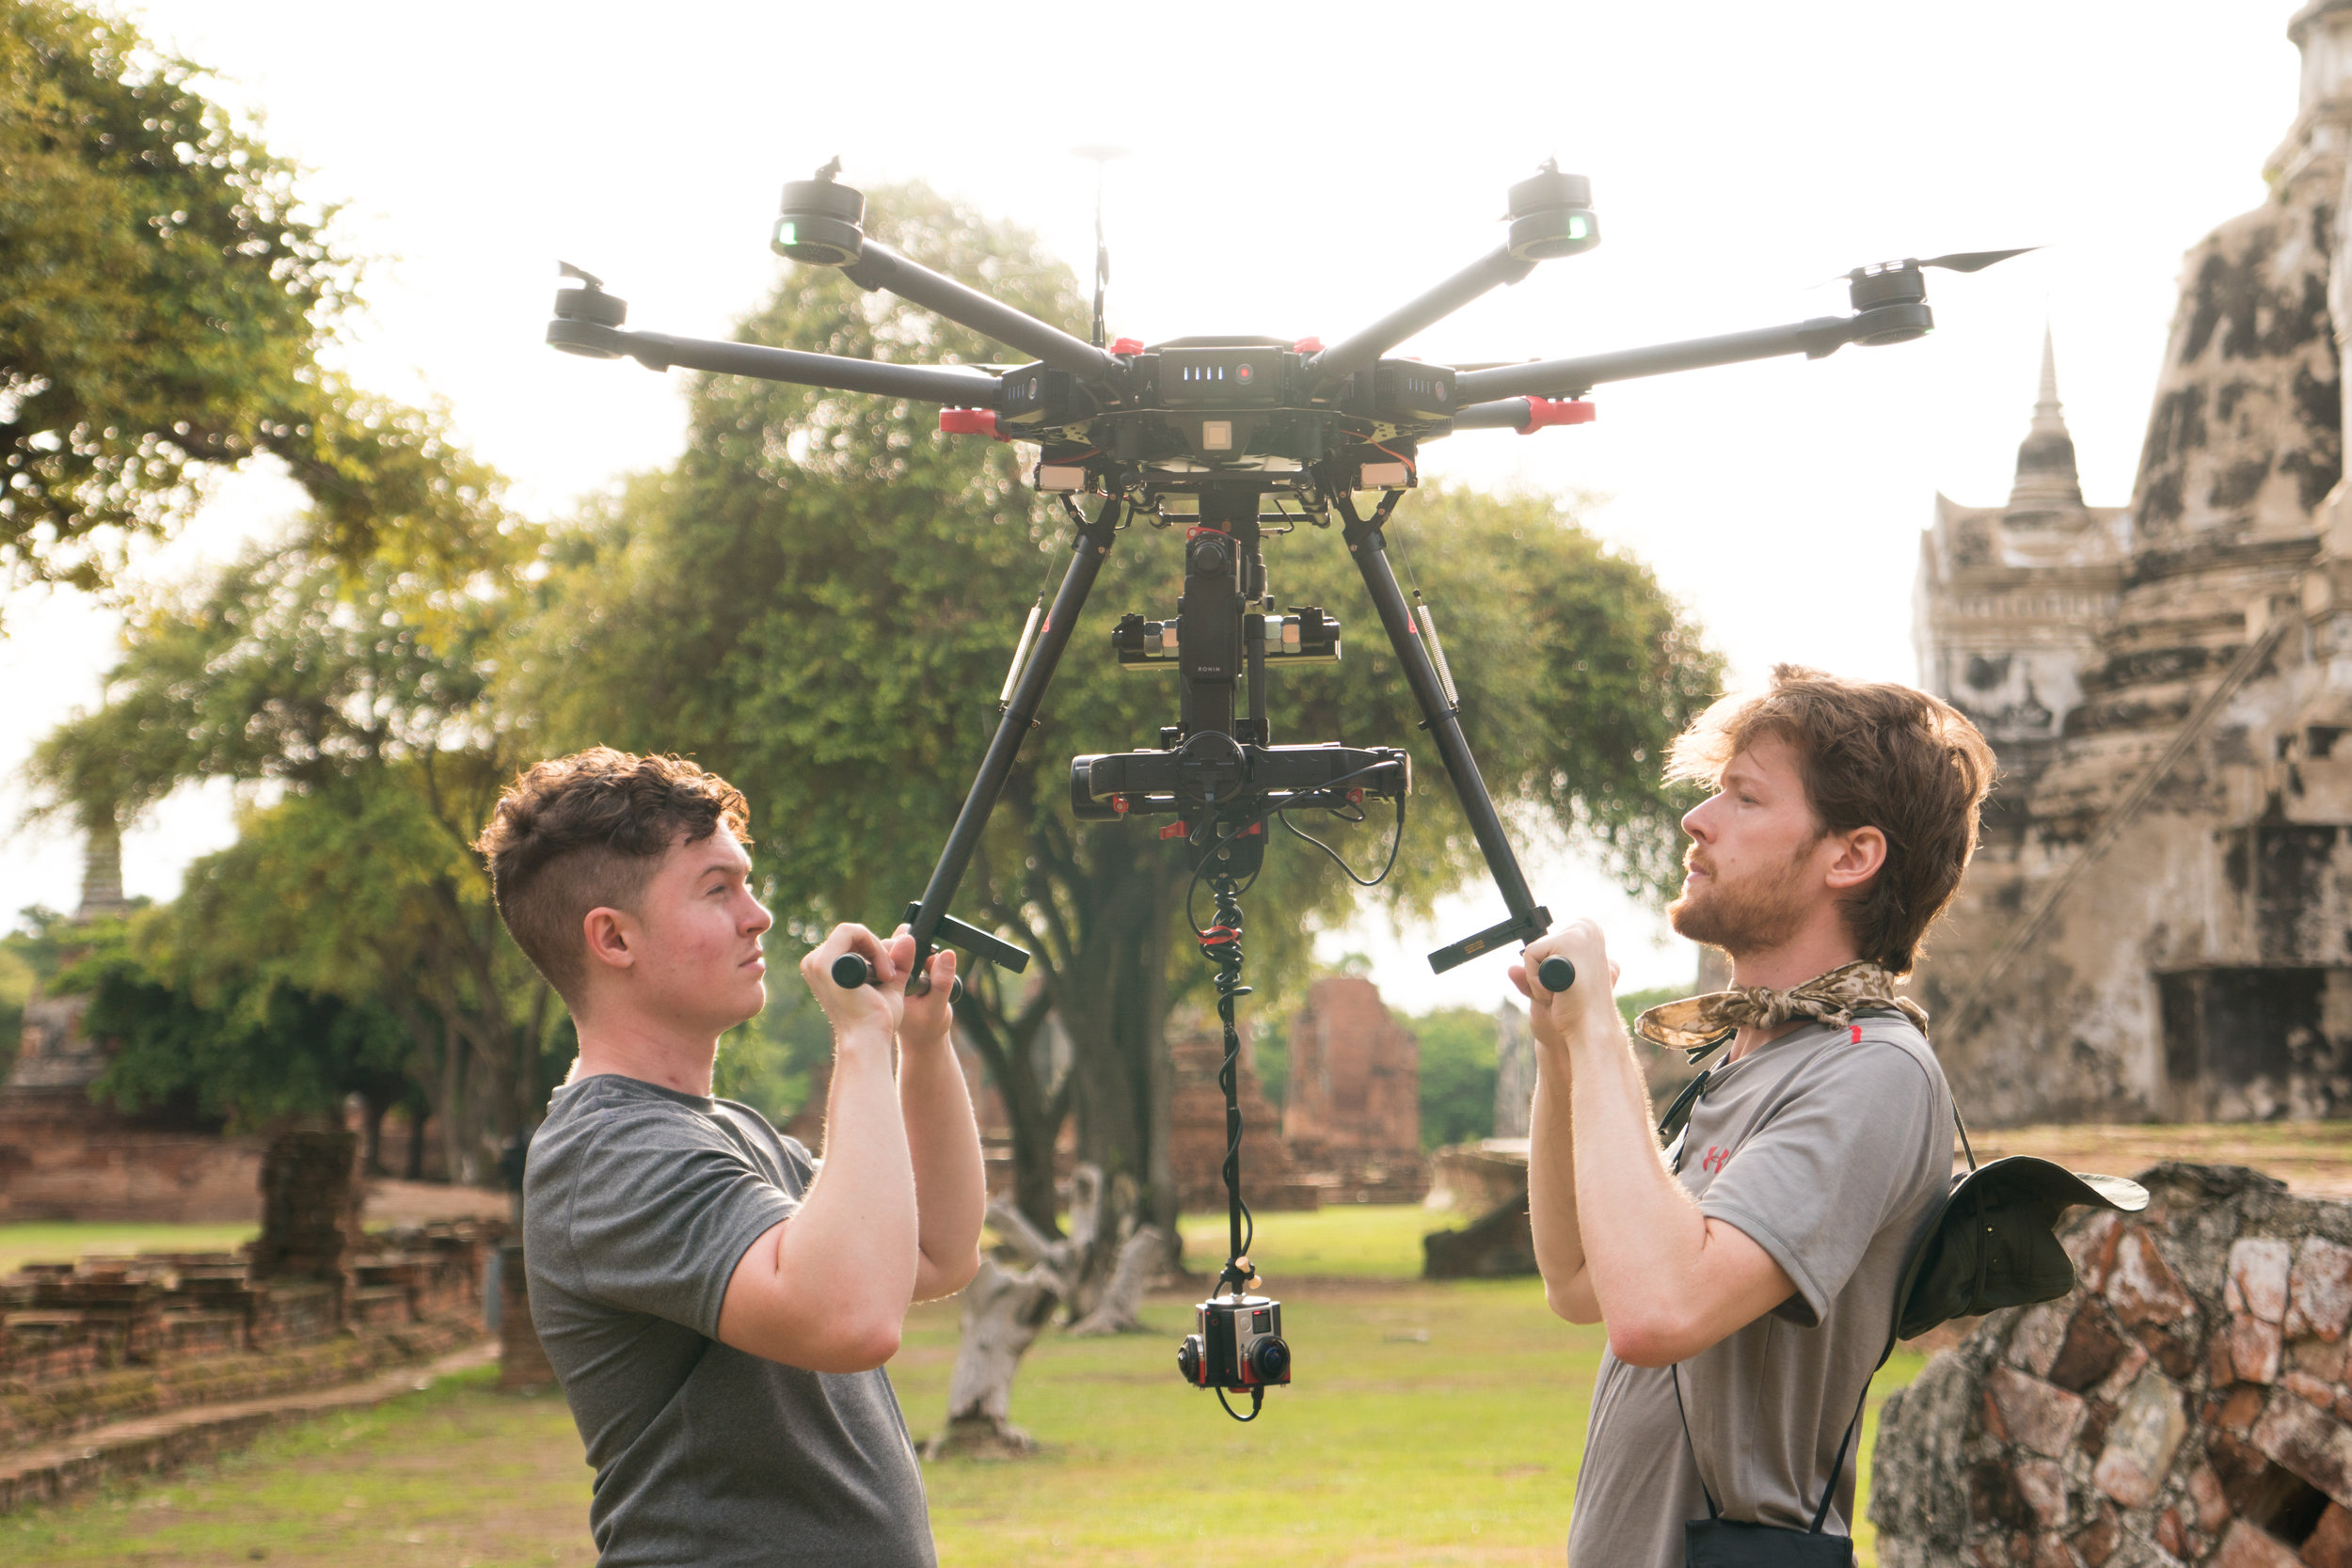
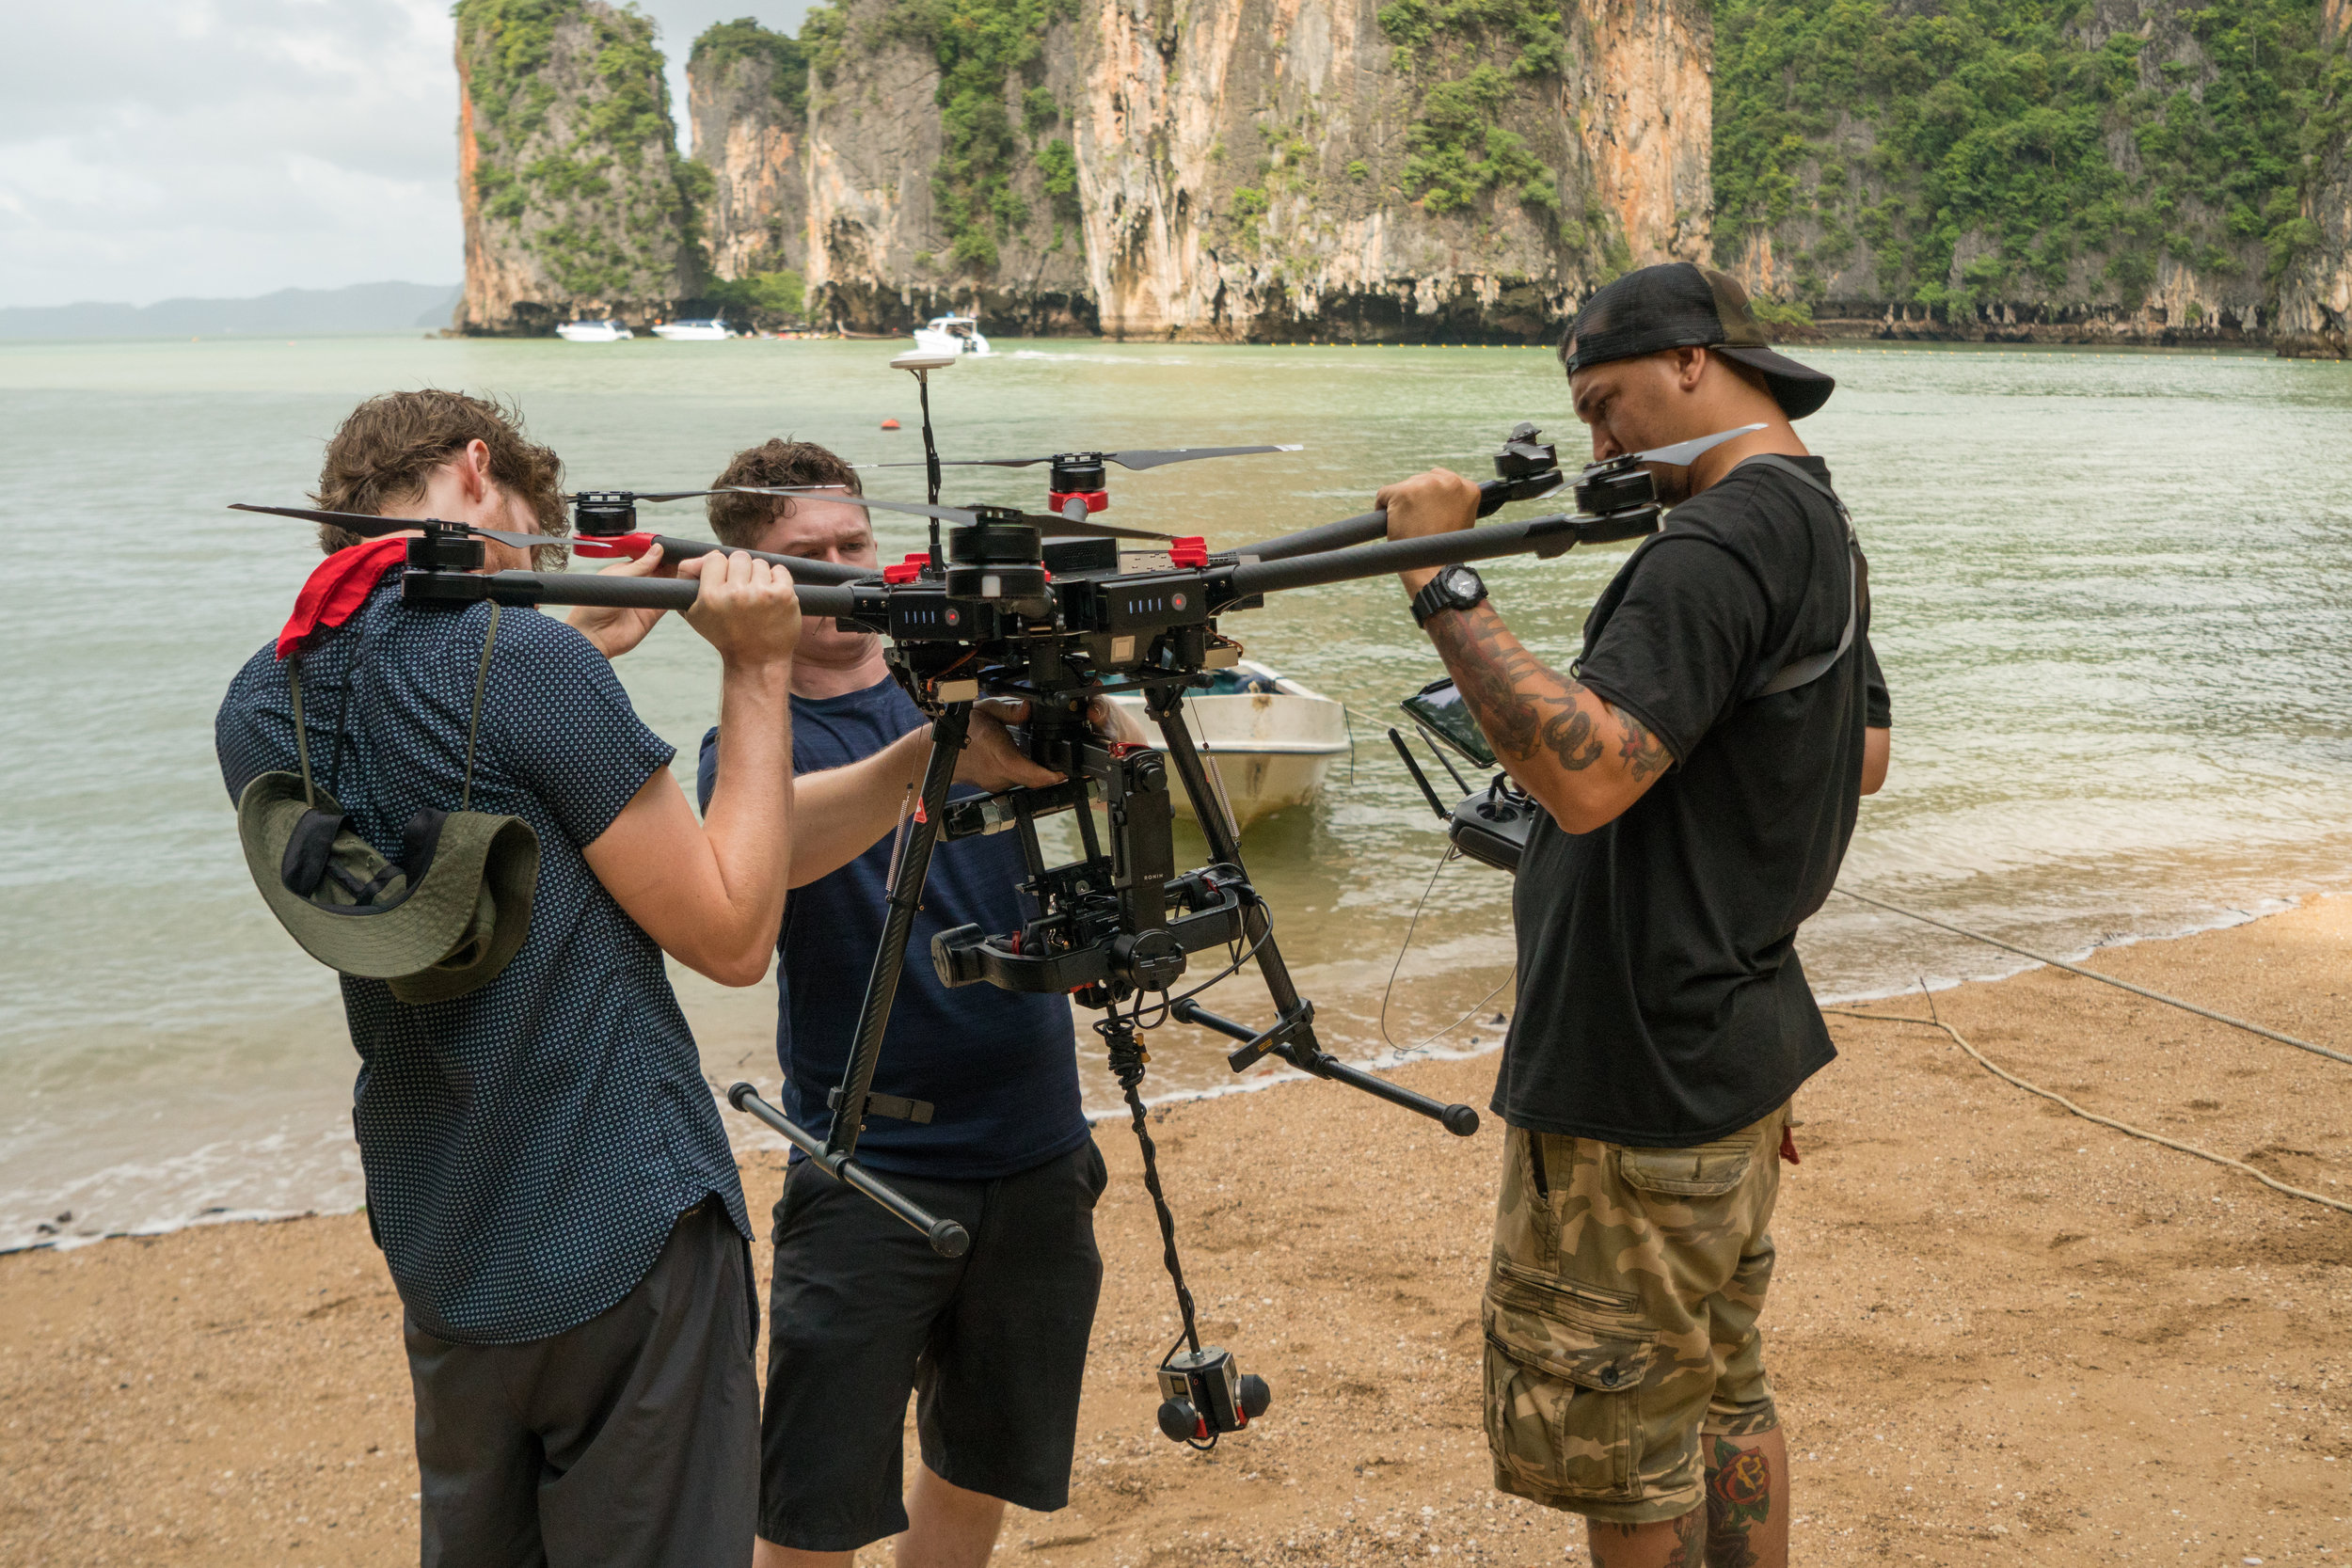
The 3 Camera rig built by Entaniya was our main camera for this shoot as it was one of the smallest and simplest rigs we brought with us. Everything needed for recording is self contained in camera and operation is very straightforward. It is also easy to swap batteries and all of the buttons are accessible. Most of the time we powered this an external battery via usb tether but it was nice to be able to use internal batteries if needed. The rig also locks around the lenses so their is less chance of bumping the focus loose. This is also the rig we chose to fly on our drone because it was the lightest we had and we needed to counterweight the drone camera on our Ronin-mx gimbal. Most of the time we shot this rig at 4k 30fps on each camera for a 5.8k 30fps final stitch. We also shot 2.7k 60fps on each camera for a 4k 60fps final stitch that allowed us to capture some of our scenes in slow motion.

3 GoPro Modulus Back-Bone Rig w/ Entaniya 220 lenses
https://www.back-bone.ca/product/ribcage-3x-mount/
Modified by Perception Squared
This 3 camera rig allowed us to place the lenses slightly closer to the nodal point and it stitched slightly better than the 3 camera Entaniya Rig. This rig also allowed us to configure the camera bodies in a way that we could attach the GoPro LCD touch bacpac to the backs of the cameras. This made operation and monitoring much easier for our static shots. The modulus setup also allows you to lock the lenses in with locking screws which makes bumping focus nearly impossible and made us confident in the shots we were getting. We shot this rig at 4k 30fps on each camera for a 5.8k 30fps final stitch.

Custom 2x Sony A6300's Back to back rig w/ iZugar 220 MFT lenses
Built by Perception Squared
This 2 camera rig allowed us to capture scenes in the Khao Laung cave with much better lowlight quality than the GoPro rigs. We had originally planned to use this rig more throughout the shoot but after building it we found that it didn't stitch as easily as the GoPro rigs we had so we used it sparingly, mostly for low light shots and scenes with high dynamic range. We had to create a custom preset in Autopano Video pro for the iZugar lenses as they were pre-production models and did not have a stitching template available yet. We believe this system will stitch much easier once there are presets for the lens distortion. The a6300's have great image quality and the clear image zoom allows you to get the maximum resolution out of the new MFT wide angle lenses that are being released by various lens companies. We shot this rig at 4k 30fps on each camera for a 4.6k 30fps final stitch.

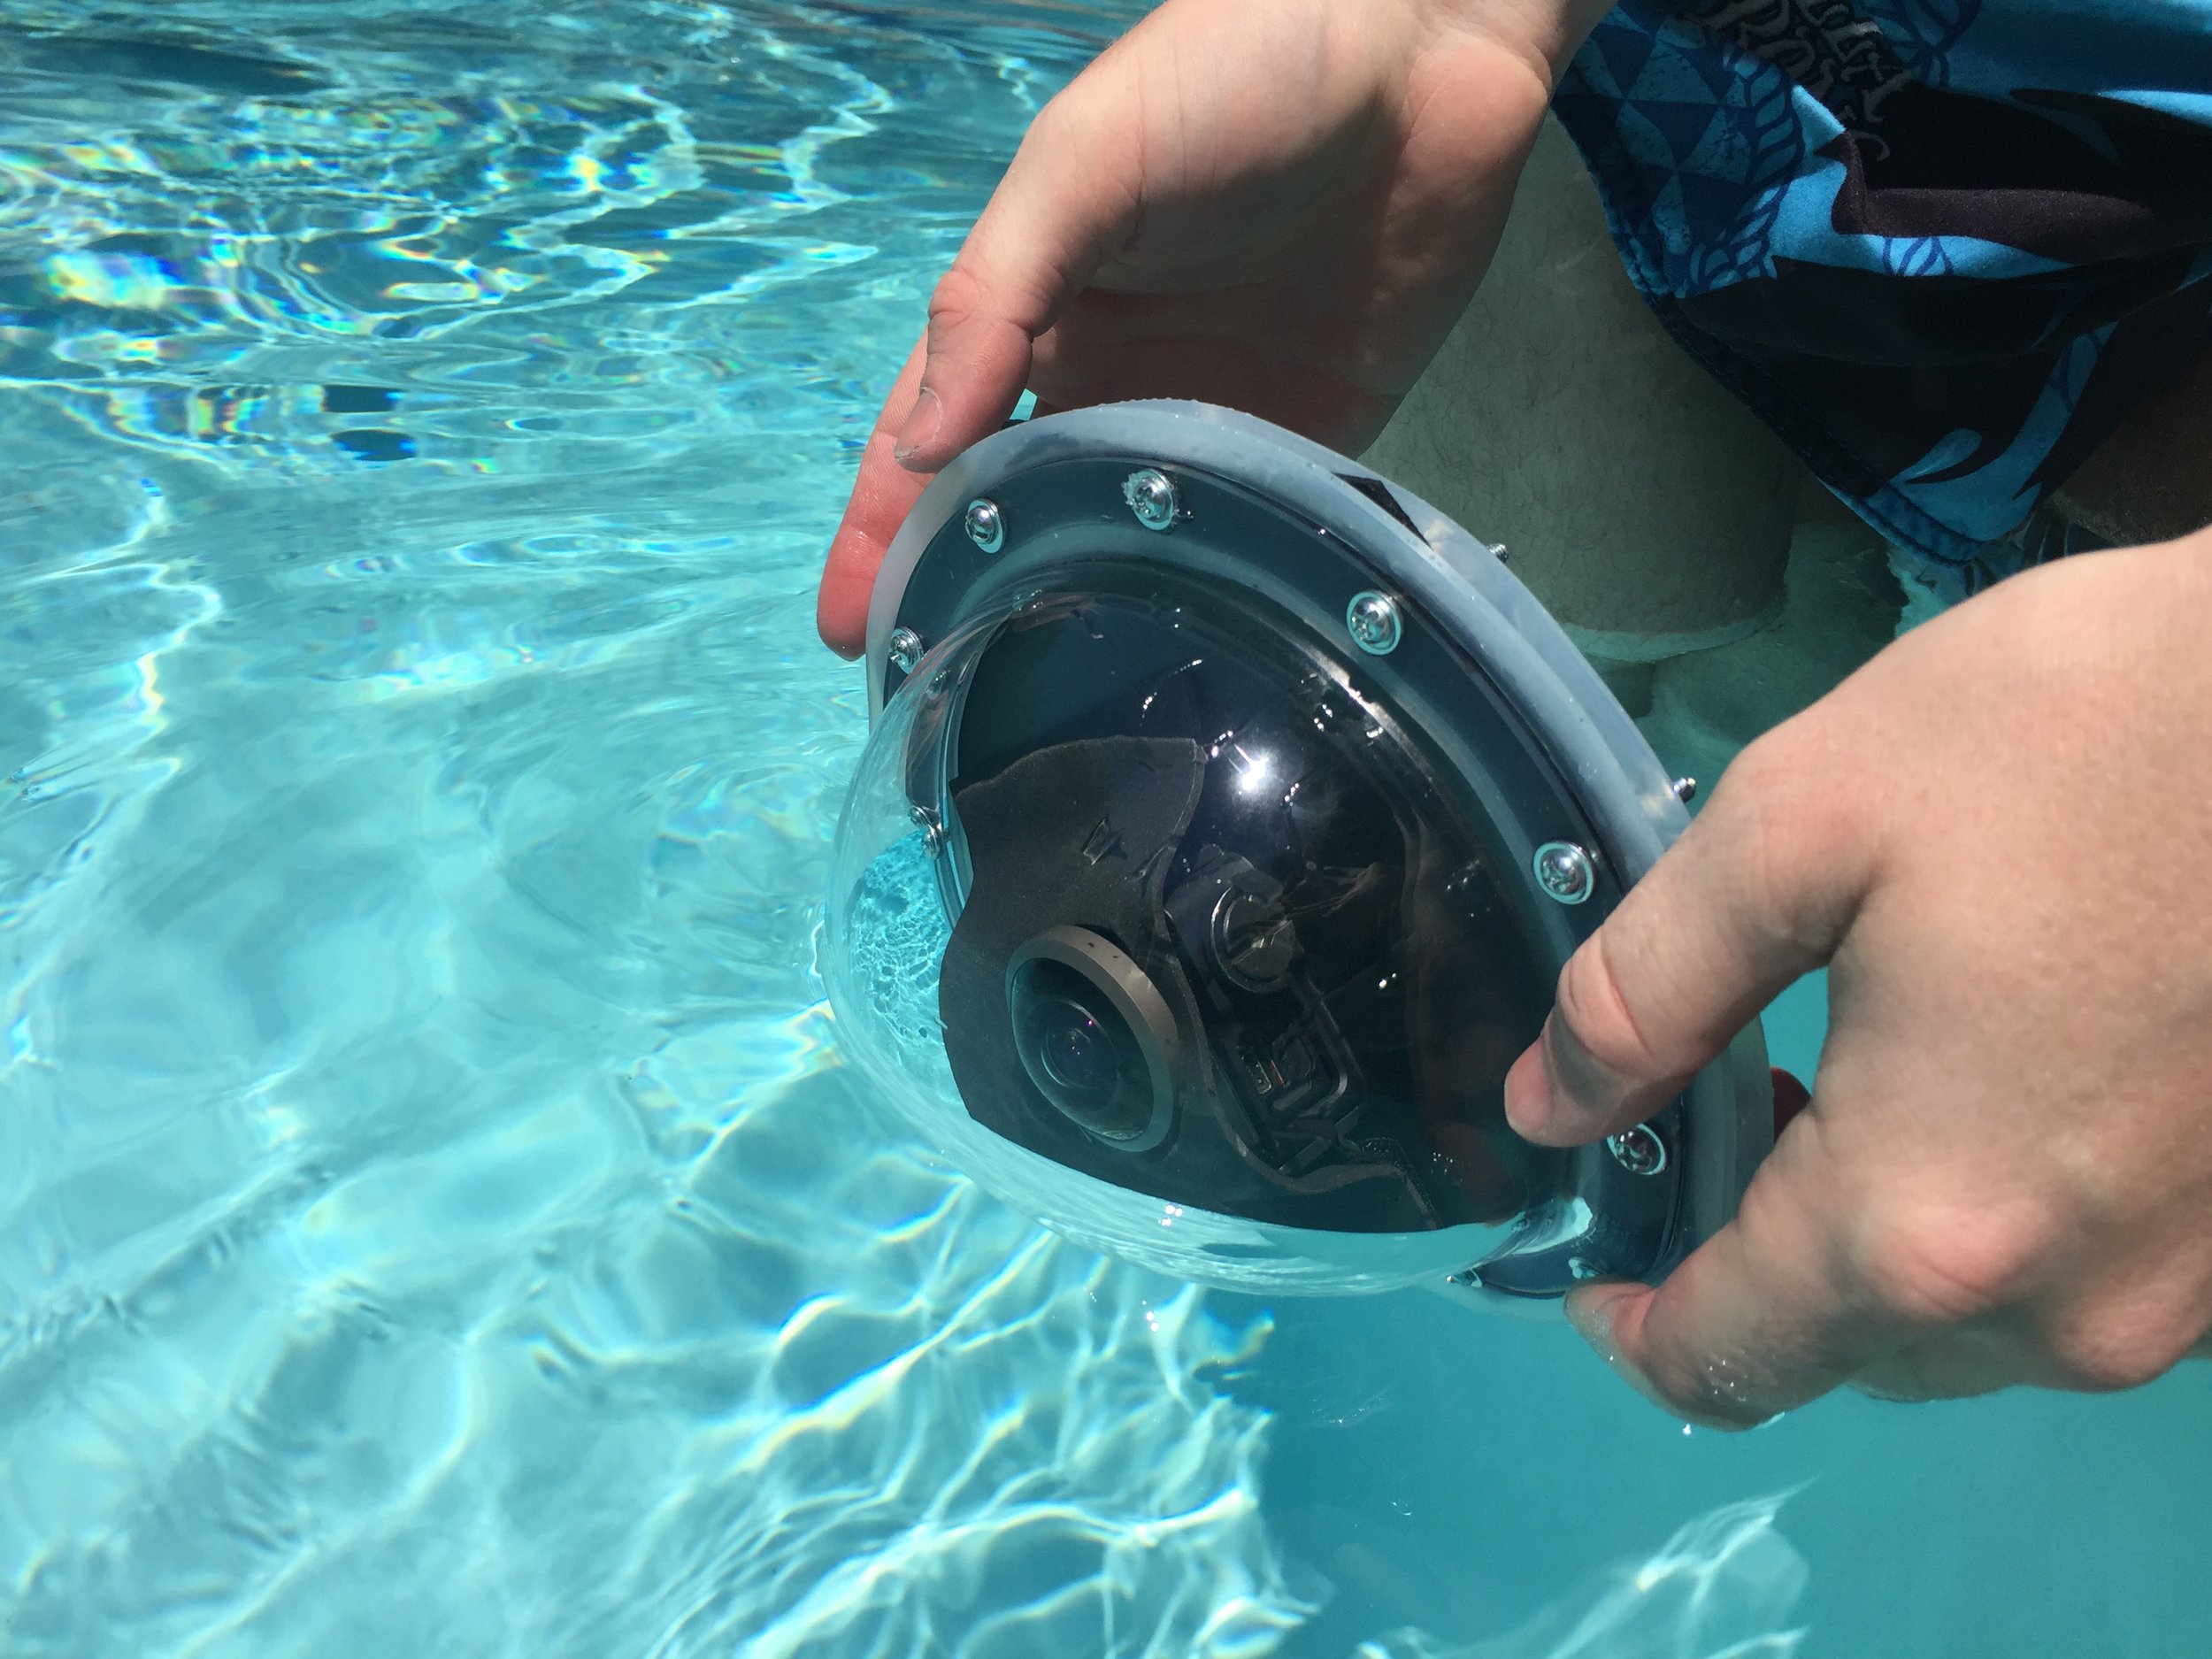
Custom 2x GoPro Underwater Housing w/220 Entaniya Lenses
Build by Perception Squared
We built a 2 camera underwater housing for 2x GoPro Hero4 black cameras modified with Entaniya 220 Lenses. We had never seen a back to back solution done underwater. We considered using a Gear360 with water housing but the quality was not up to our standards. We did some extensive testing in pools to perfect the rig before traveling and make sure it was water tight. We shot this rig at 2.7k 30fps on each camera for a 4k 30fps final stitch.

3rd Person Sail Video Rig
https://www.sailvideosystem.com/
We wanted to capture the perspective of our traveler in this piece but doing straight POV shots has a lot of inherent problems in 360. Using a 3rd person body rig from Sail Video Systems was the perfect solution. This allowed us to get a 3rd person perspective on our main character. It also gave us semi stable footage that allowed for easy rig painting. We were also able to do a montage of matching camera angles near the end of the film that adds some nice stylistic flare to the piece during its climax. The system was very stable and was a perfect pairing with the small and light Entaniya camera rig. We did additional stabilization to these shots with SynthEyes in post.
We have tested a lot of different cameras for VR and we always come back to using modified GoPros because they pack a lot of image quality into a small body and pair great with the high quality Entaniya wide angle optics. We are currently looking into Hero5, Blackmagic, and Sony designs for our next rigs.

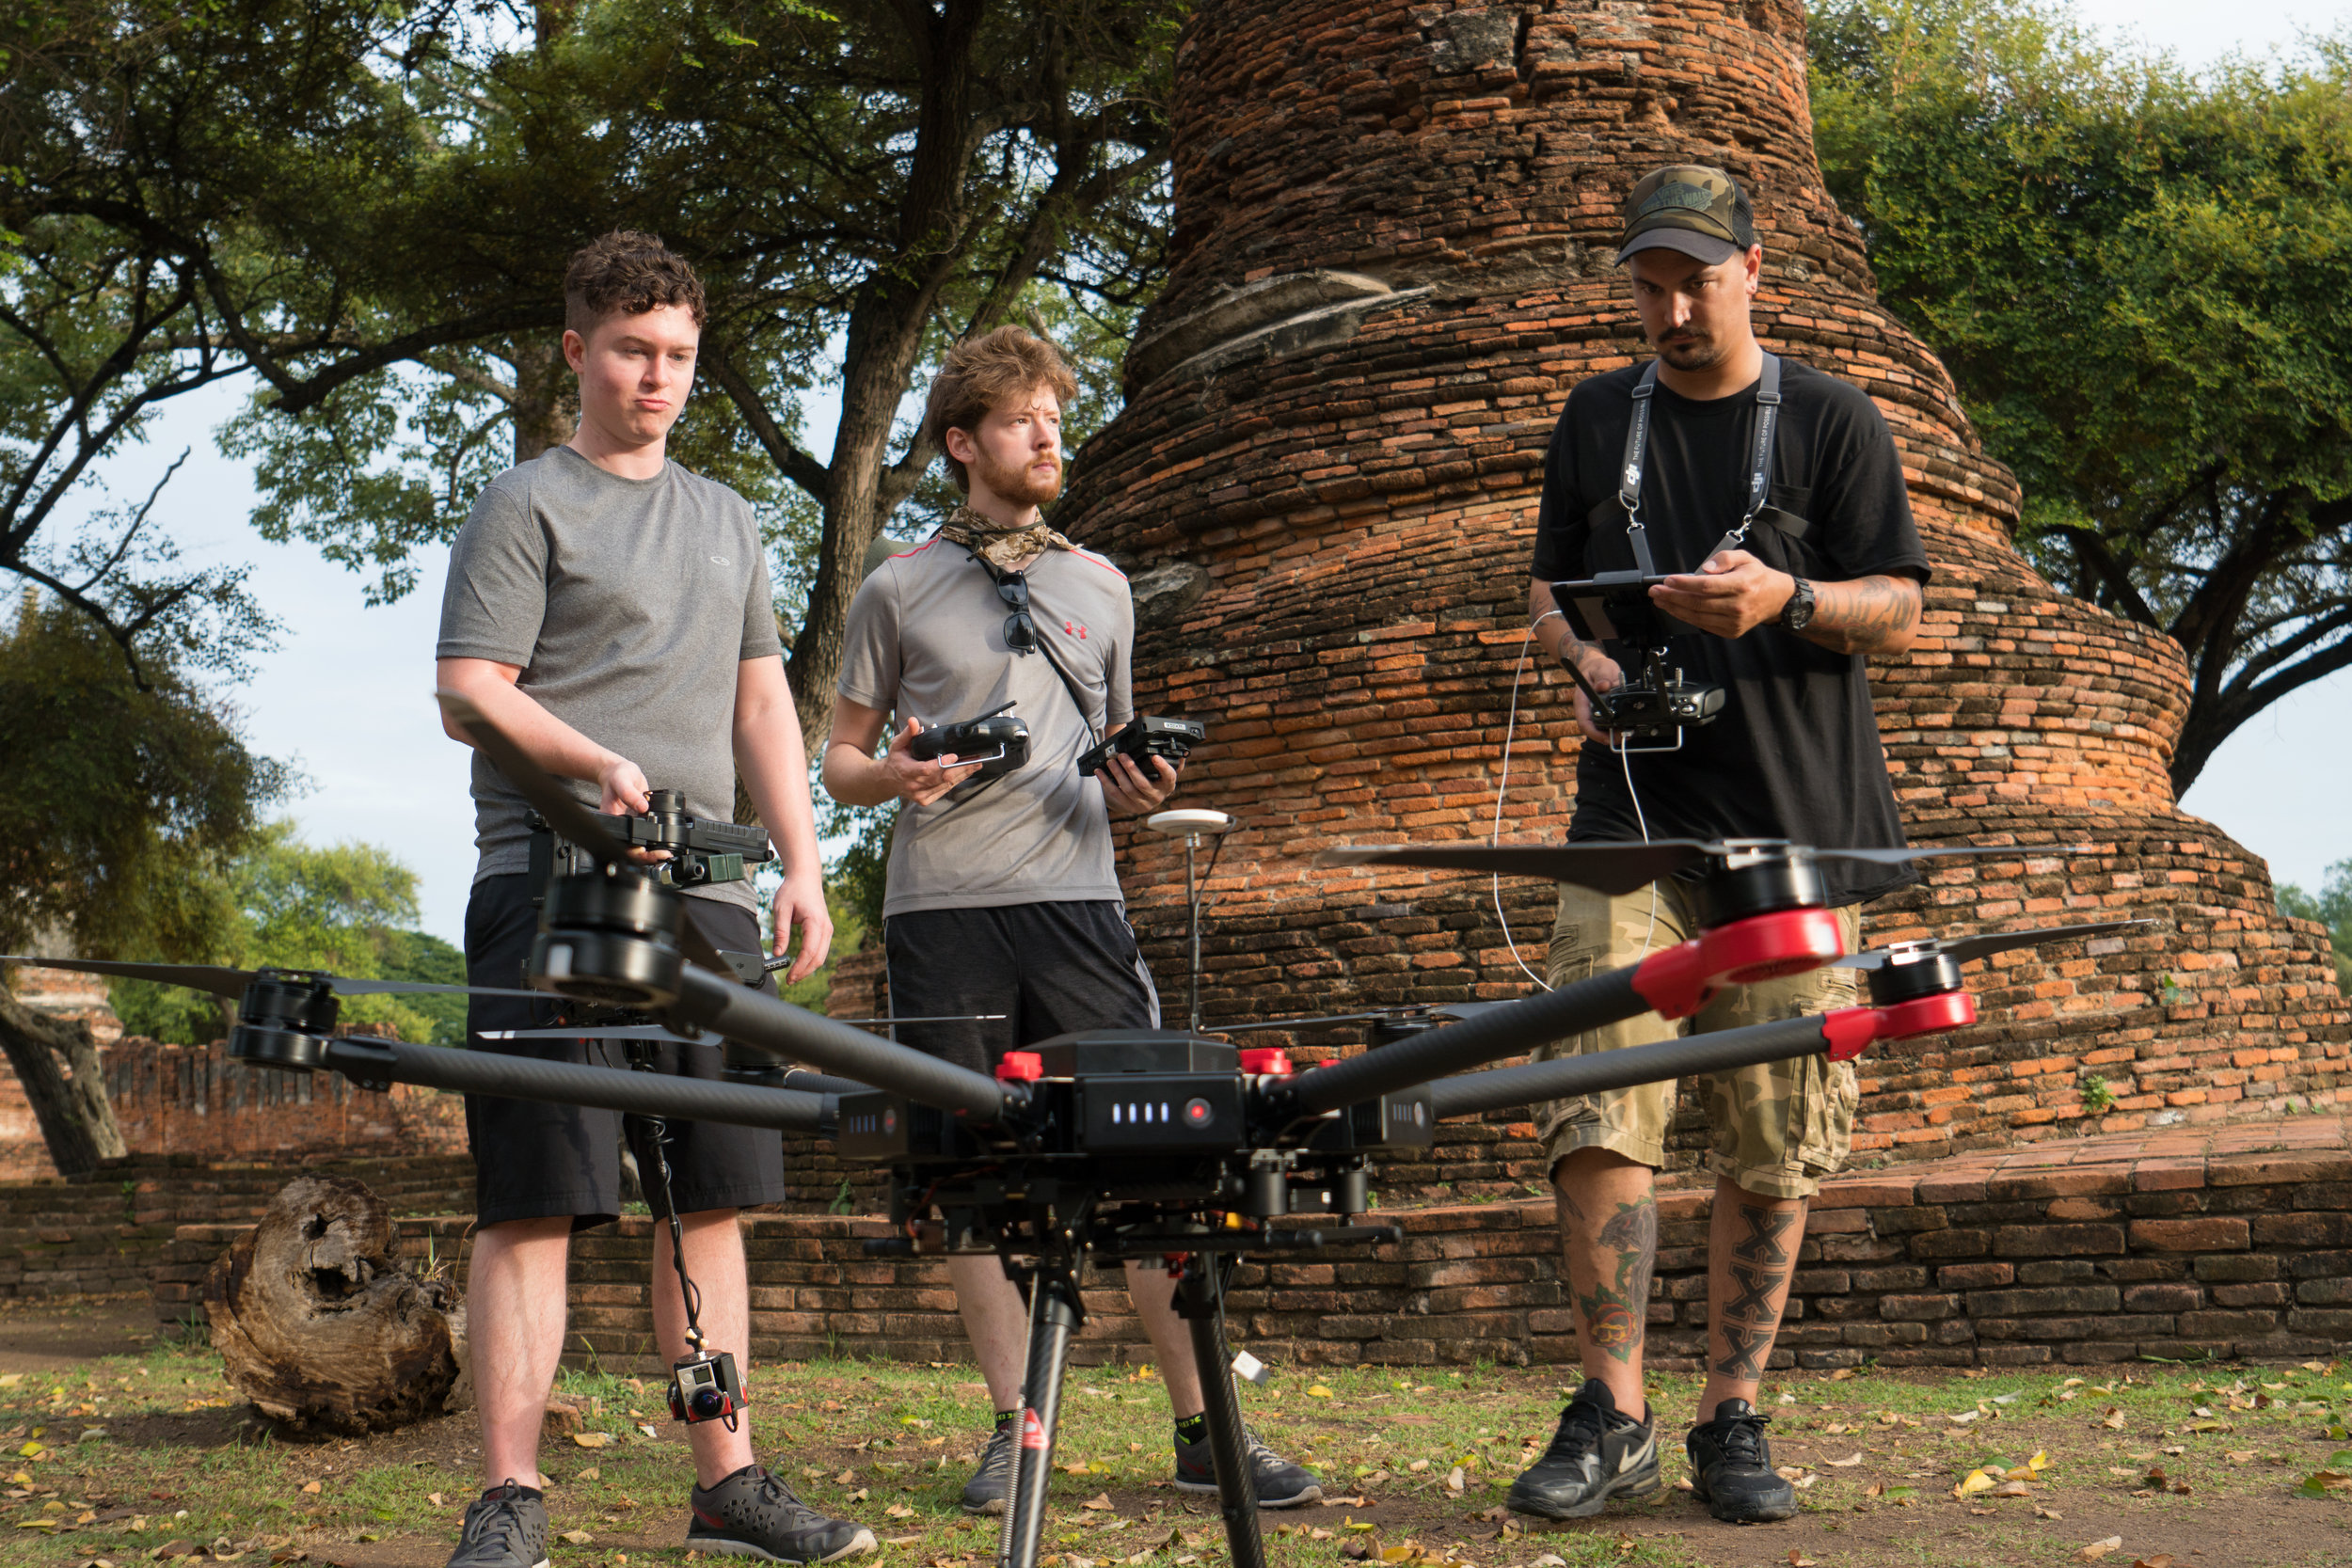
360 Aerials
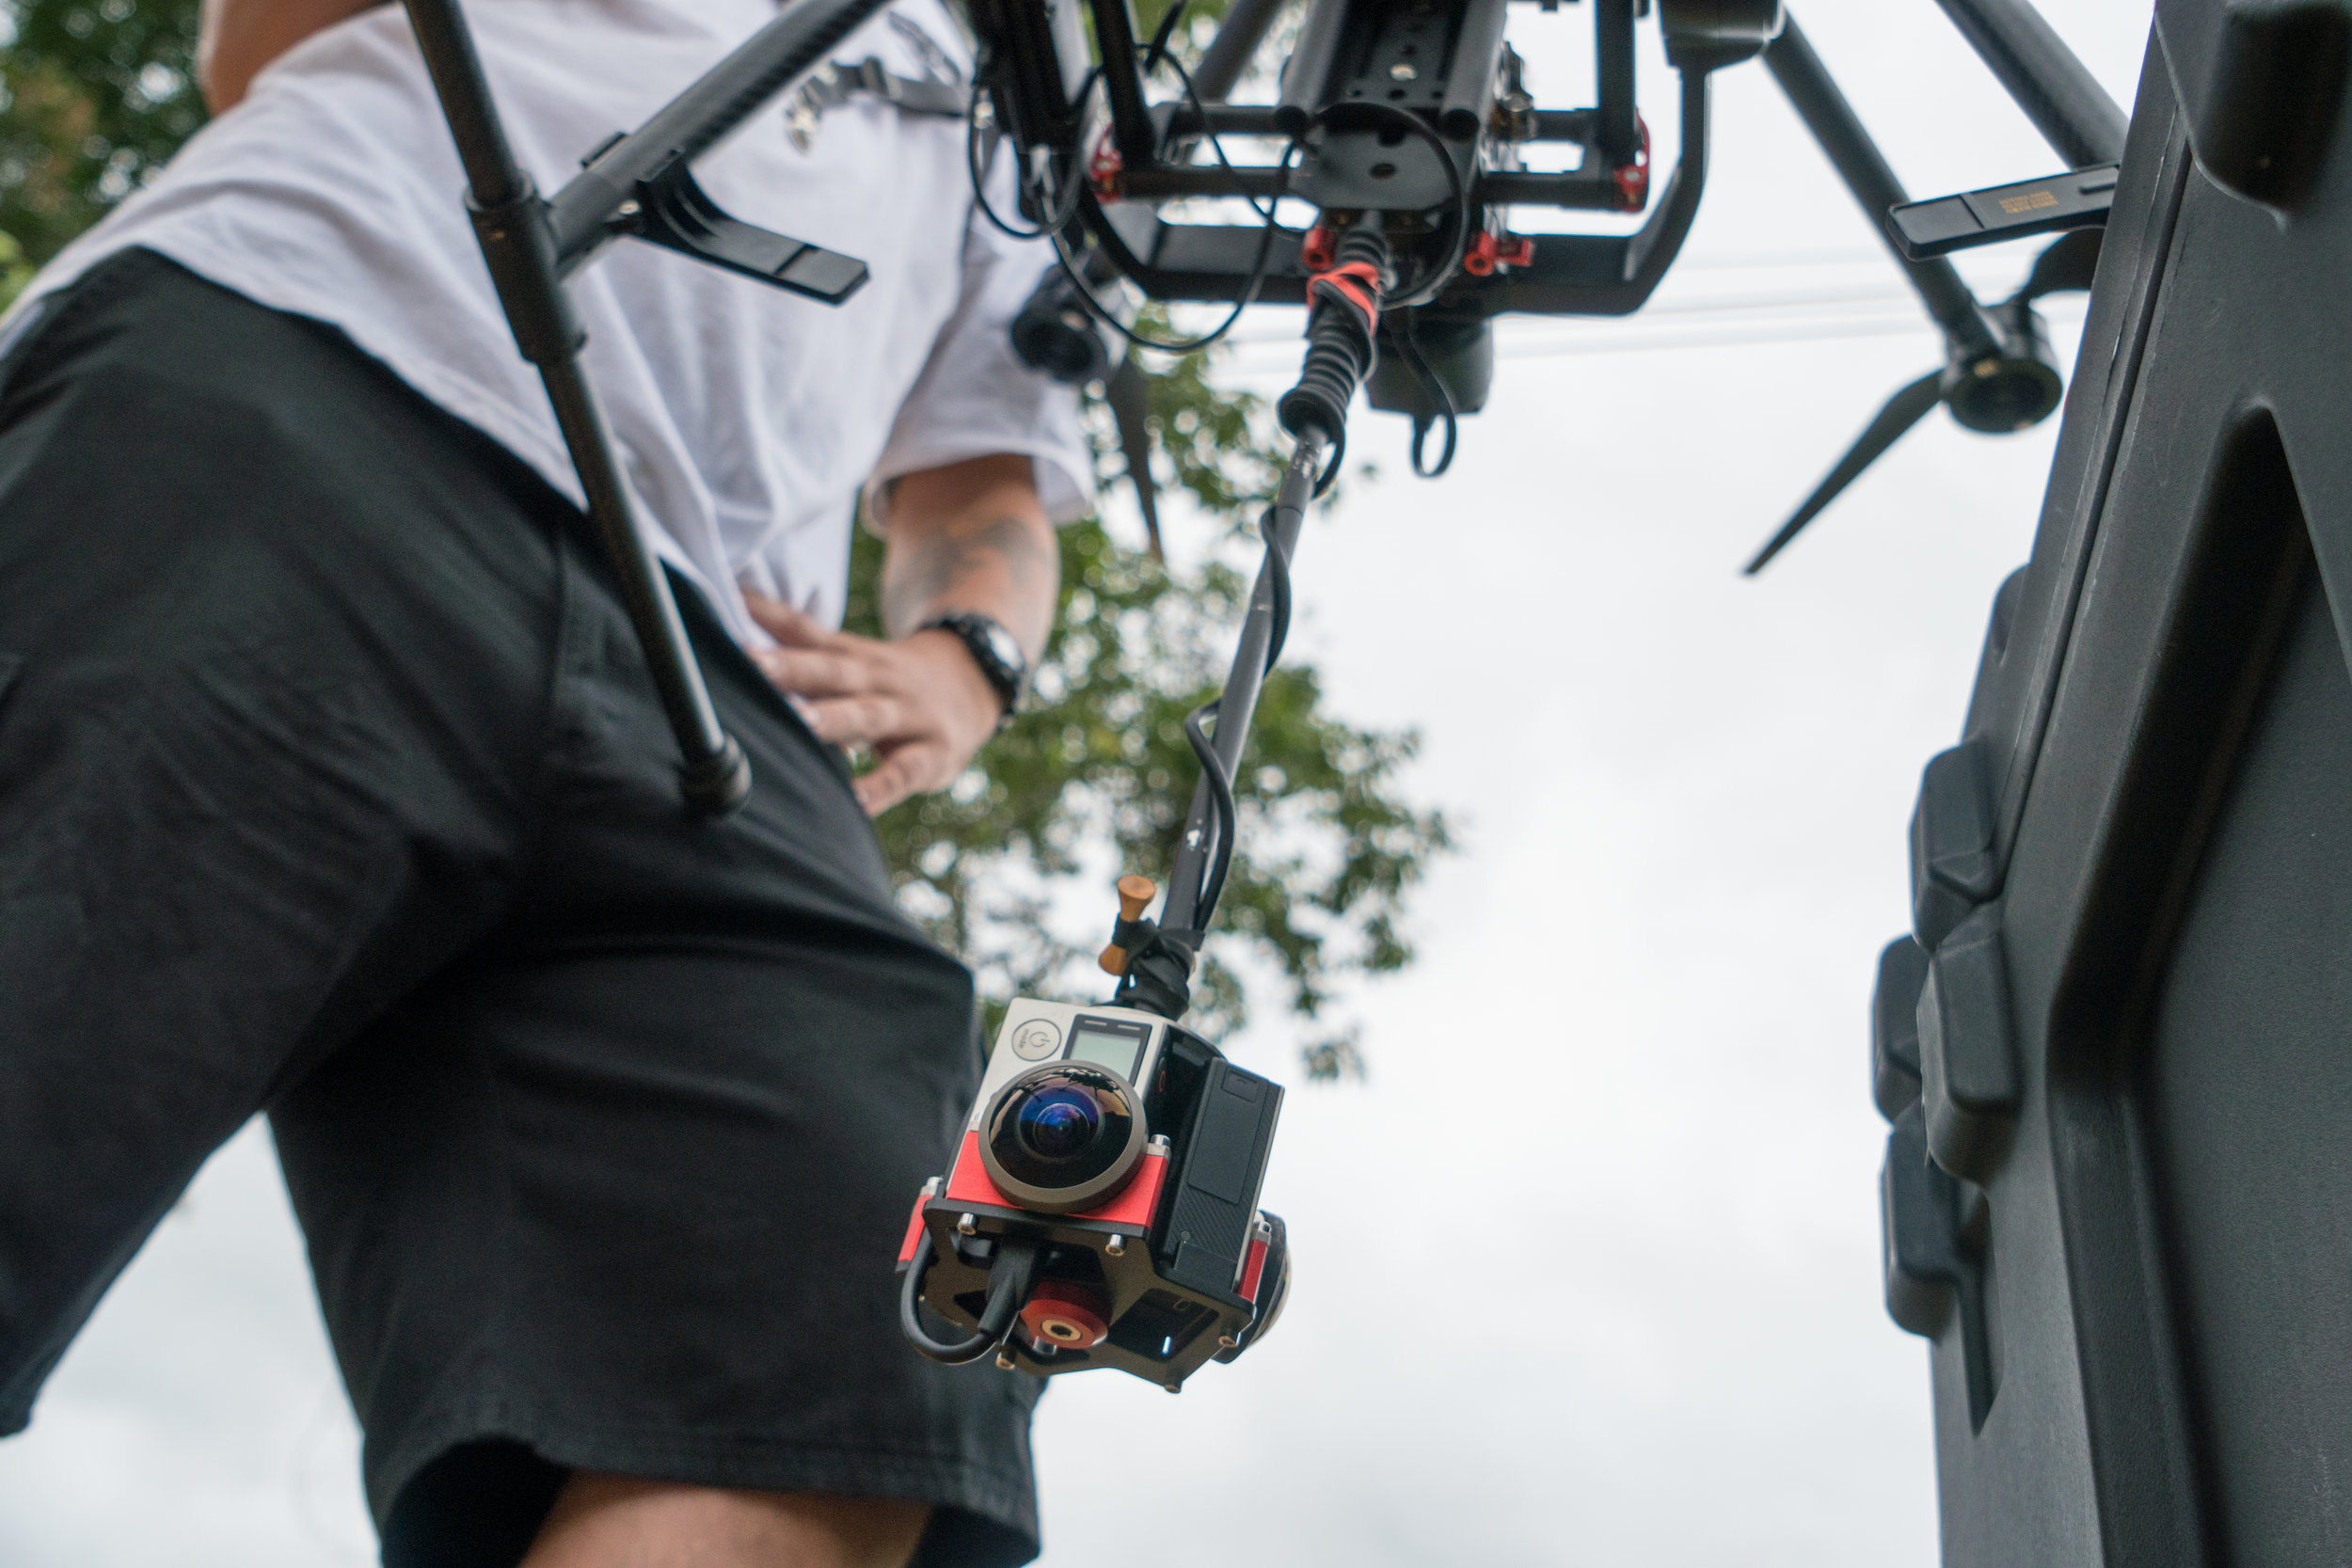
One particular element we put a lot of work into in this campaign was the 360 aerial cinematography. When perfectly executed, aerial photography in VR gives the viewer the feeling over flying high above the world in a very cool and dynamic way.
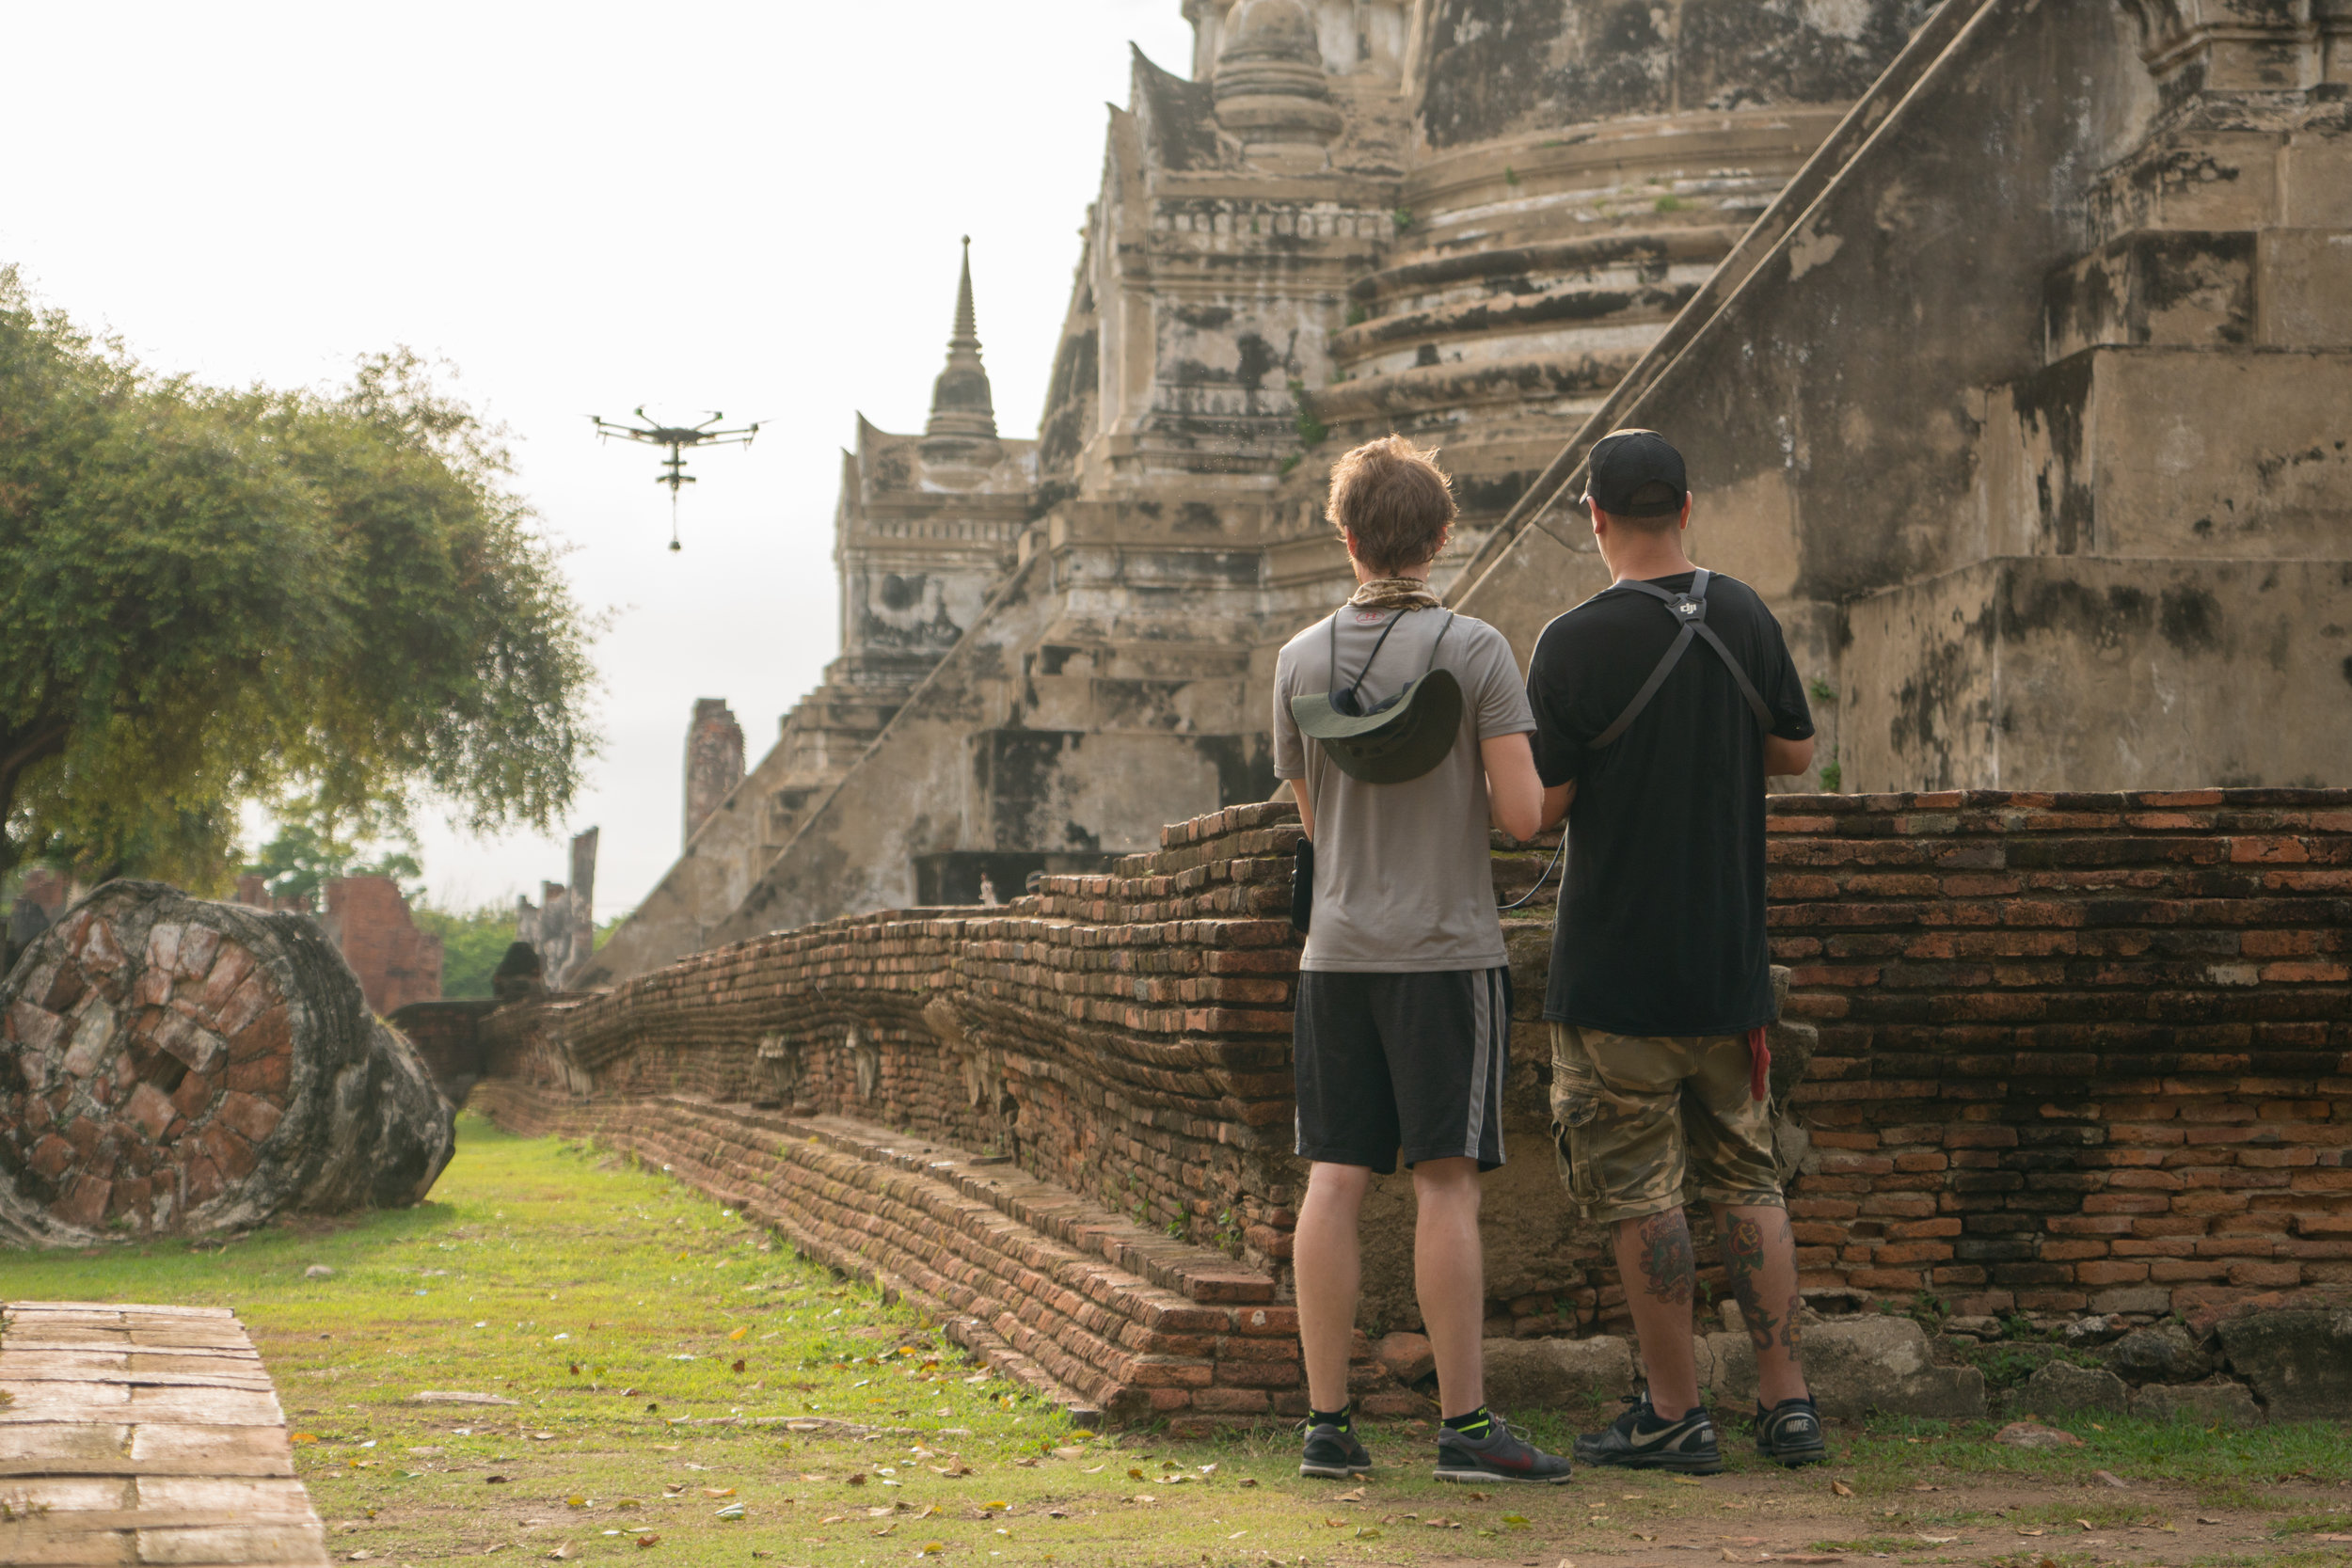
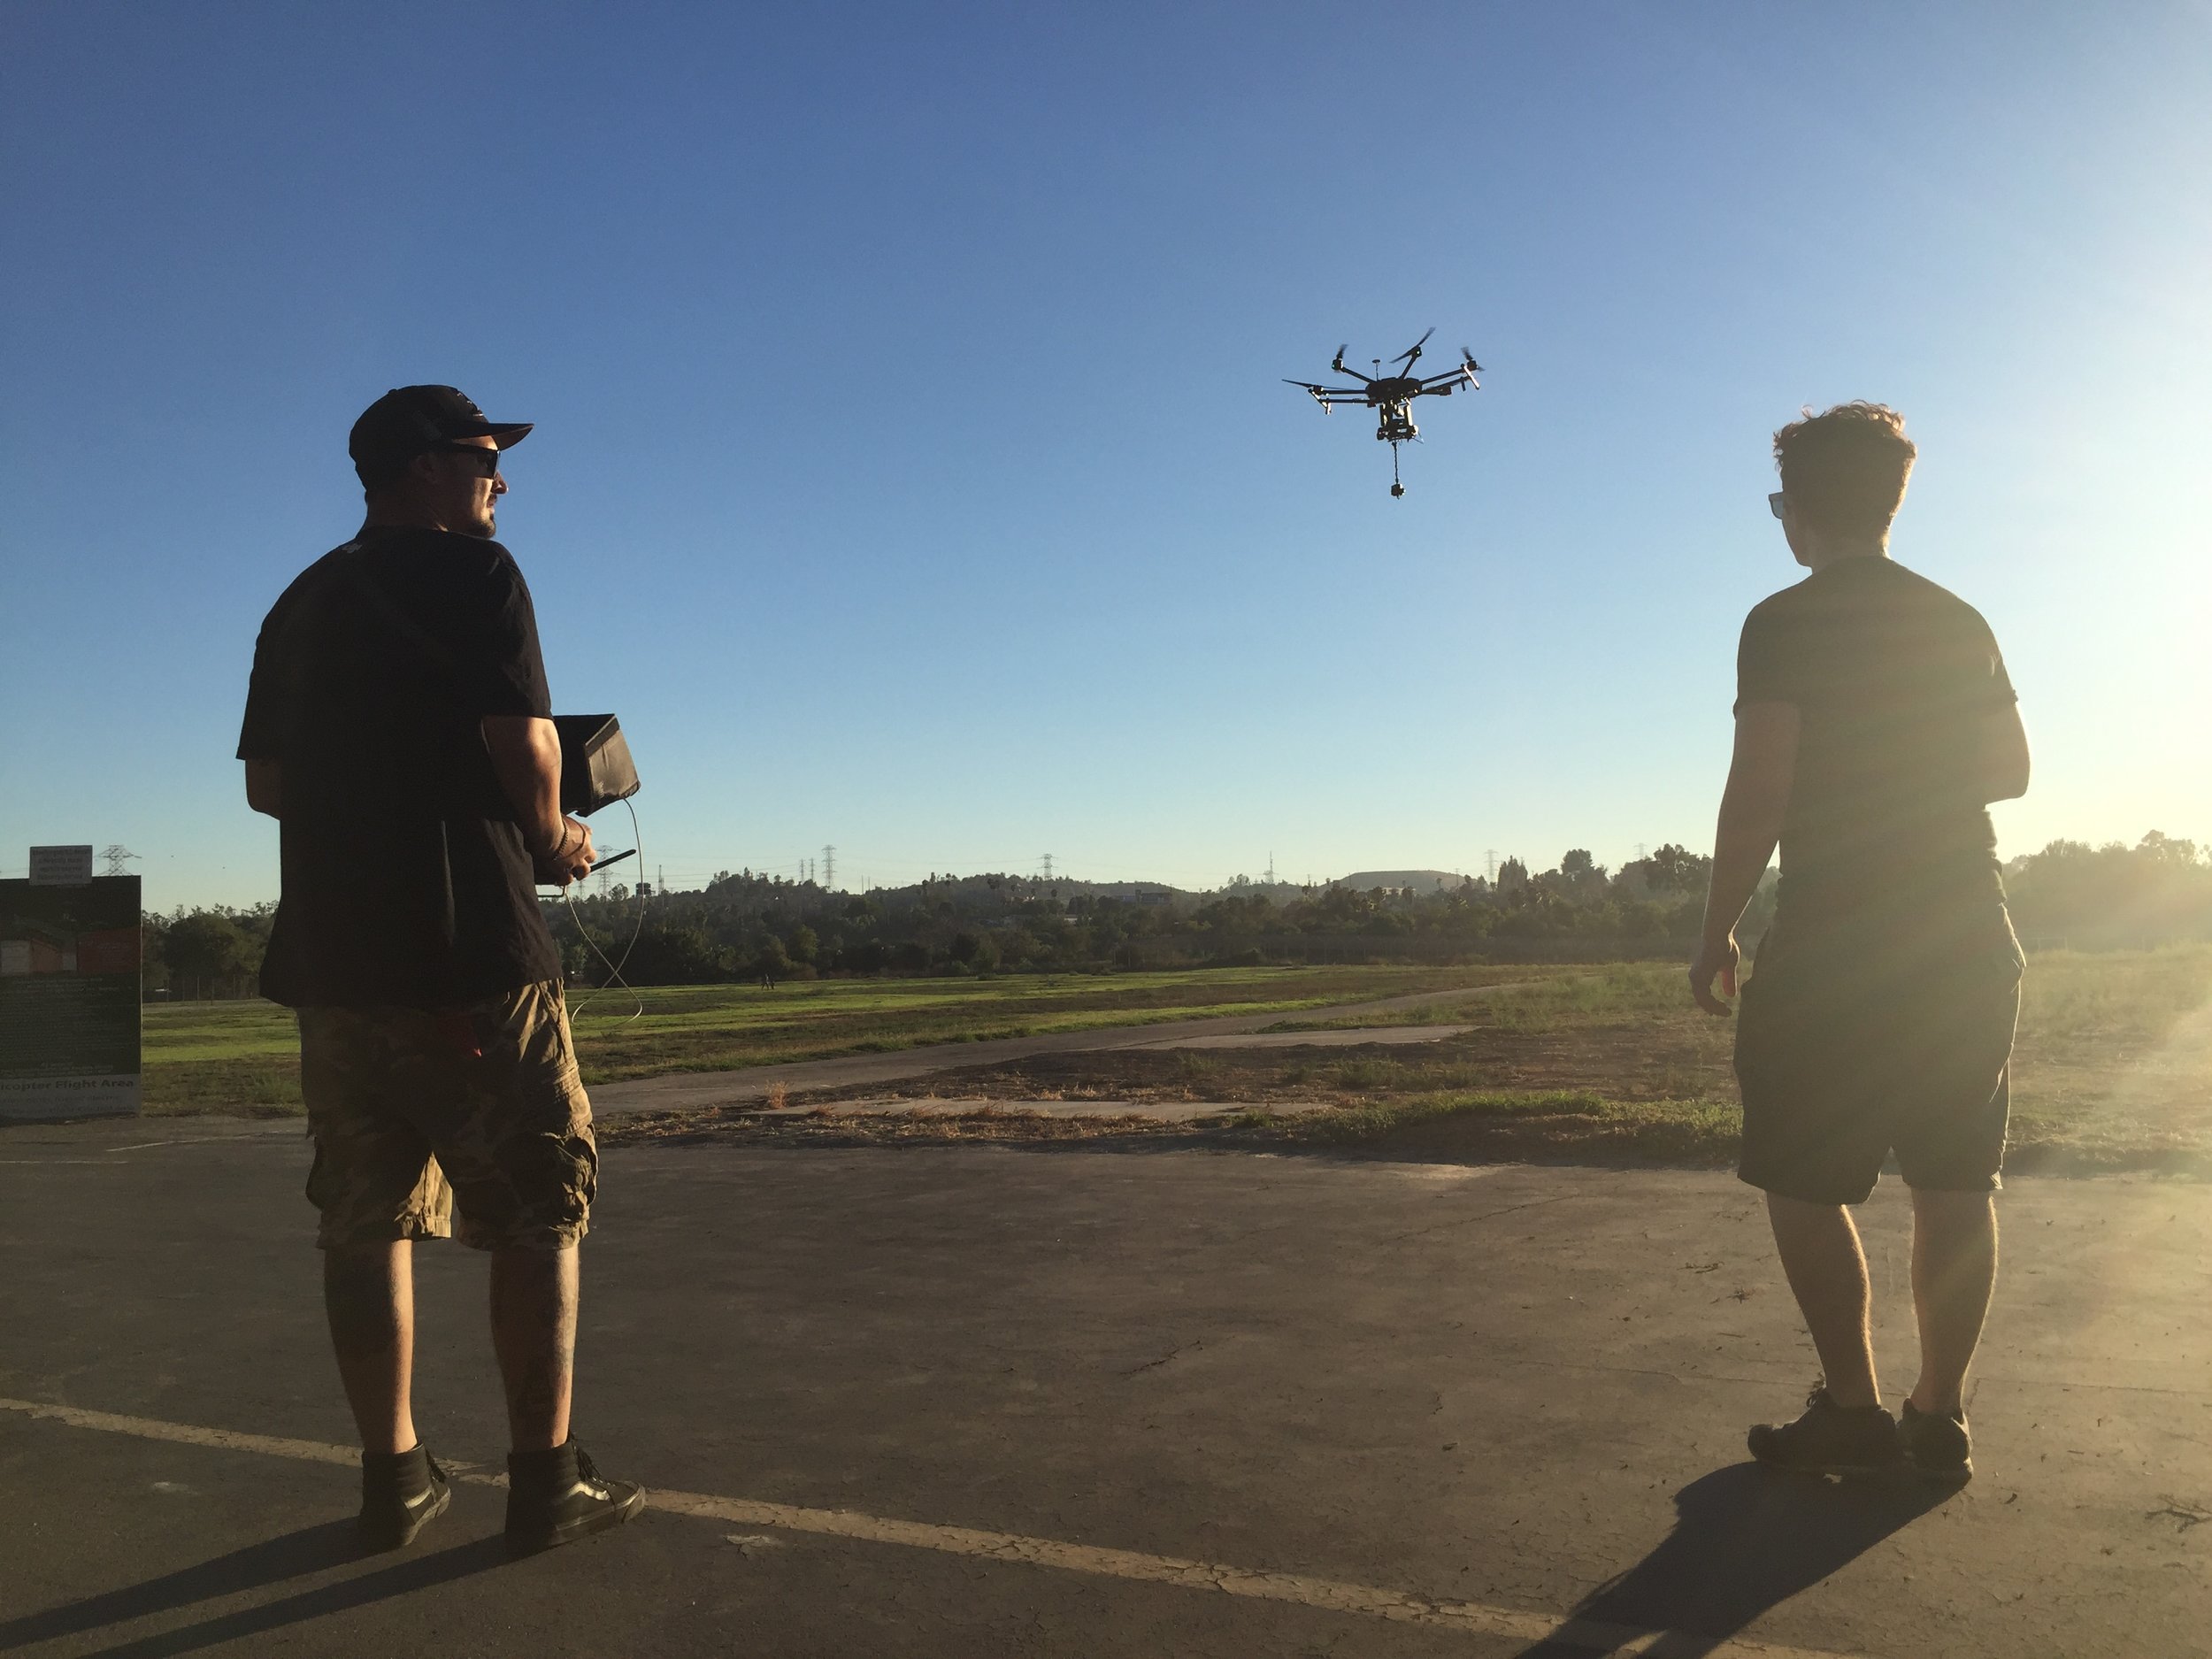
We did a lot of research on the existing solutions for 360 aerials and what we found was that there were very few productions that had done it before. The biggest problem we found with the existing 360 aerial footage was that it was very shaky. We designed a solution with a Ronin-Mx Gimbal mounted on a DJI M600 Hexacopter. This solution tilted the gimbal at a 90 degree angle and mounted the camera on a 3 foot steel pole that extended out the bottom of the hexacopter. This was then counter weighted with a custom rig past the rotation point of the gimbal to allow the gimbal to be balanced properly. (Tip for counterweights: Use lead fishing weights)
This process took a very long time and a lot of troubleshooting to get perfect but the shots we got were well worth the extra effort.


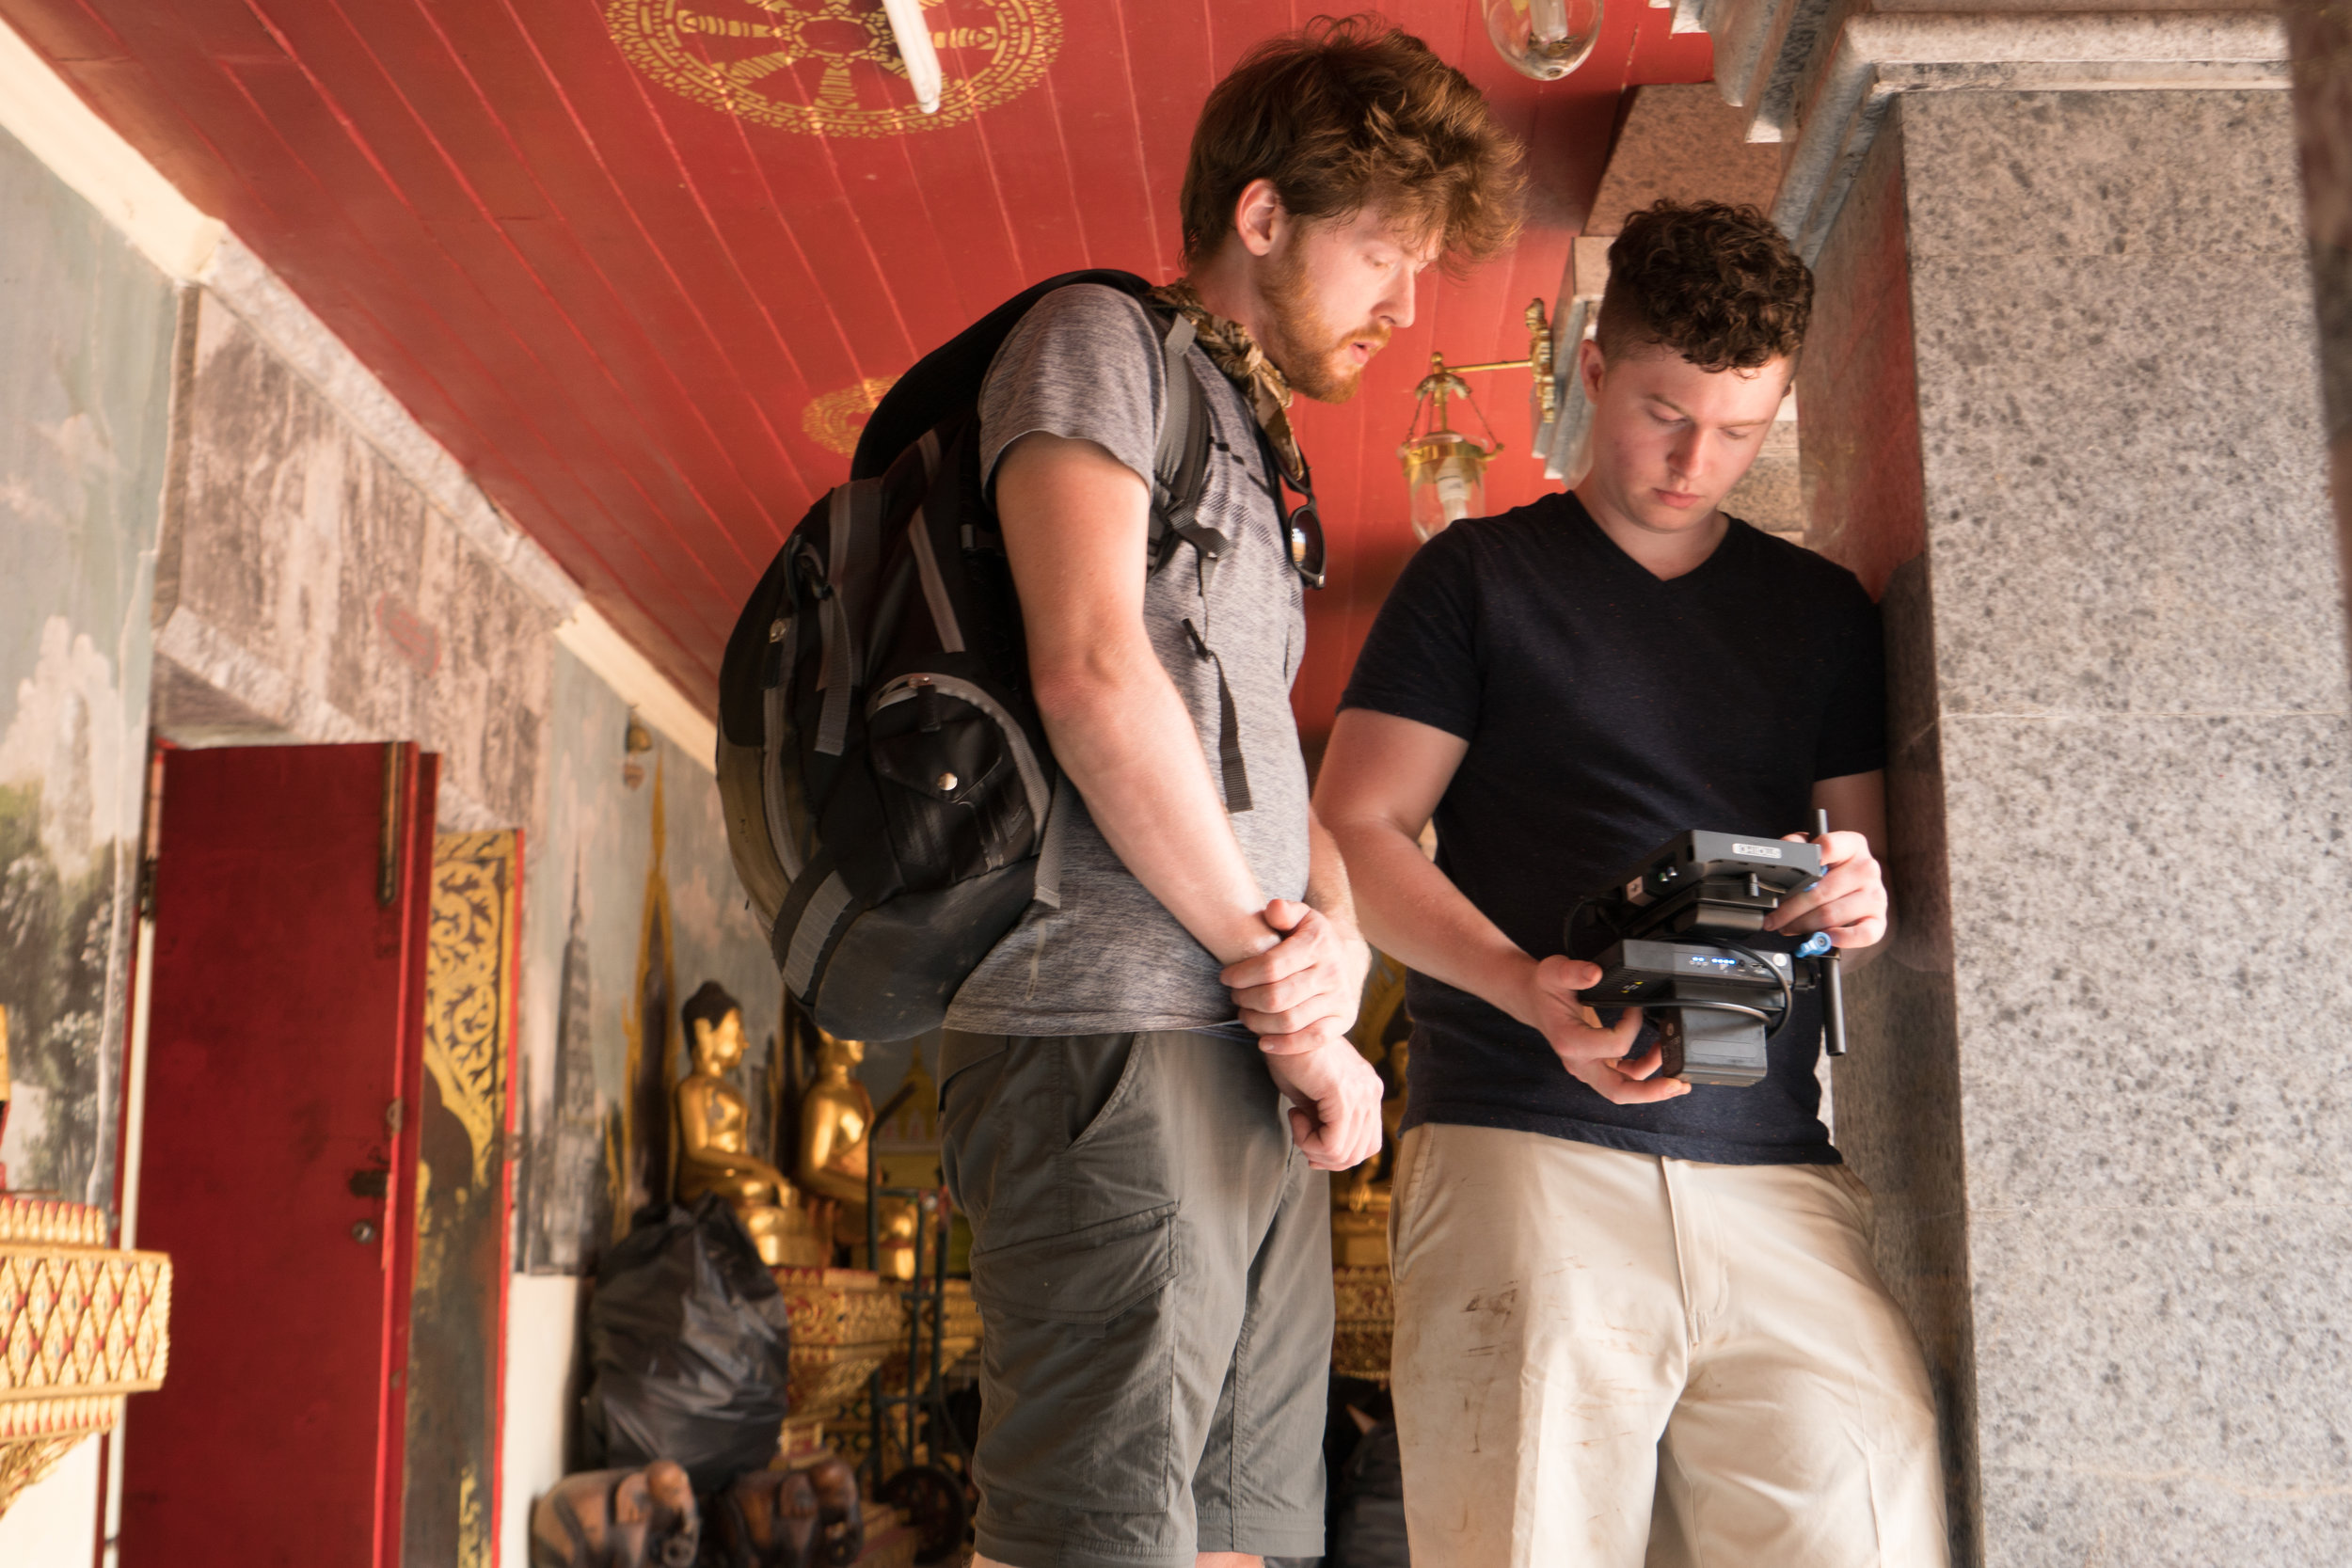


The shoot
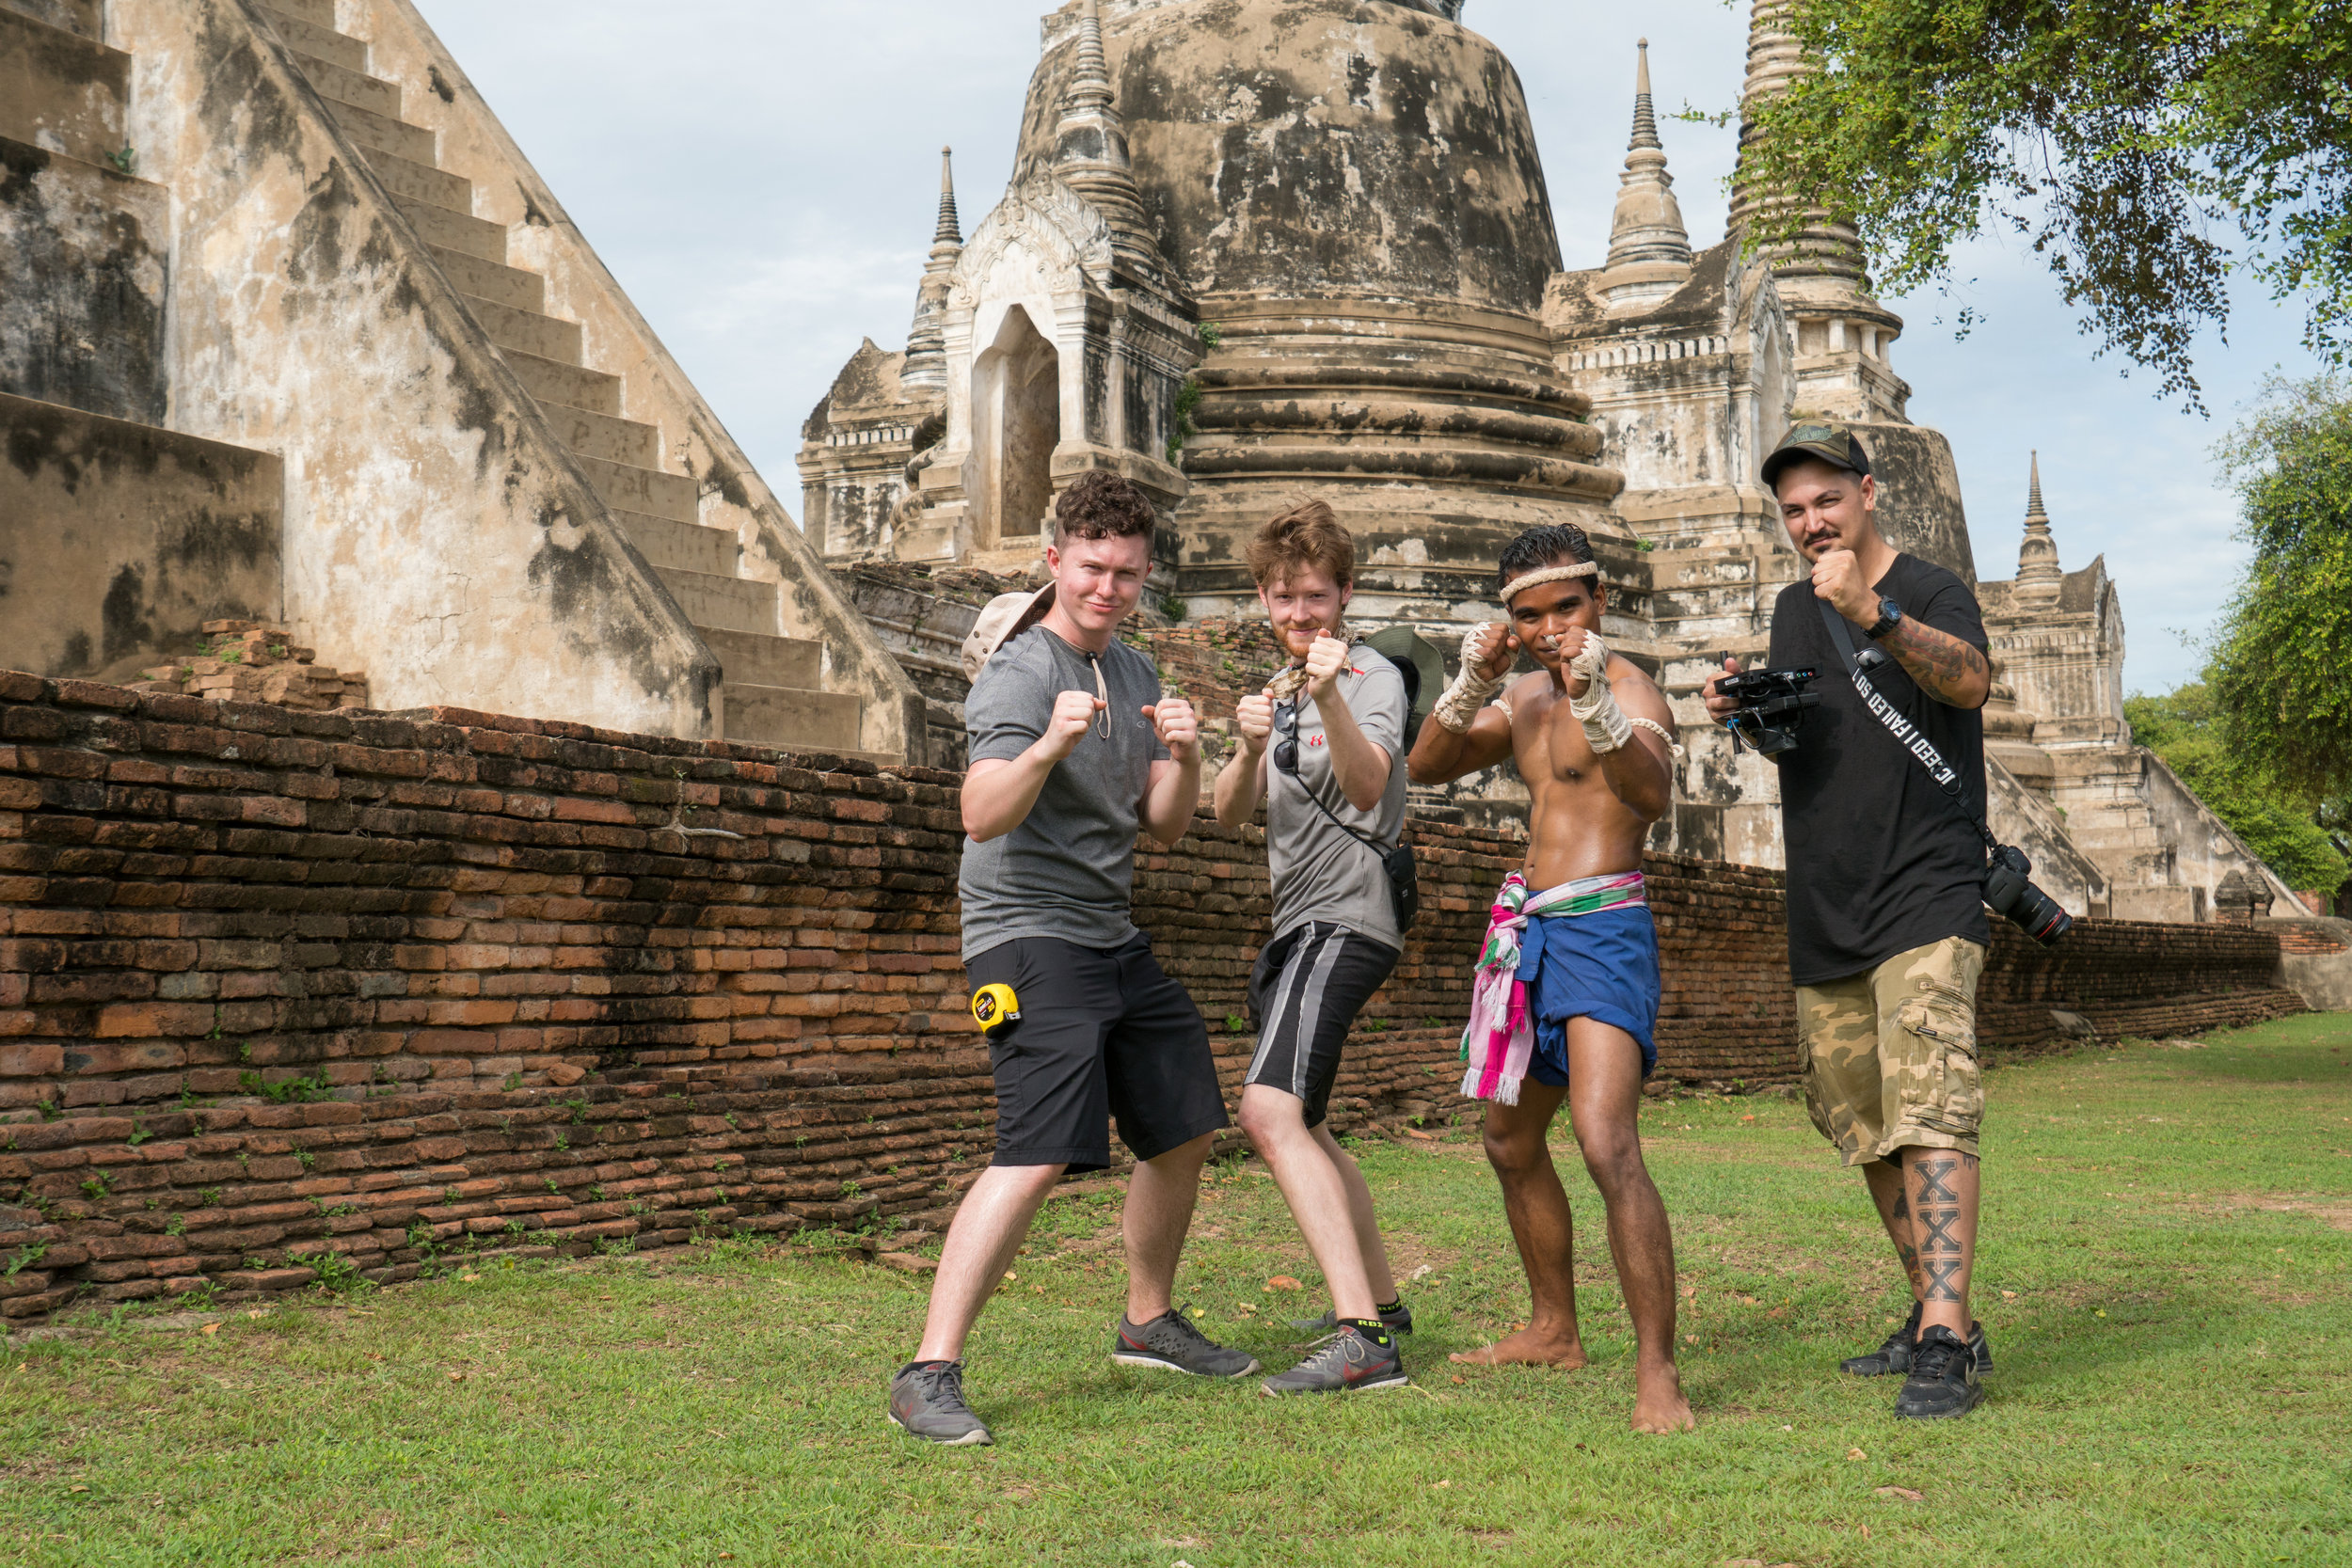
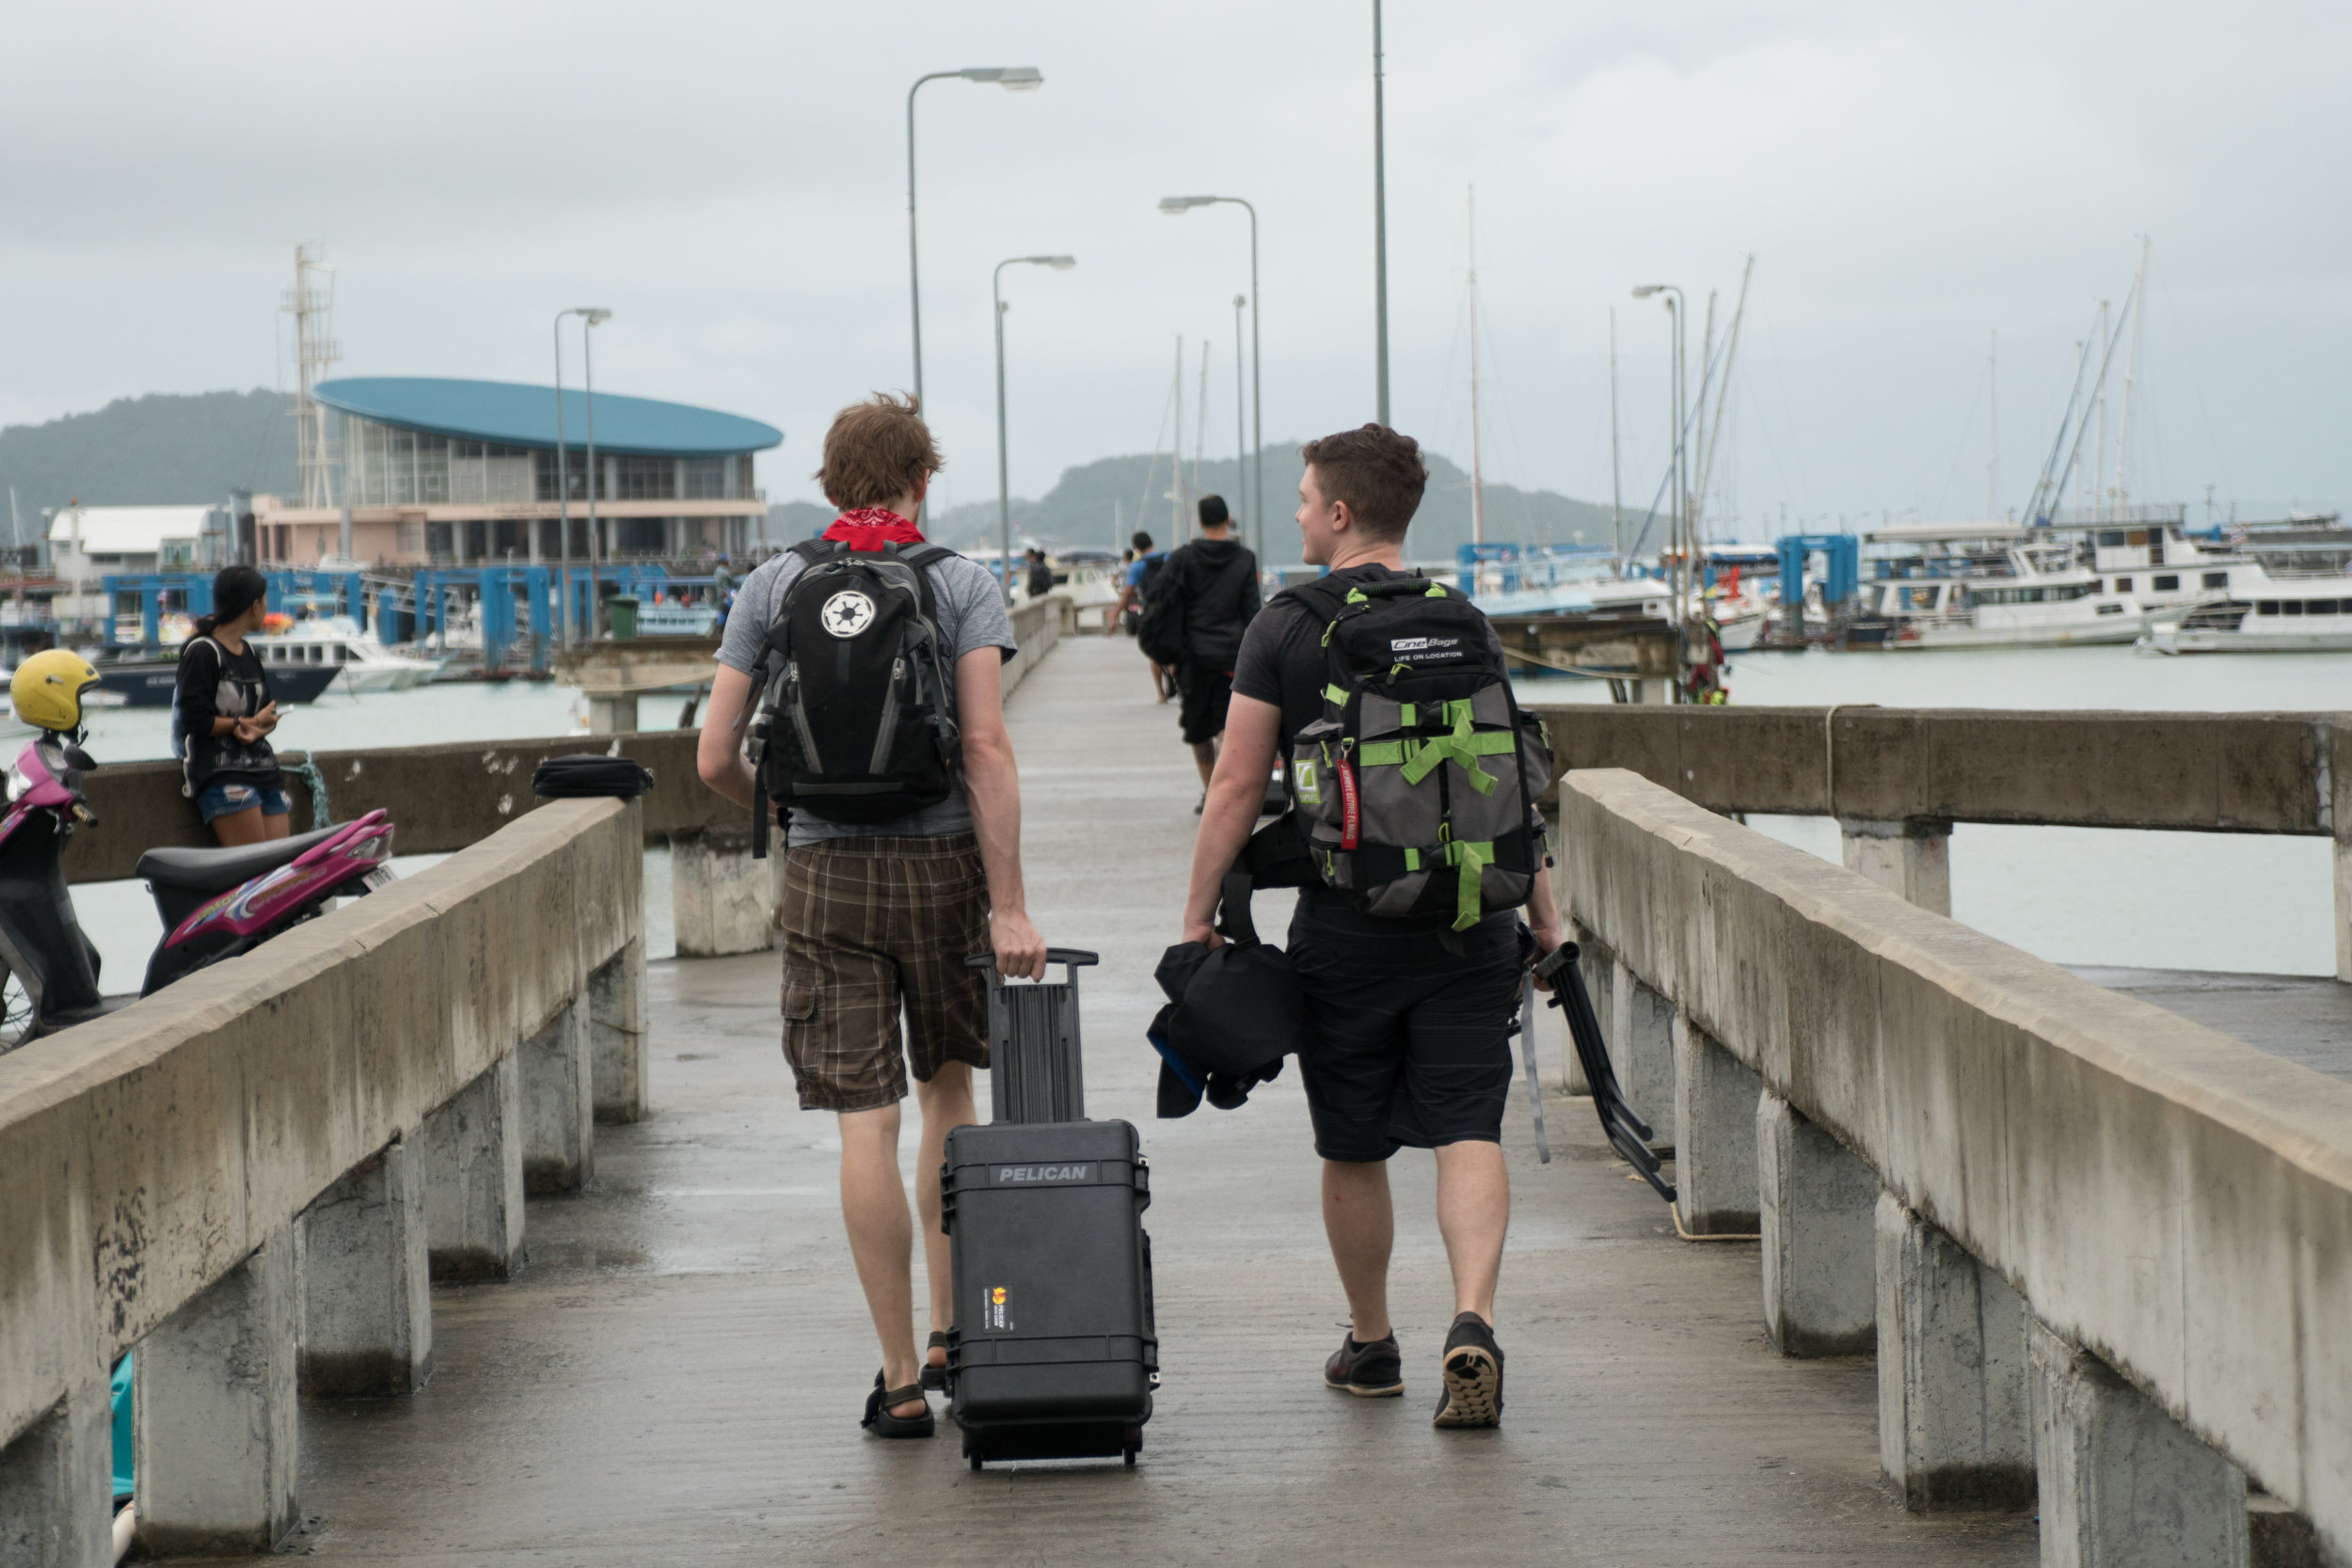
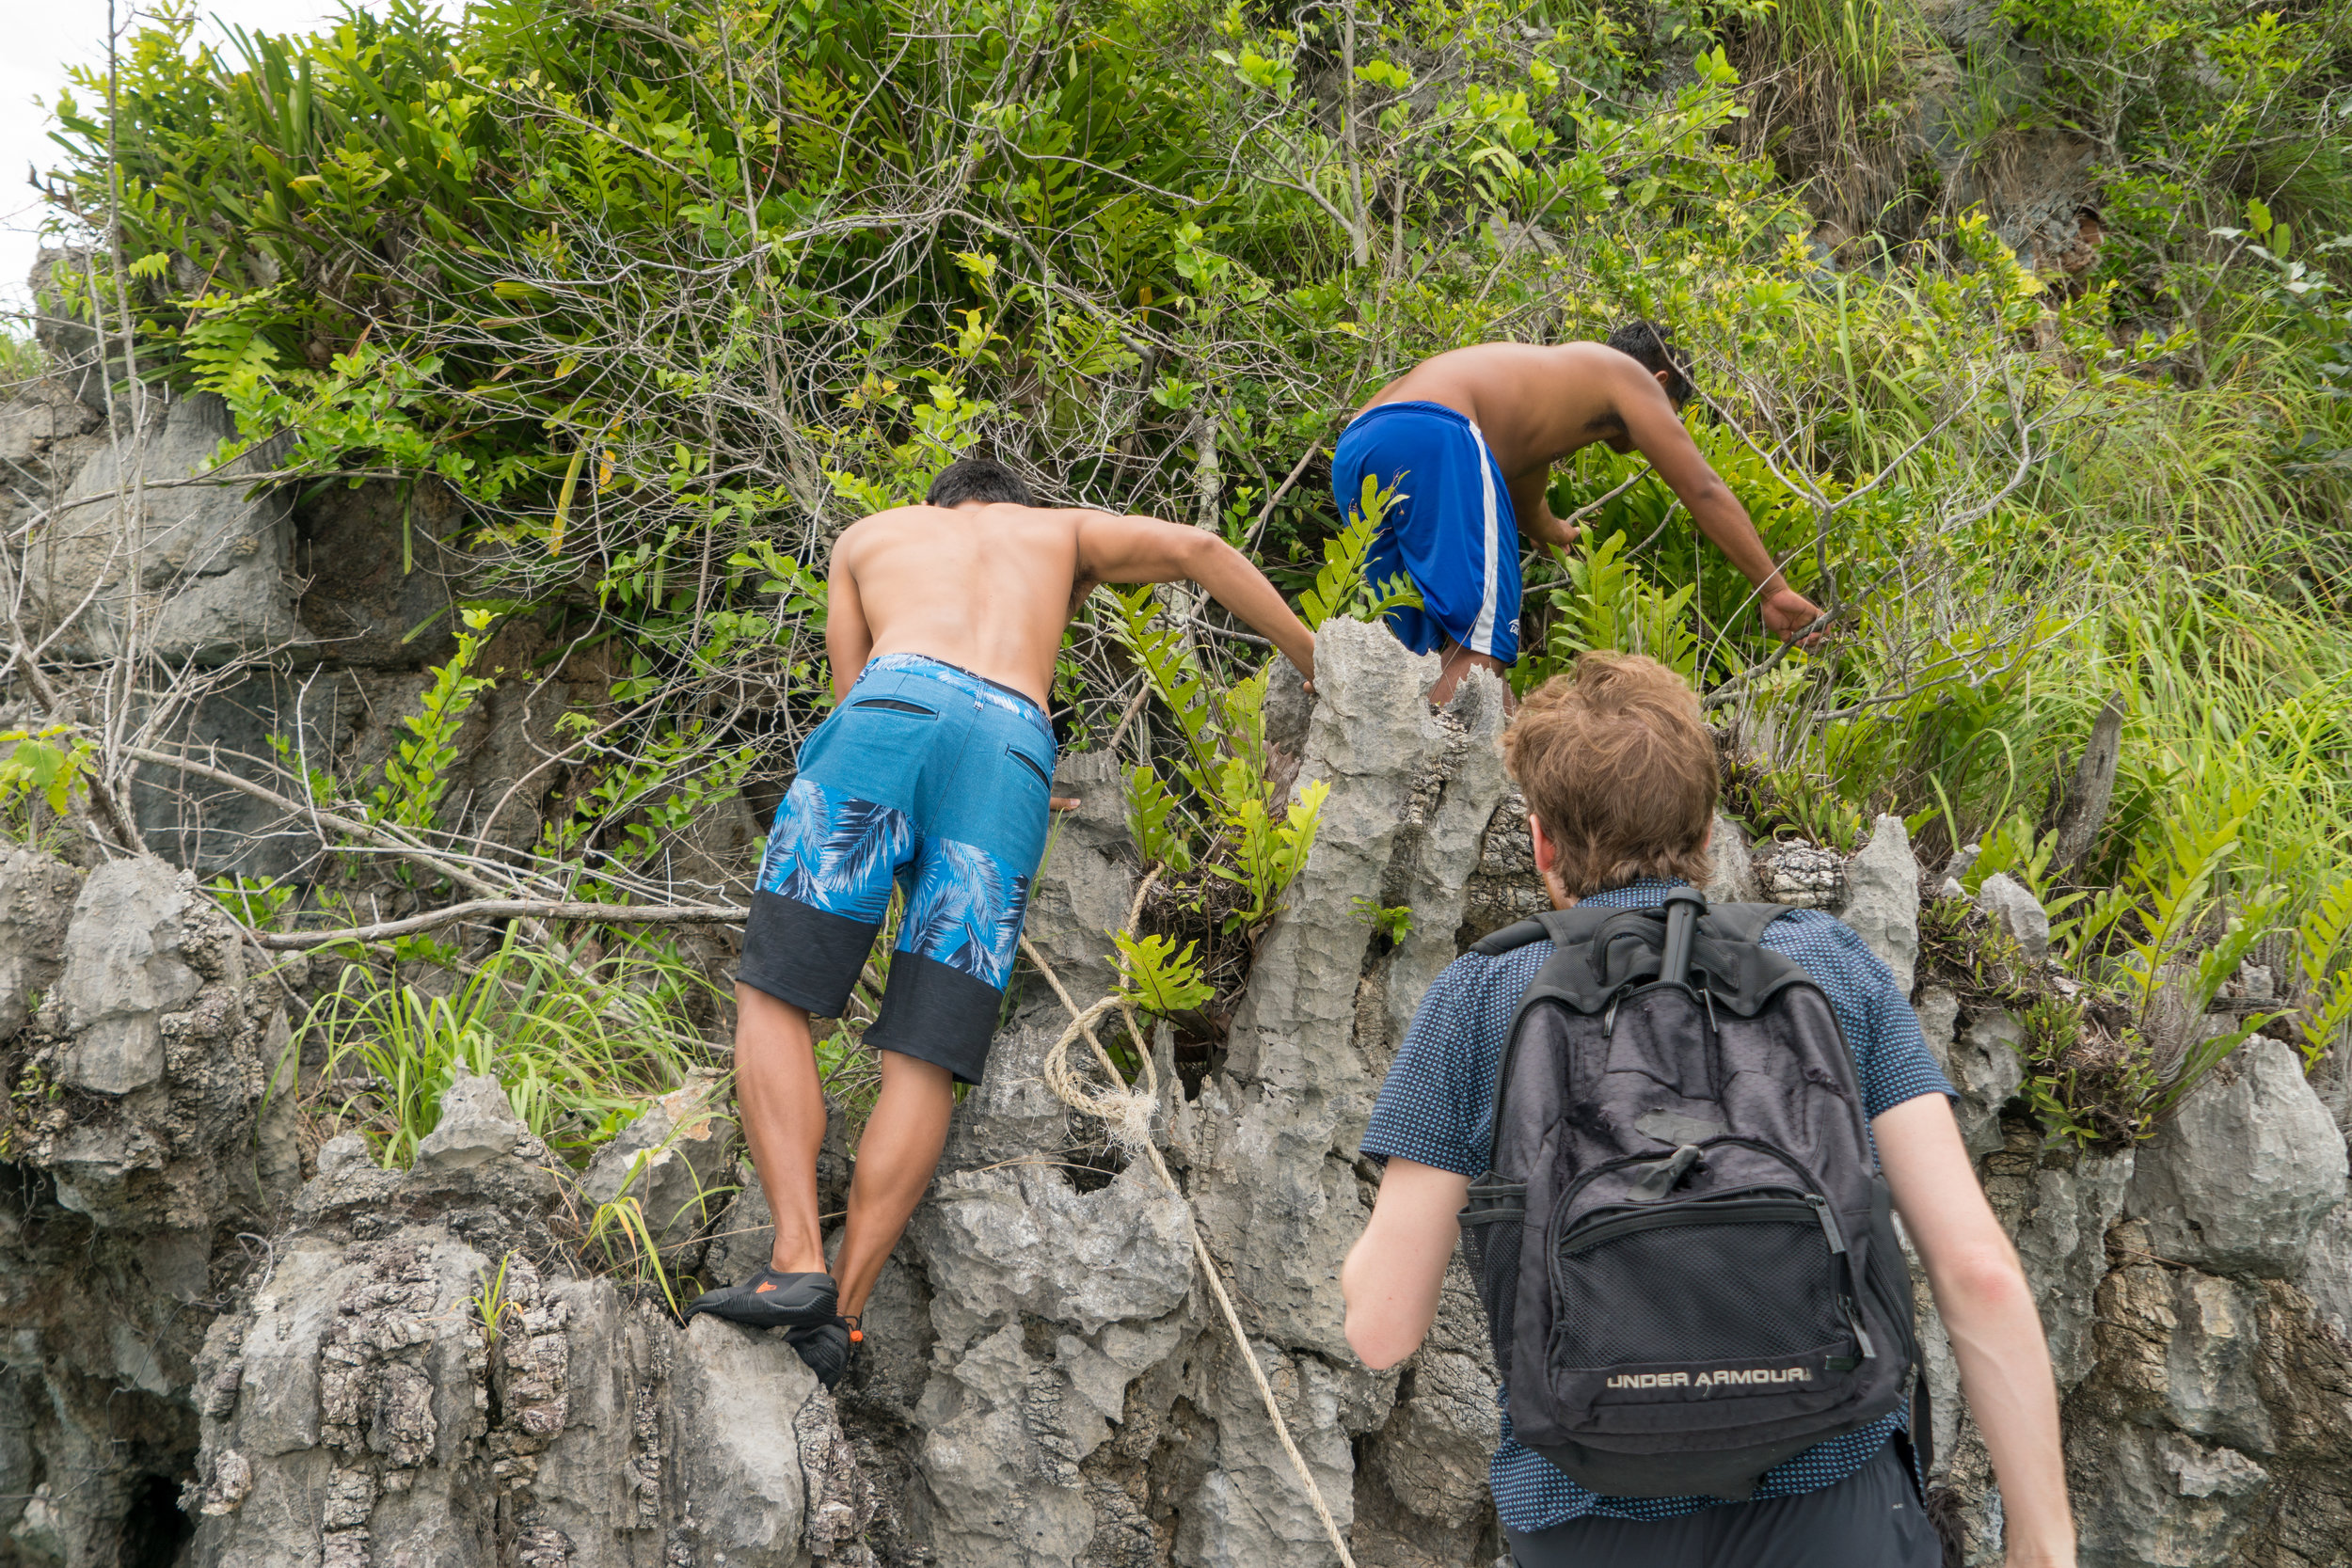
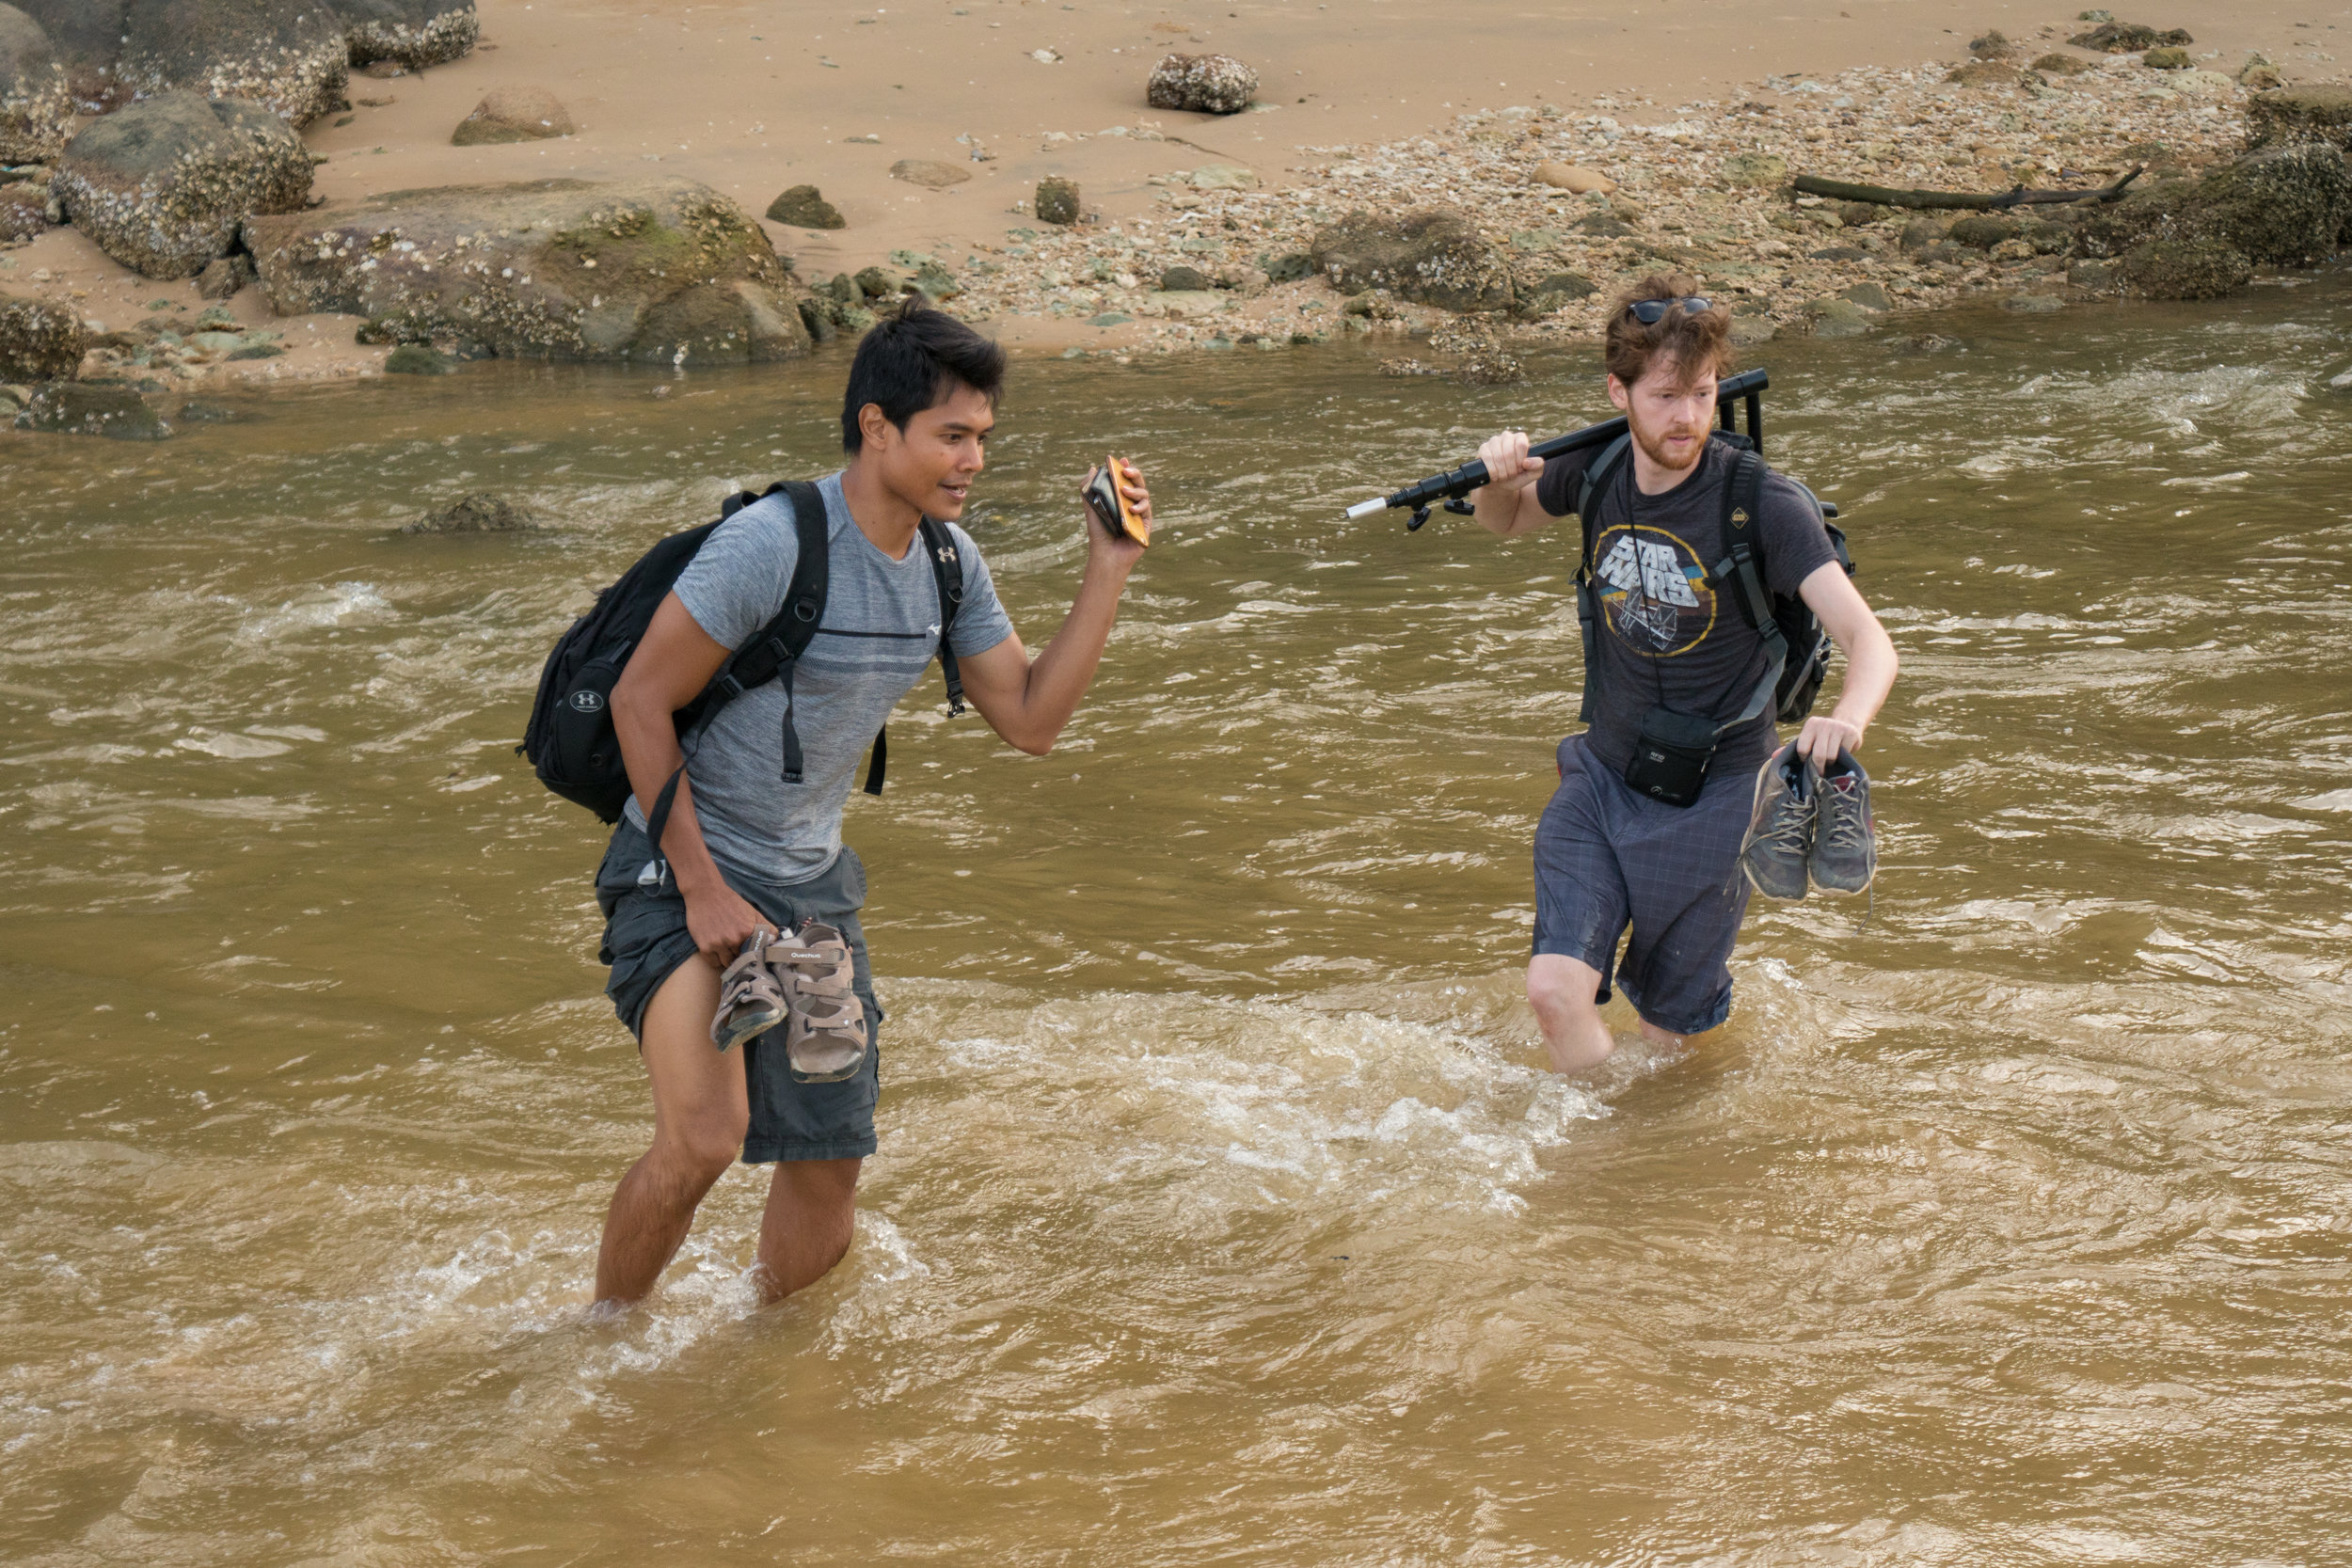
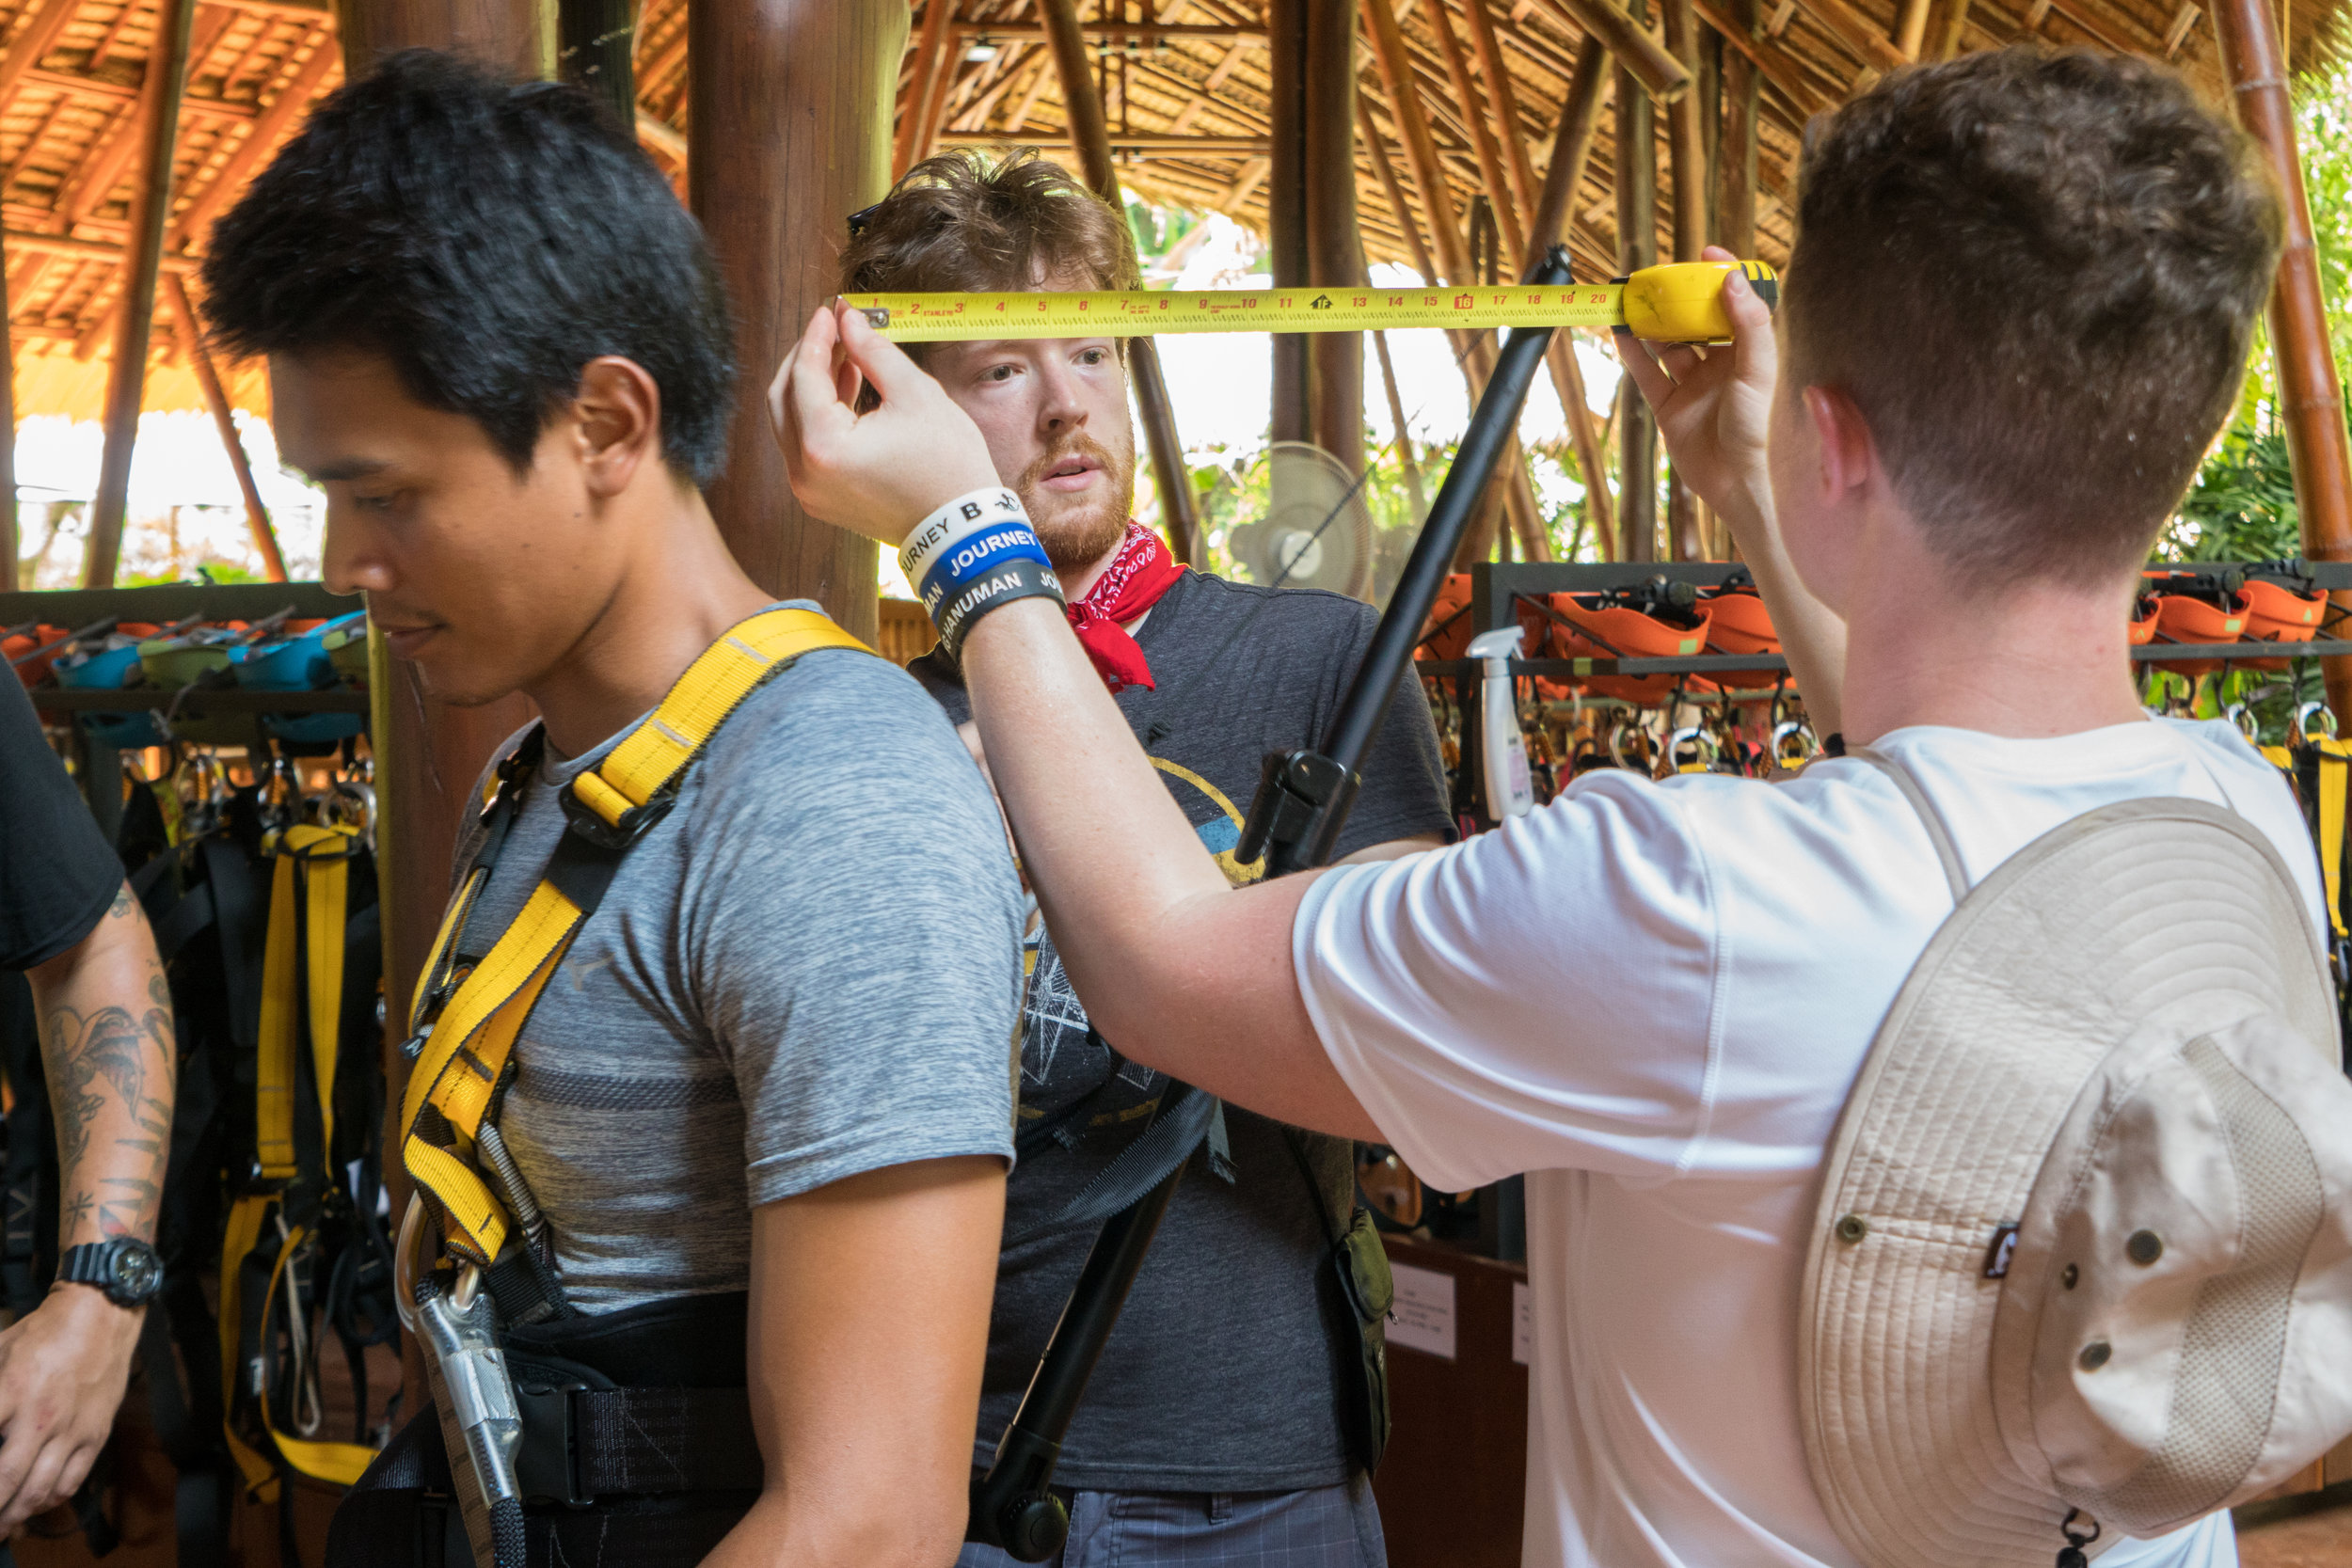
After weeks of preparation and testing we finally set out on our 10 day journey to capture the beauty of Thailand in VR. The trip was a whirlwind of places and adventures. These were some of the highlights.
Bangkok


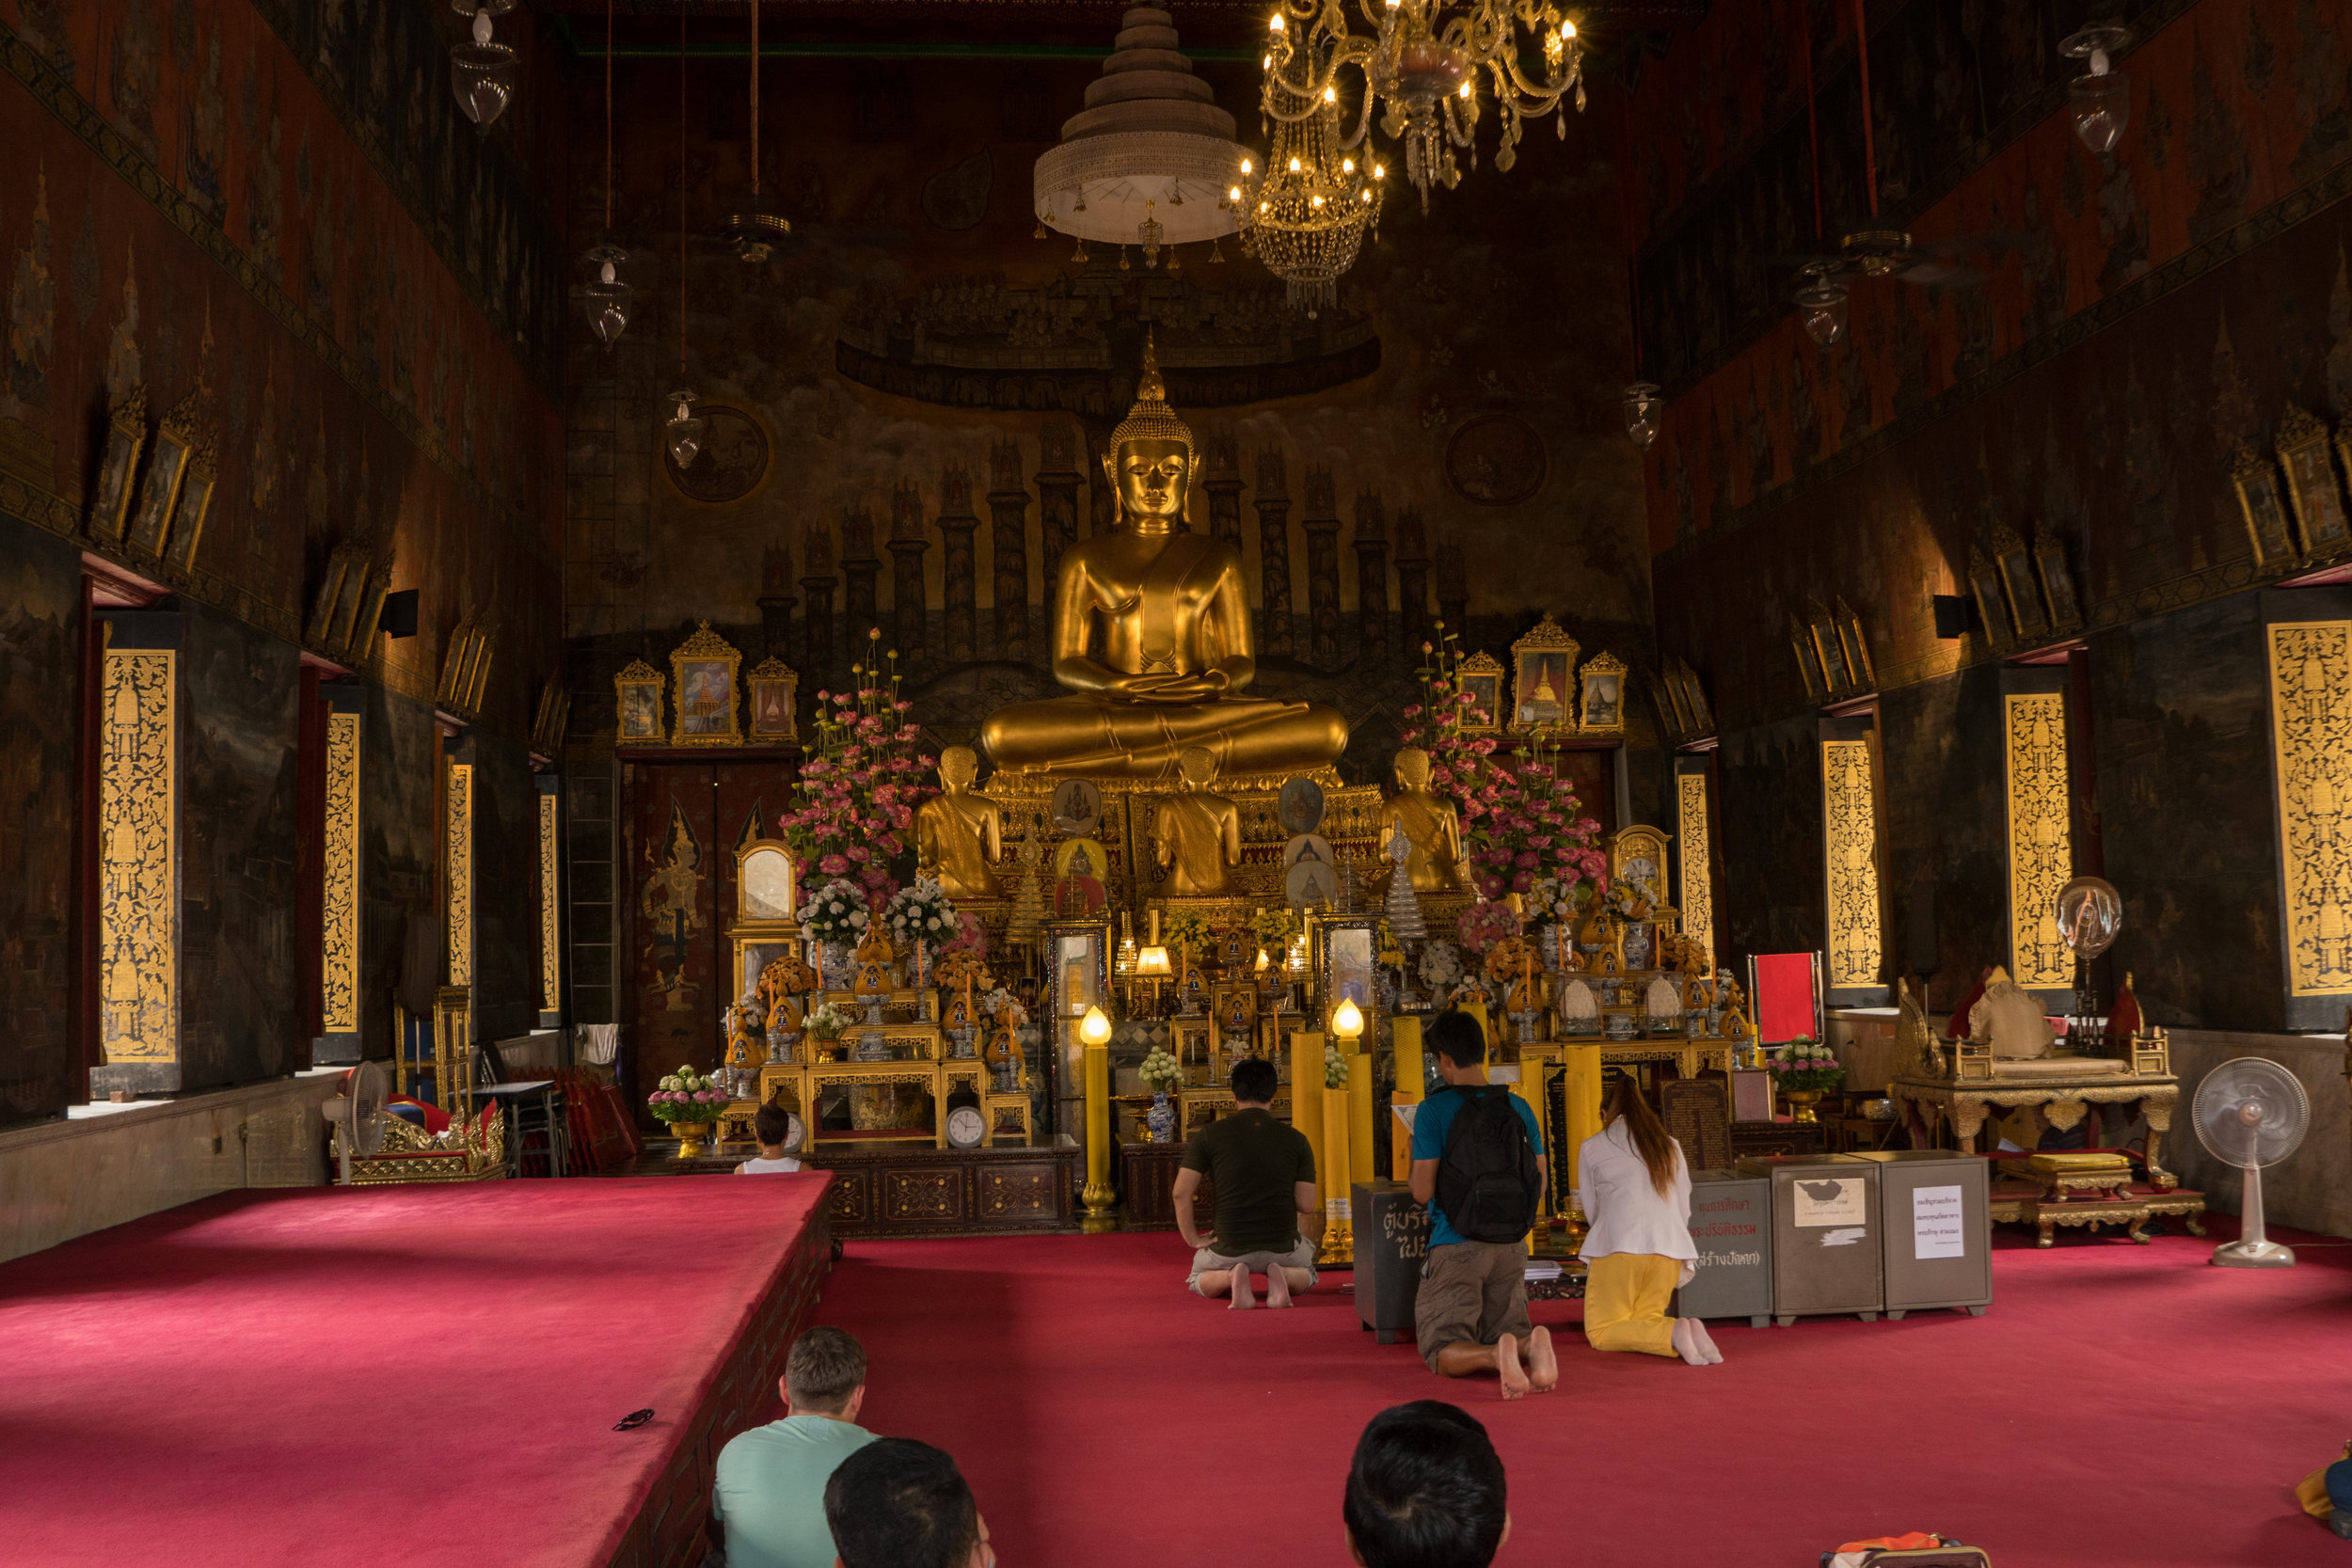

The first leg of our shoot took place in and around the city of Bangkok. Bangkok is a massive and incredibly diverse city bursting with energy. While we were there we shot in a bustling marketplace in the center of the city, inside of a Tuk Tuk outside the Thai Royal Palace, on a longtail boat traveling down the Chao Phrayan river, and inside the gorgeous Wat Rakang temple.
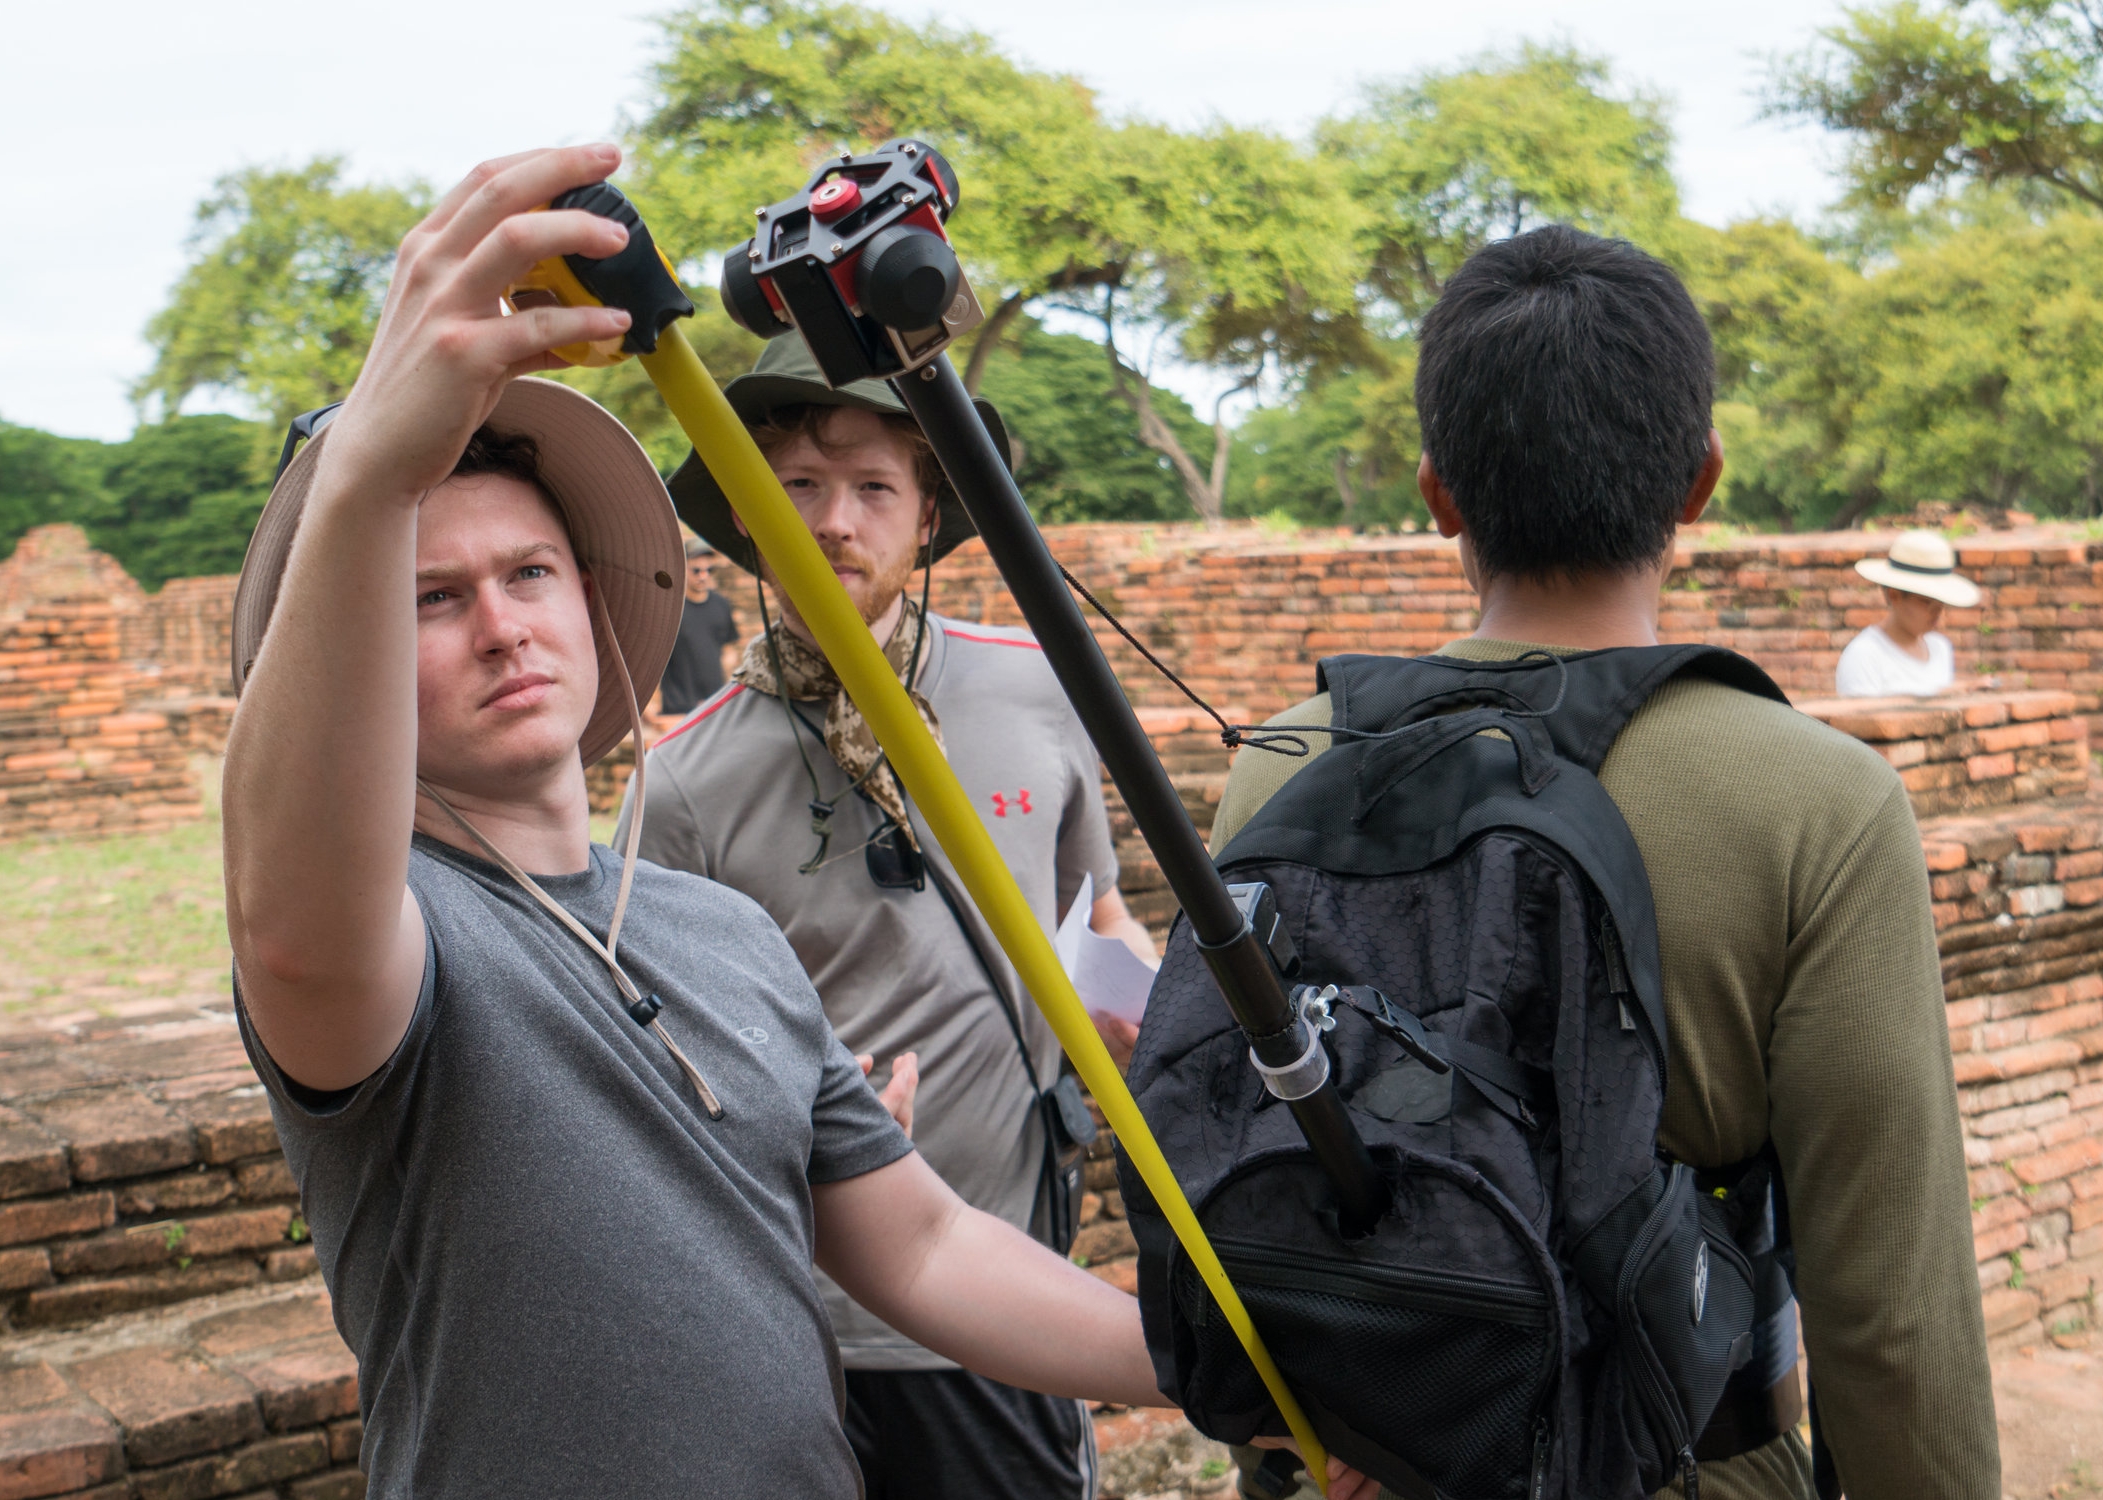
Ayutthaya


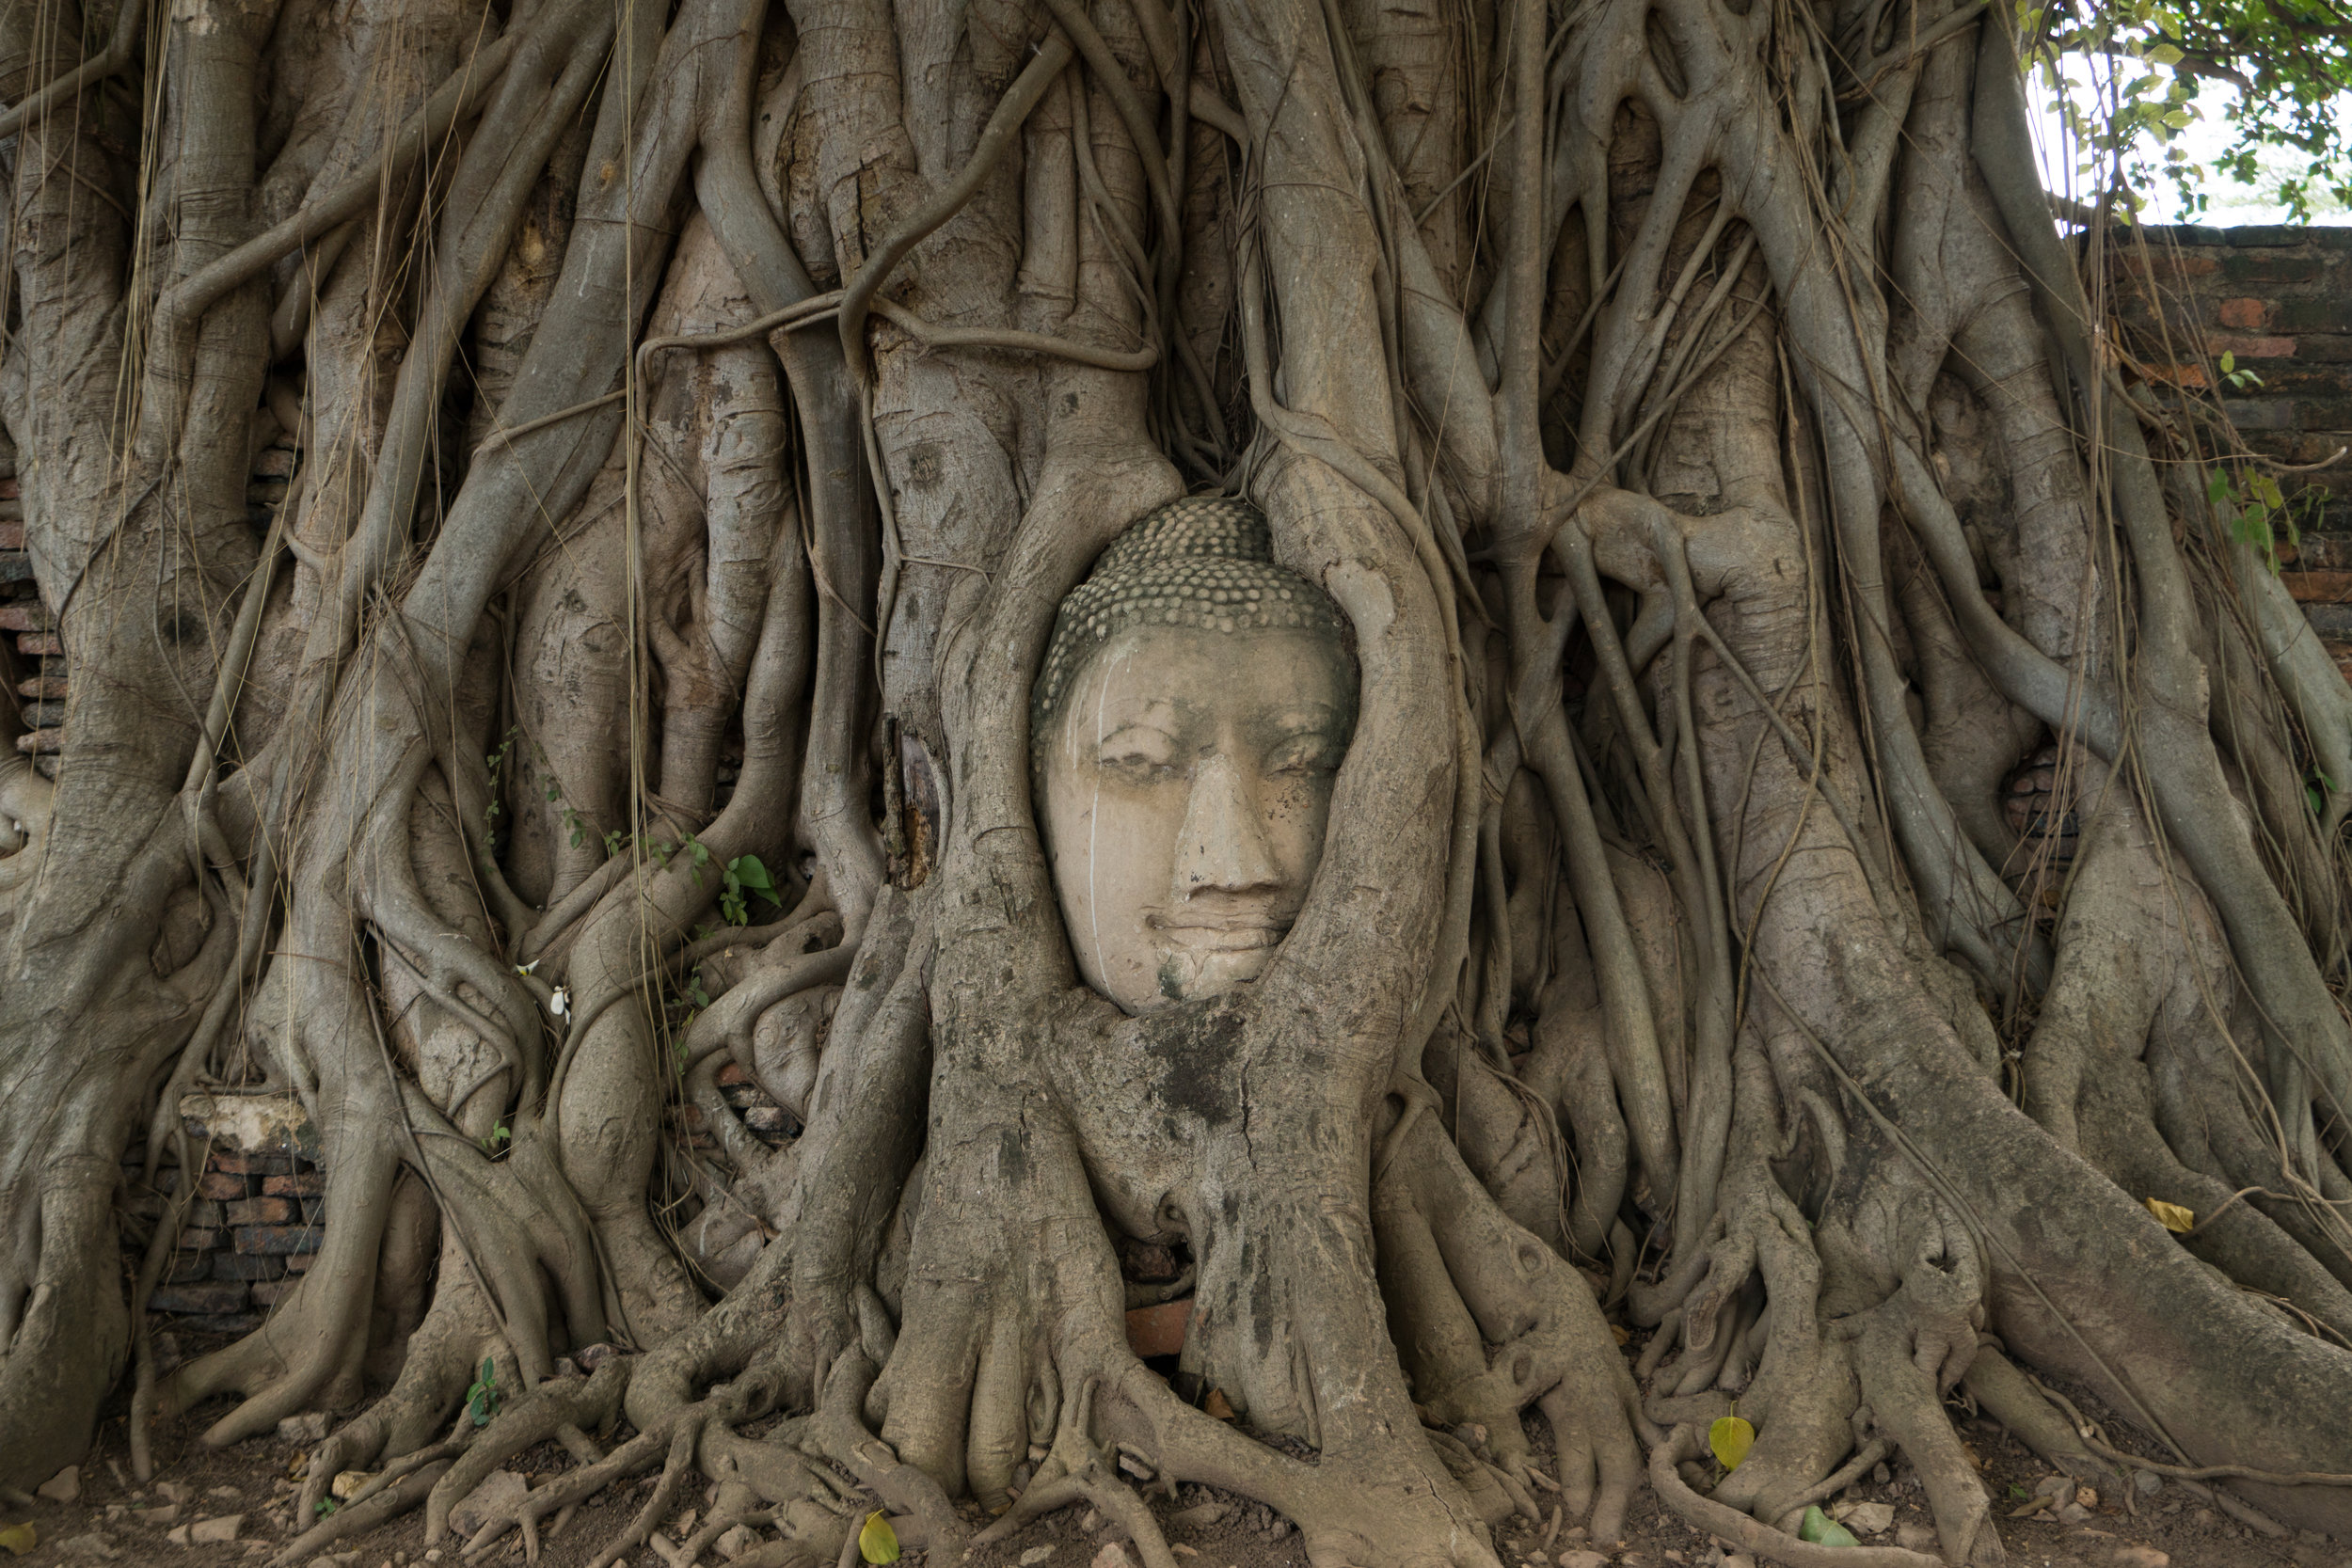
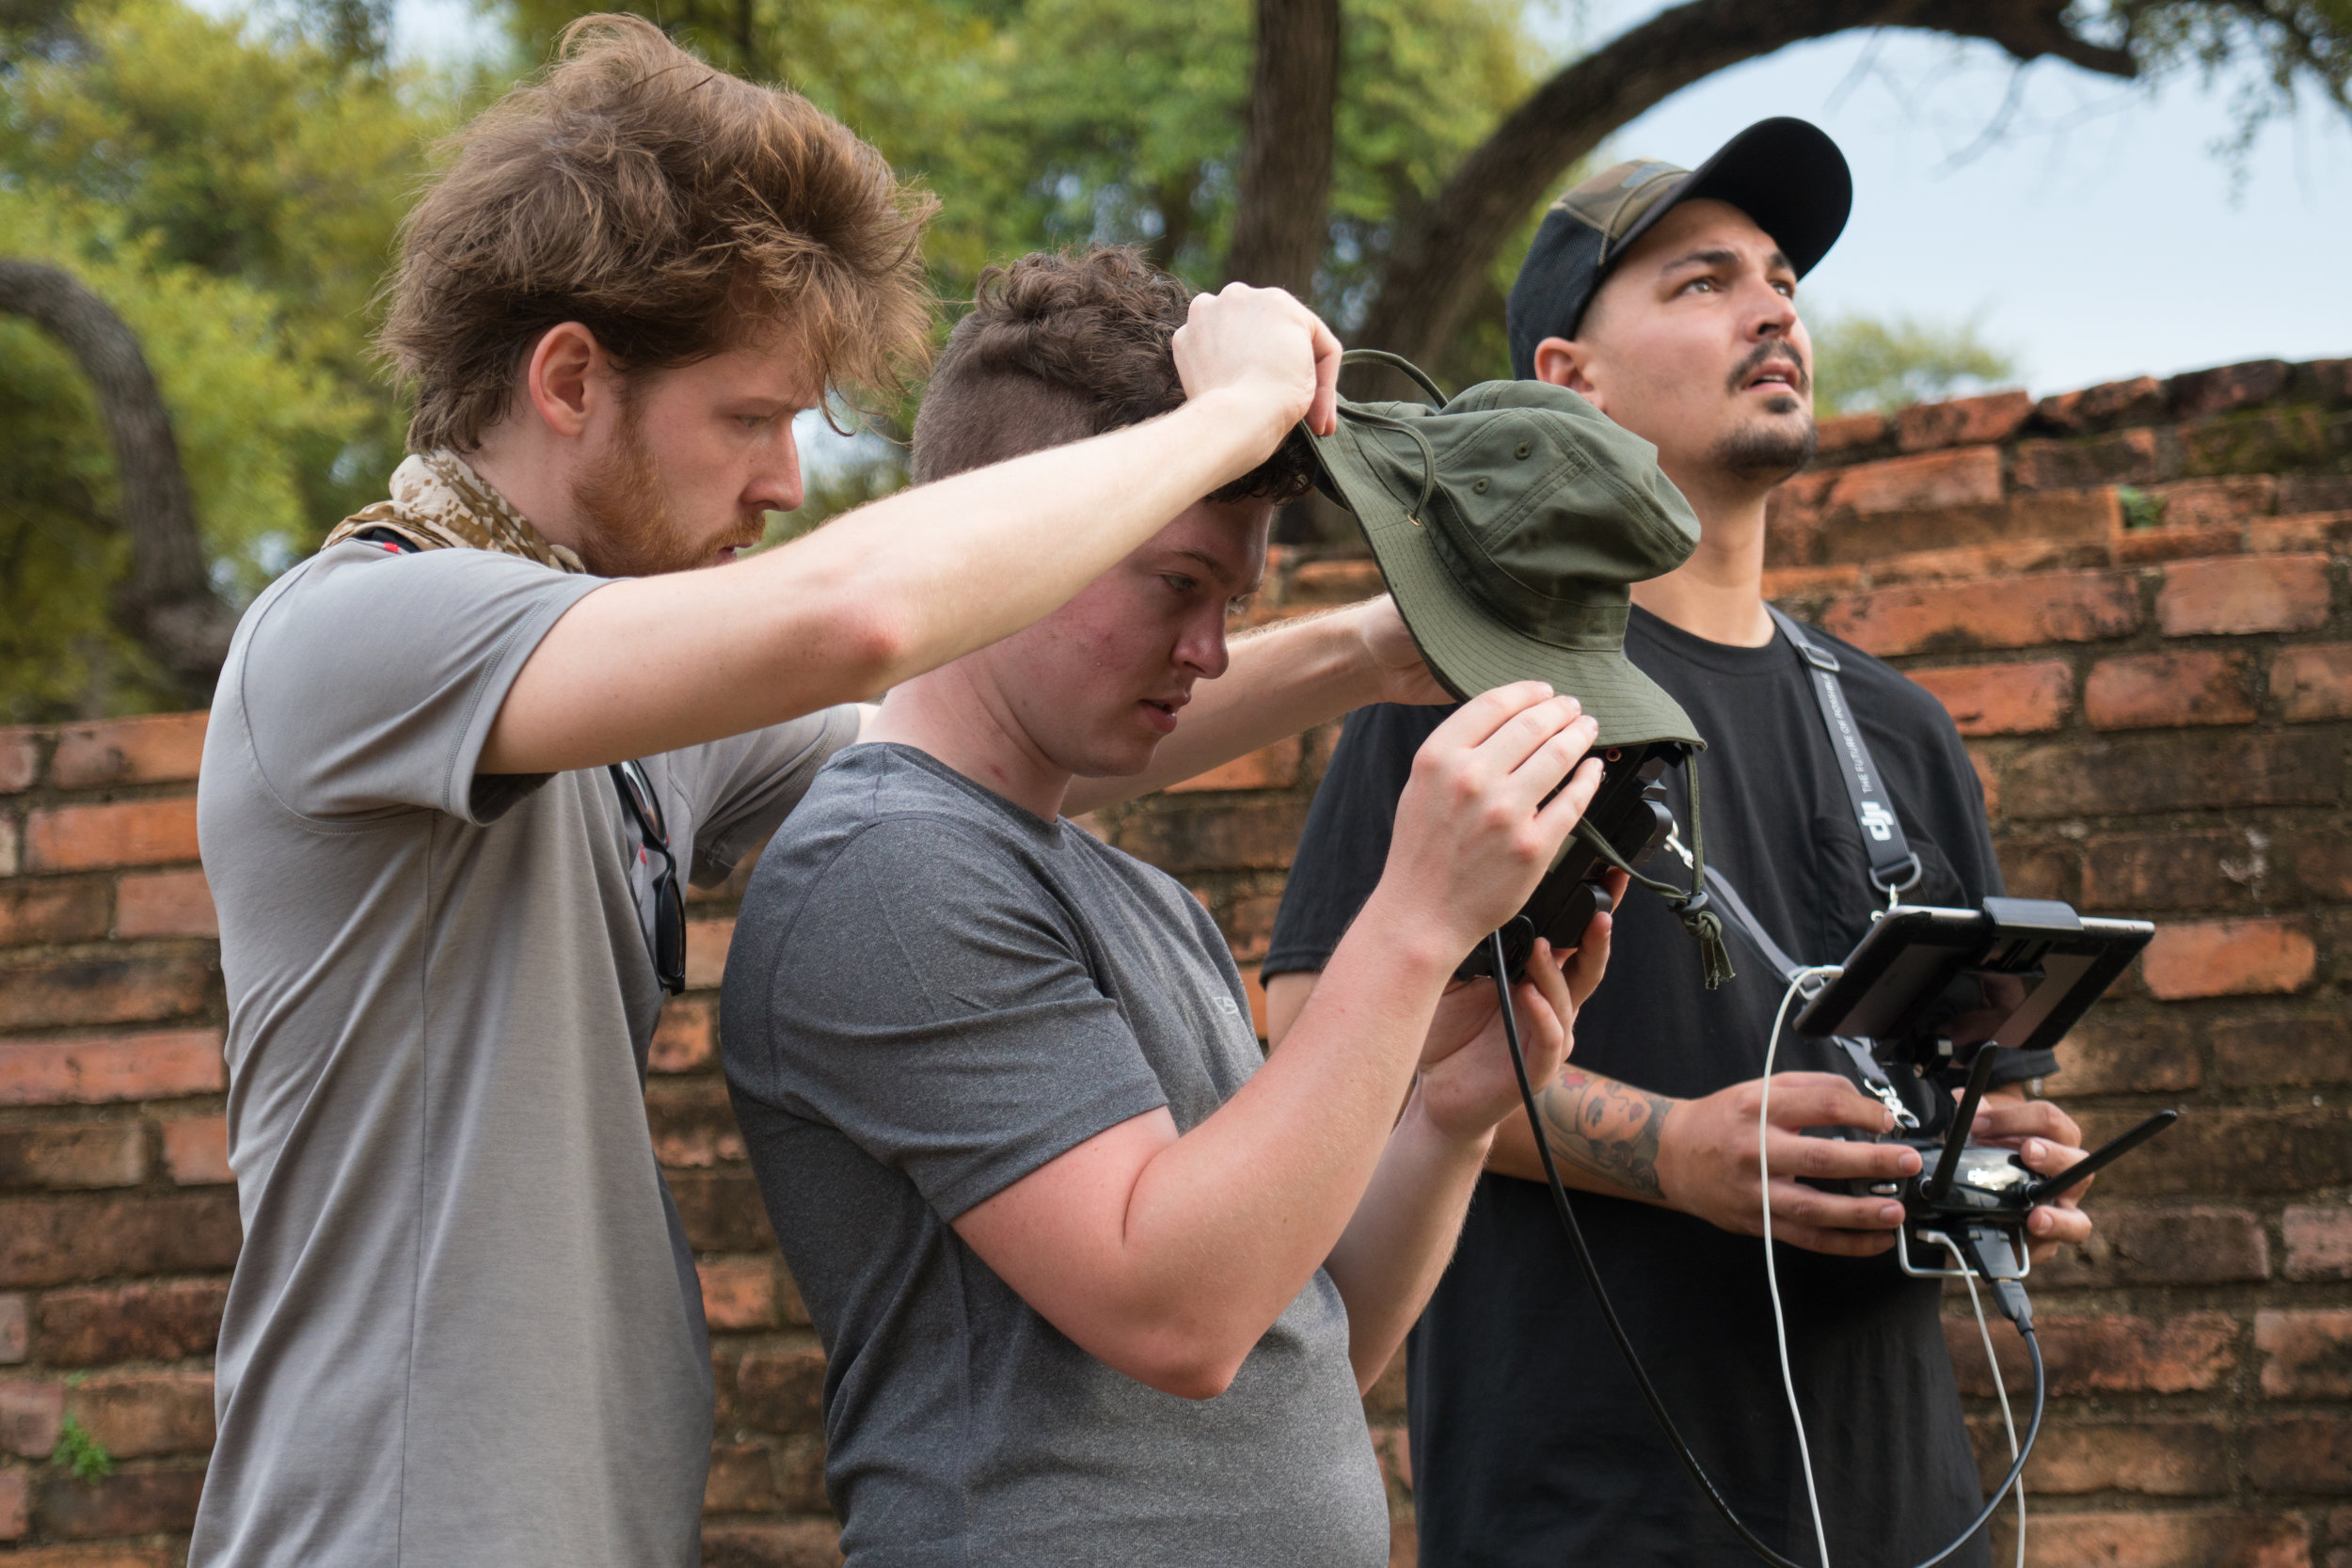
While staying in Bangkok we took a roadtrip up north to explore the ruins of Ayutthaya. Founded in 1350, Ayutthaya was the capital city of Siam and one of the world's largest and most impressive cities until it was sacked and burned to the ground by the Burmese army in 1767. It was never rebuilt and the ruins of the city now stand as an artifact of the Thai history. We shot at a number of different locations throughout Ayutthaya. One of the most memorable was the iconic Buddha head entwined in tree roots. The head was broken off of a statue during the Burmese destruction of the city and landed in the roots of a young tree. Over the next 250 years the roots of the tree grew around the head of the statue creating one of Thailand's most memorable and poignant images. Shooting this head in VR proved to be quite a challenge as it is almost constantly surrounded by long lines of tourists excited to take a photo in front of the famous site. It ended up taking us almost an hour of waiting and the help of one of the park rangers to manage to clear the area enough to get the shot.
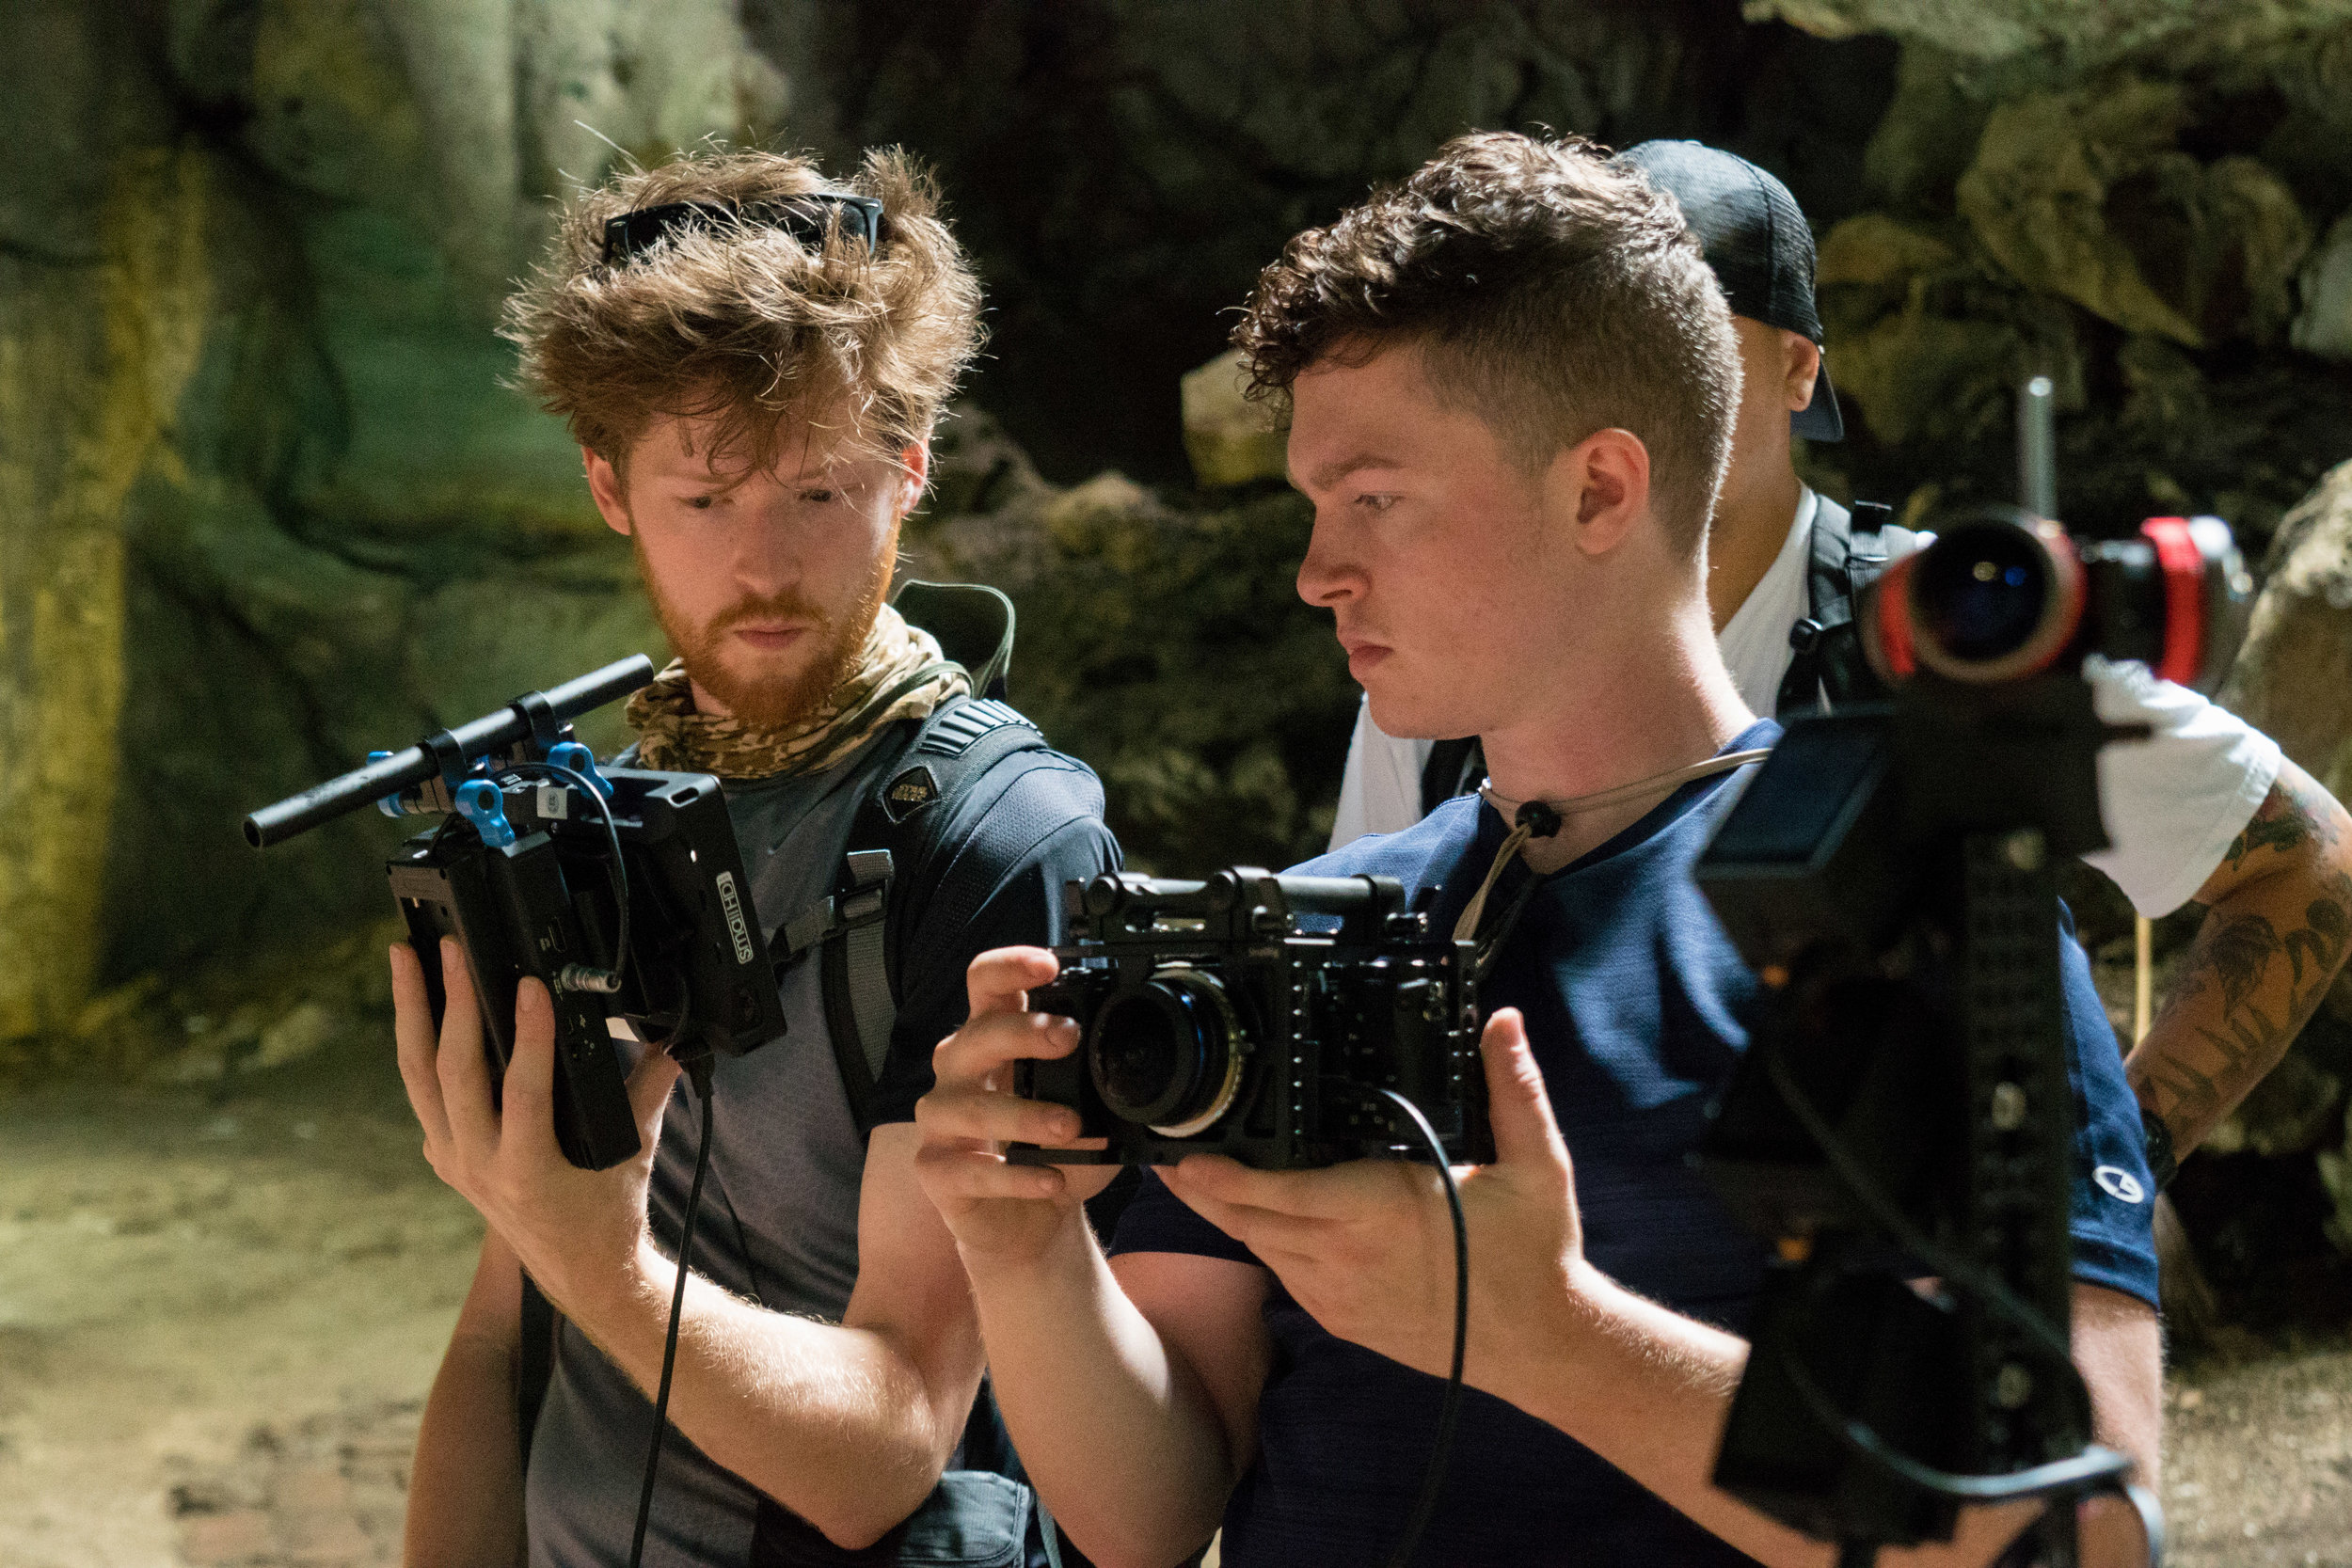
Khao Luang Cave


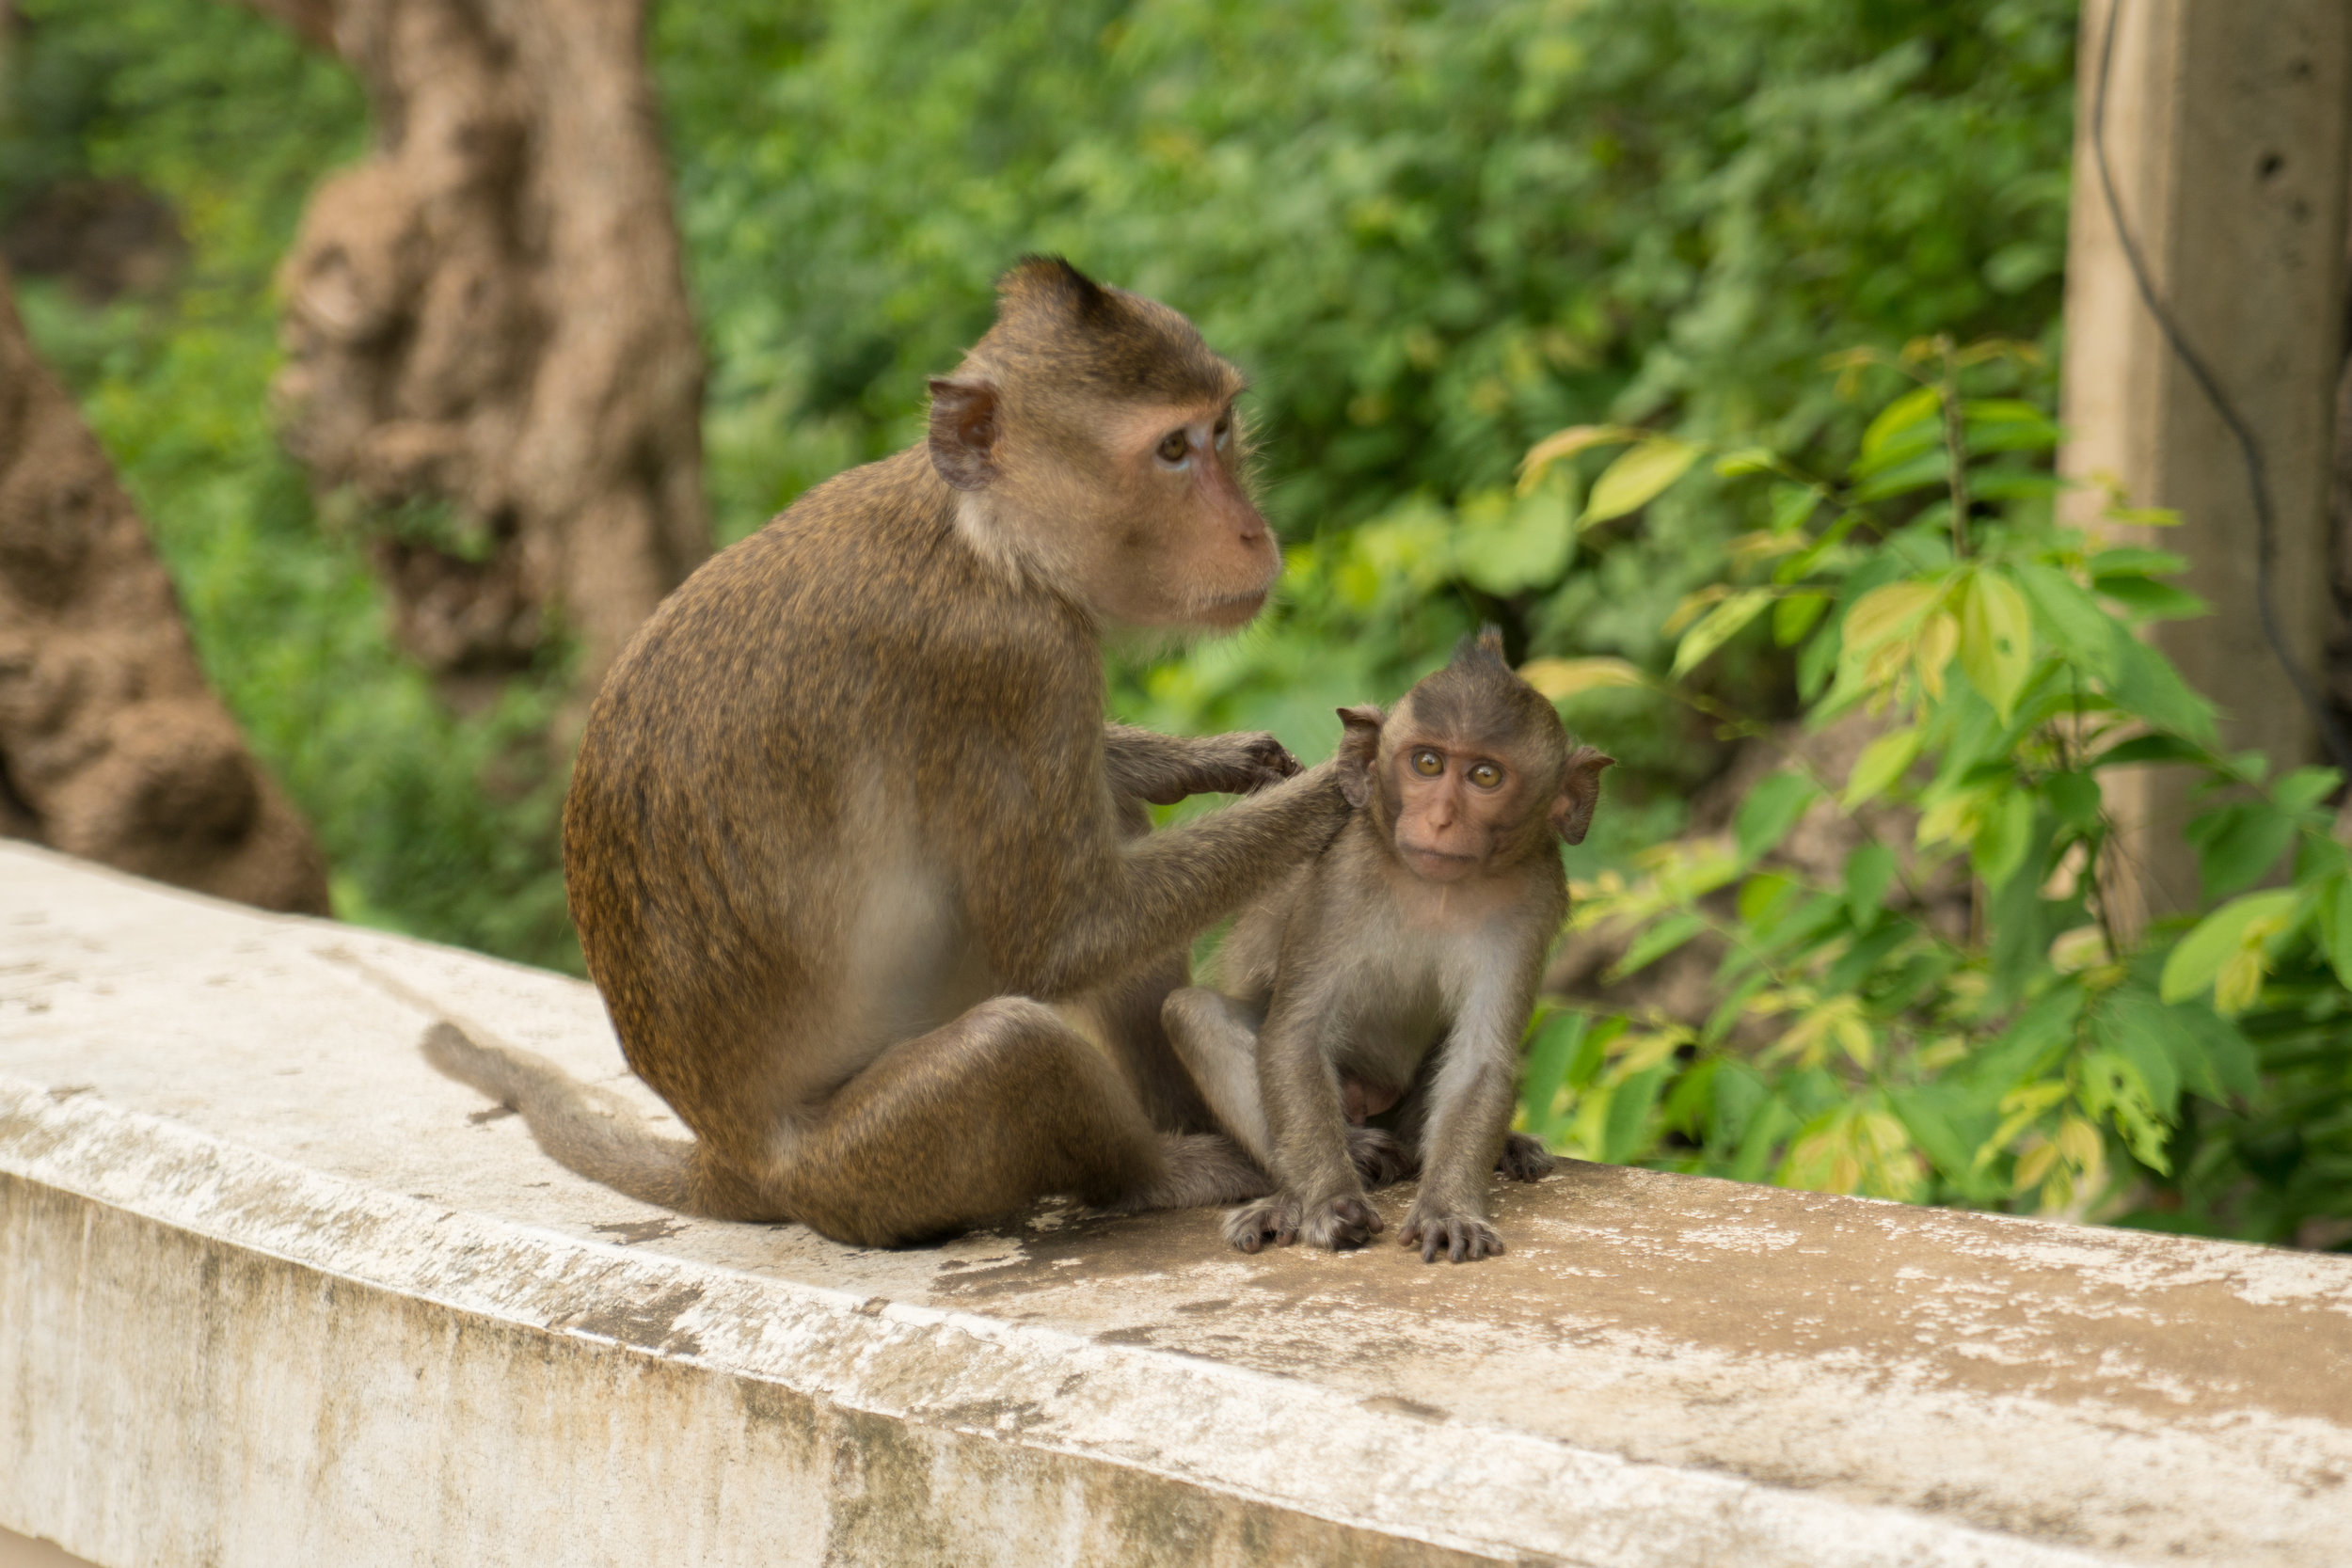
Our last adventure before leaving Bangkok took us Southwest down Phetchaburi where we visited the incredible Khao Luang Cave. Upon arriving we were immediately surrounded by a gang of wild monkeys looking for a handout. After fending off the monkeys with some loud stomping and yelling, we unloaded our camera gear and made our way up the hill towards the entrance of the cave. At the top we found an old, non-descript stone gate which led to a massive, winding stone staircase that took us down into the heart of the cave. We felt like we stepped into an Indiana Jones film. It's difficult to put into words how beautiful Khao Luang Cave is from inside. The sunlight shoots down into the cave from openings in the top and it creates these spectacular shafts of light through the smoke from the incense burning around the shrines. It was truly one of the most spectacular places any of us had ever been.
Chiang Mai


After packing up from our hotel in Bangkok, our team then flew to Chiang Mai, the largest city in Thailand's lush, northern province. Chiang Mai is a much more rural part of Thailand with a very different pace and feel to it.
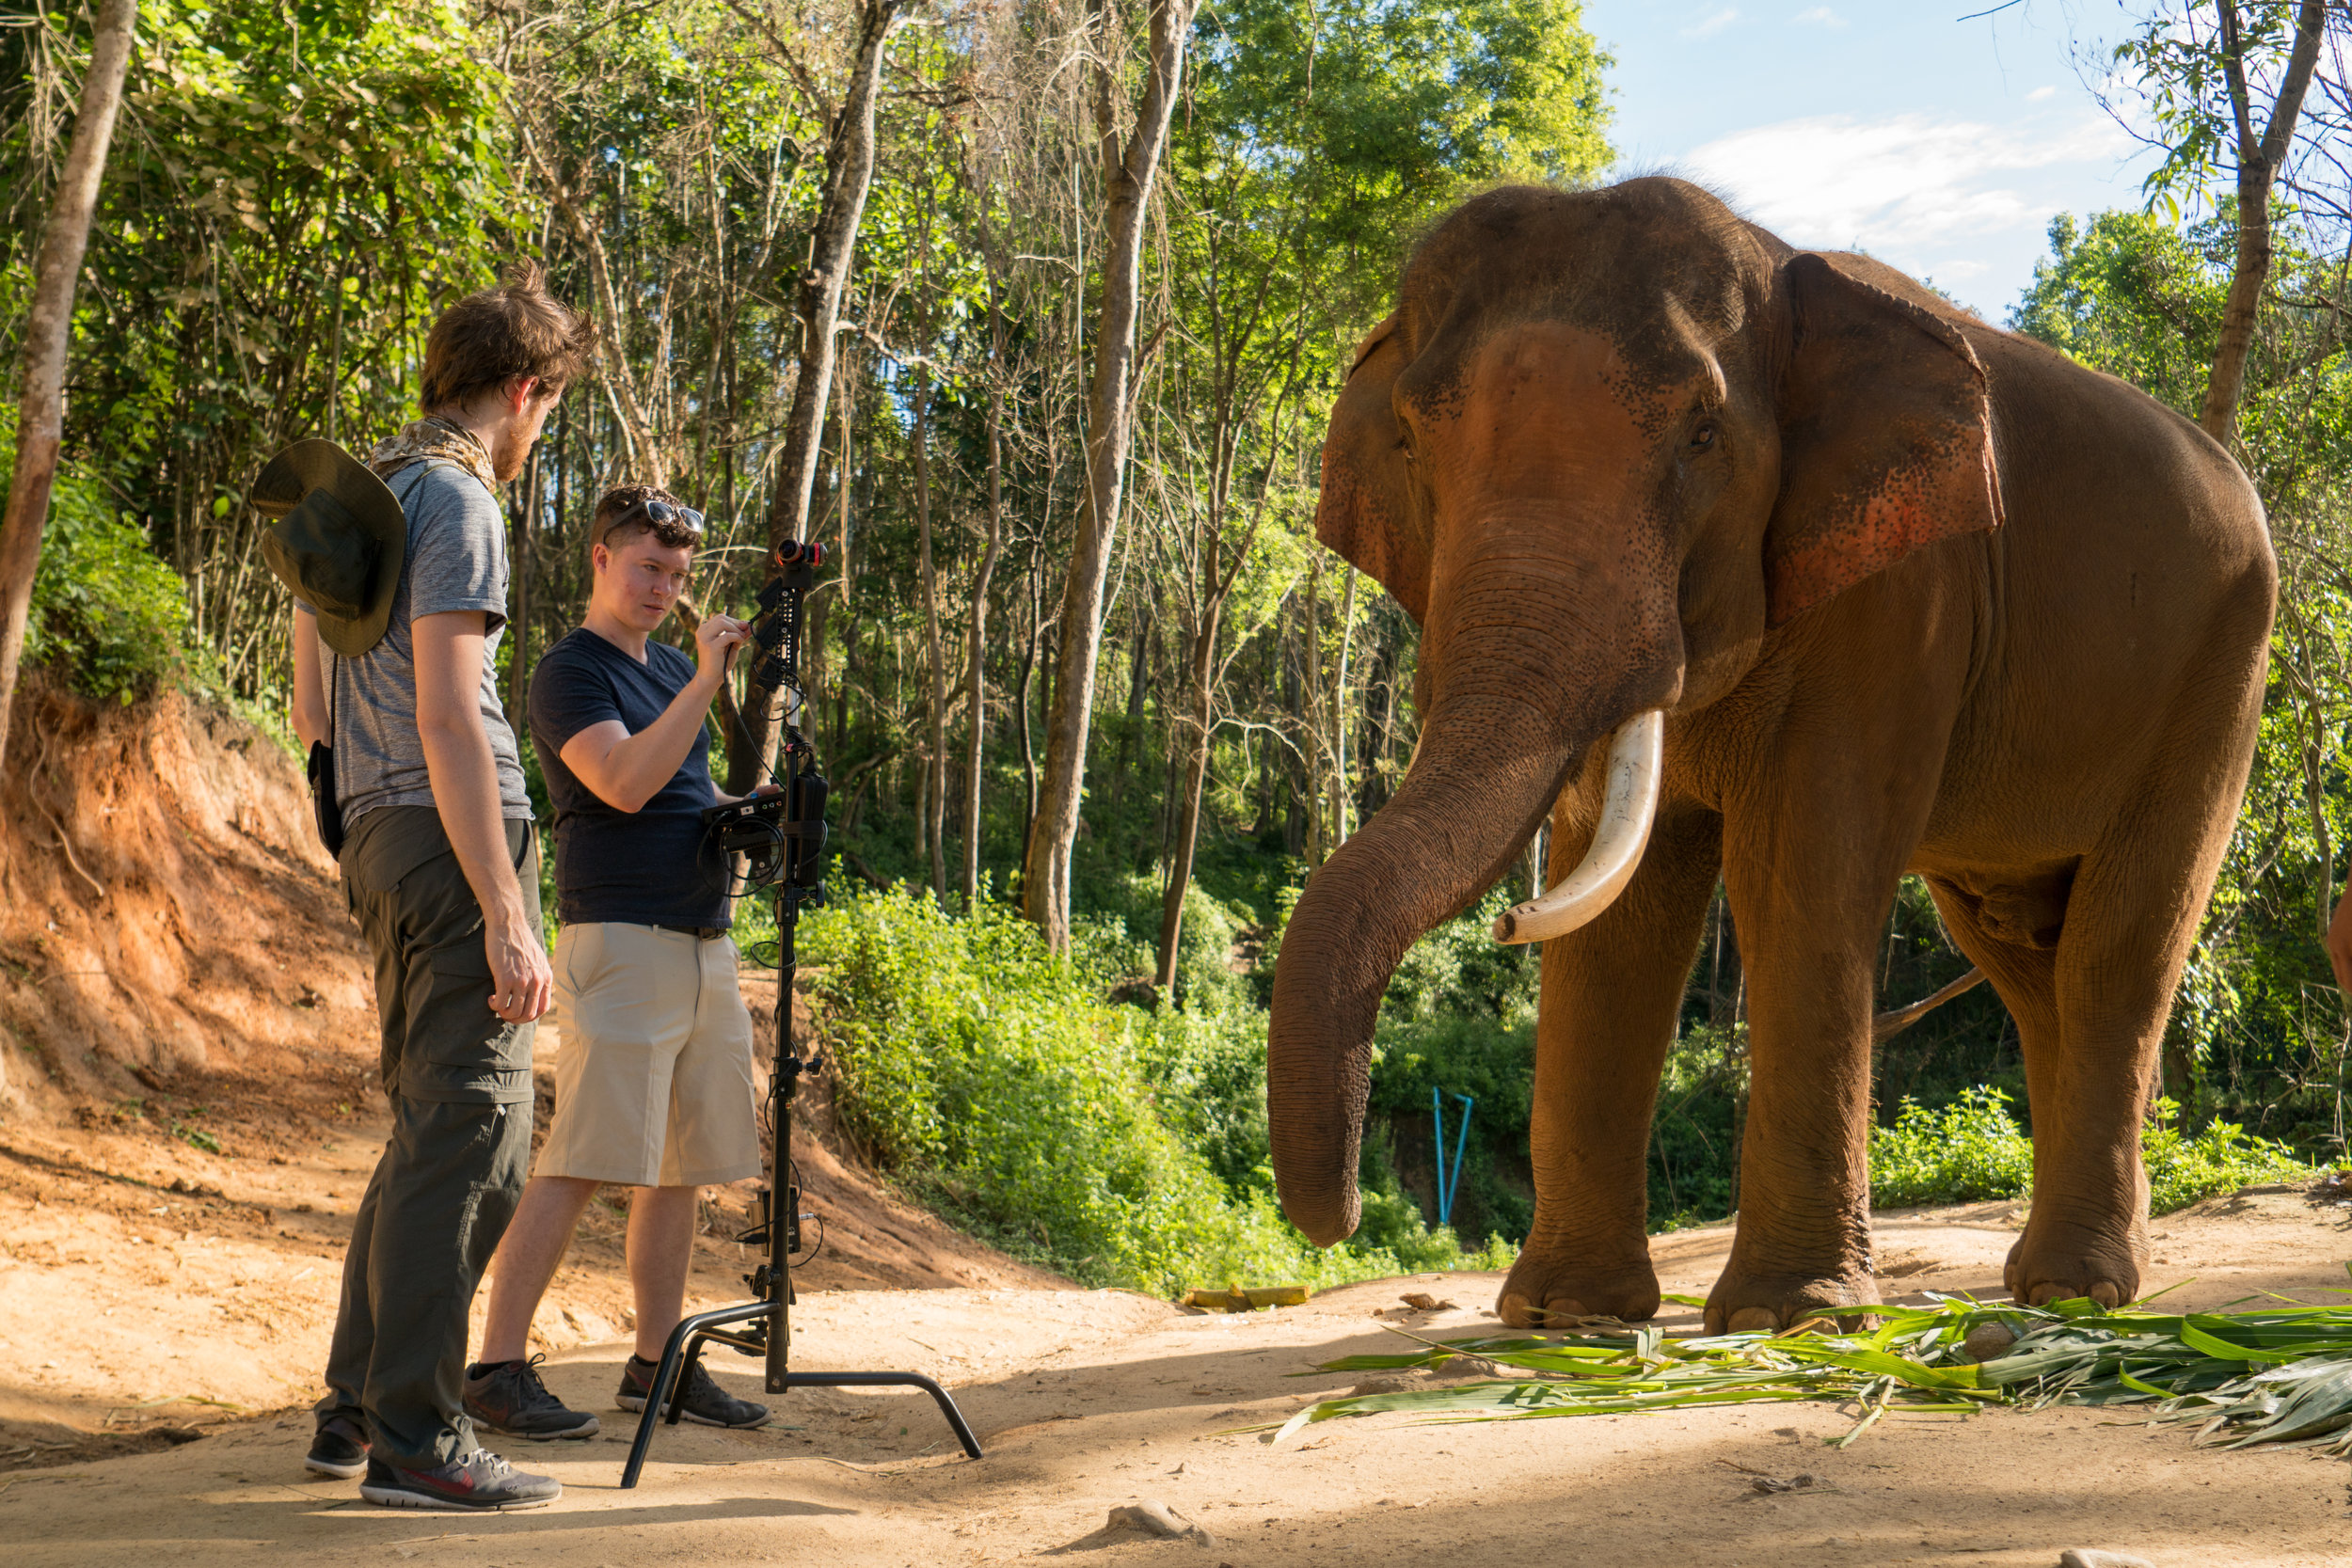
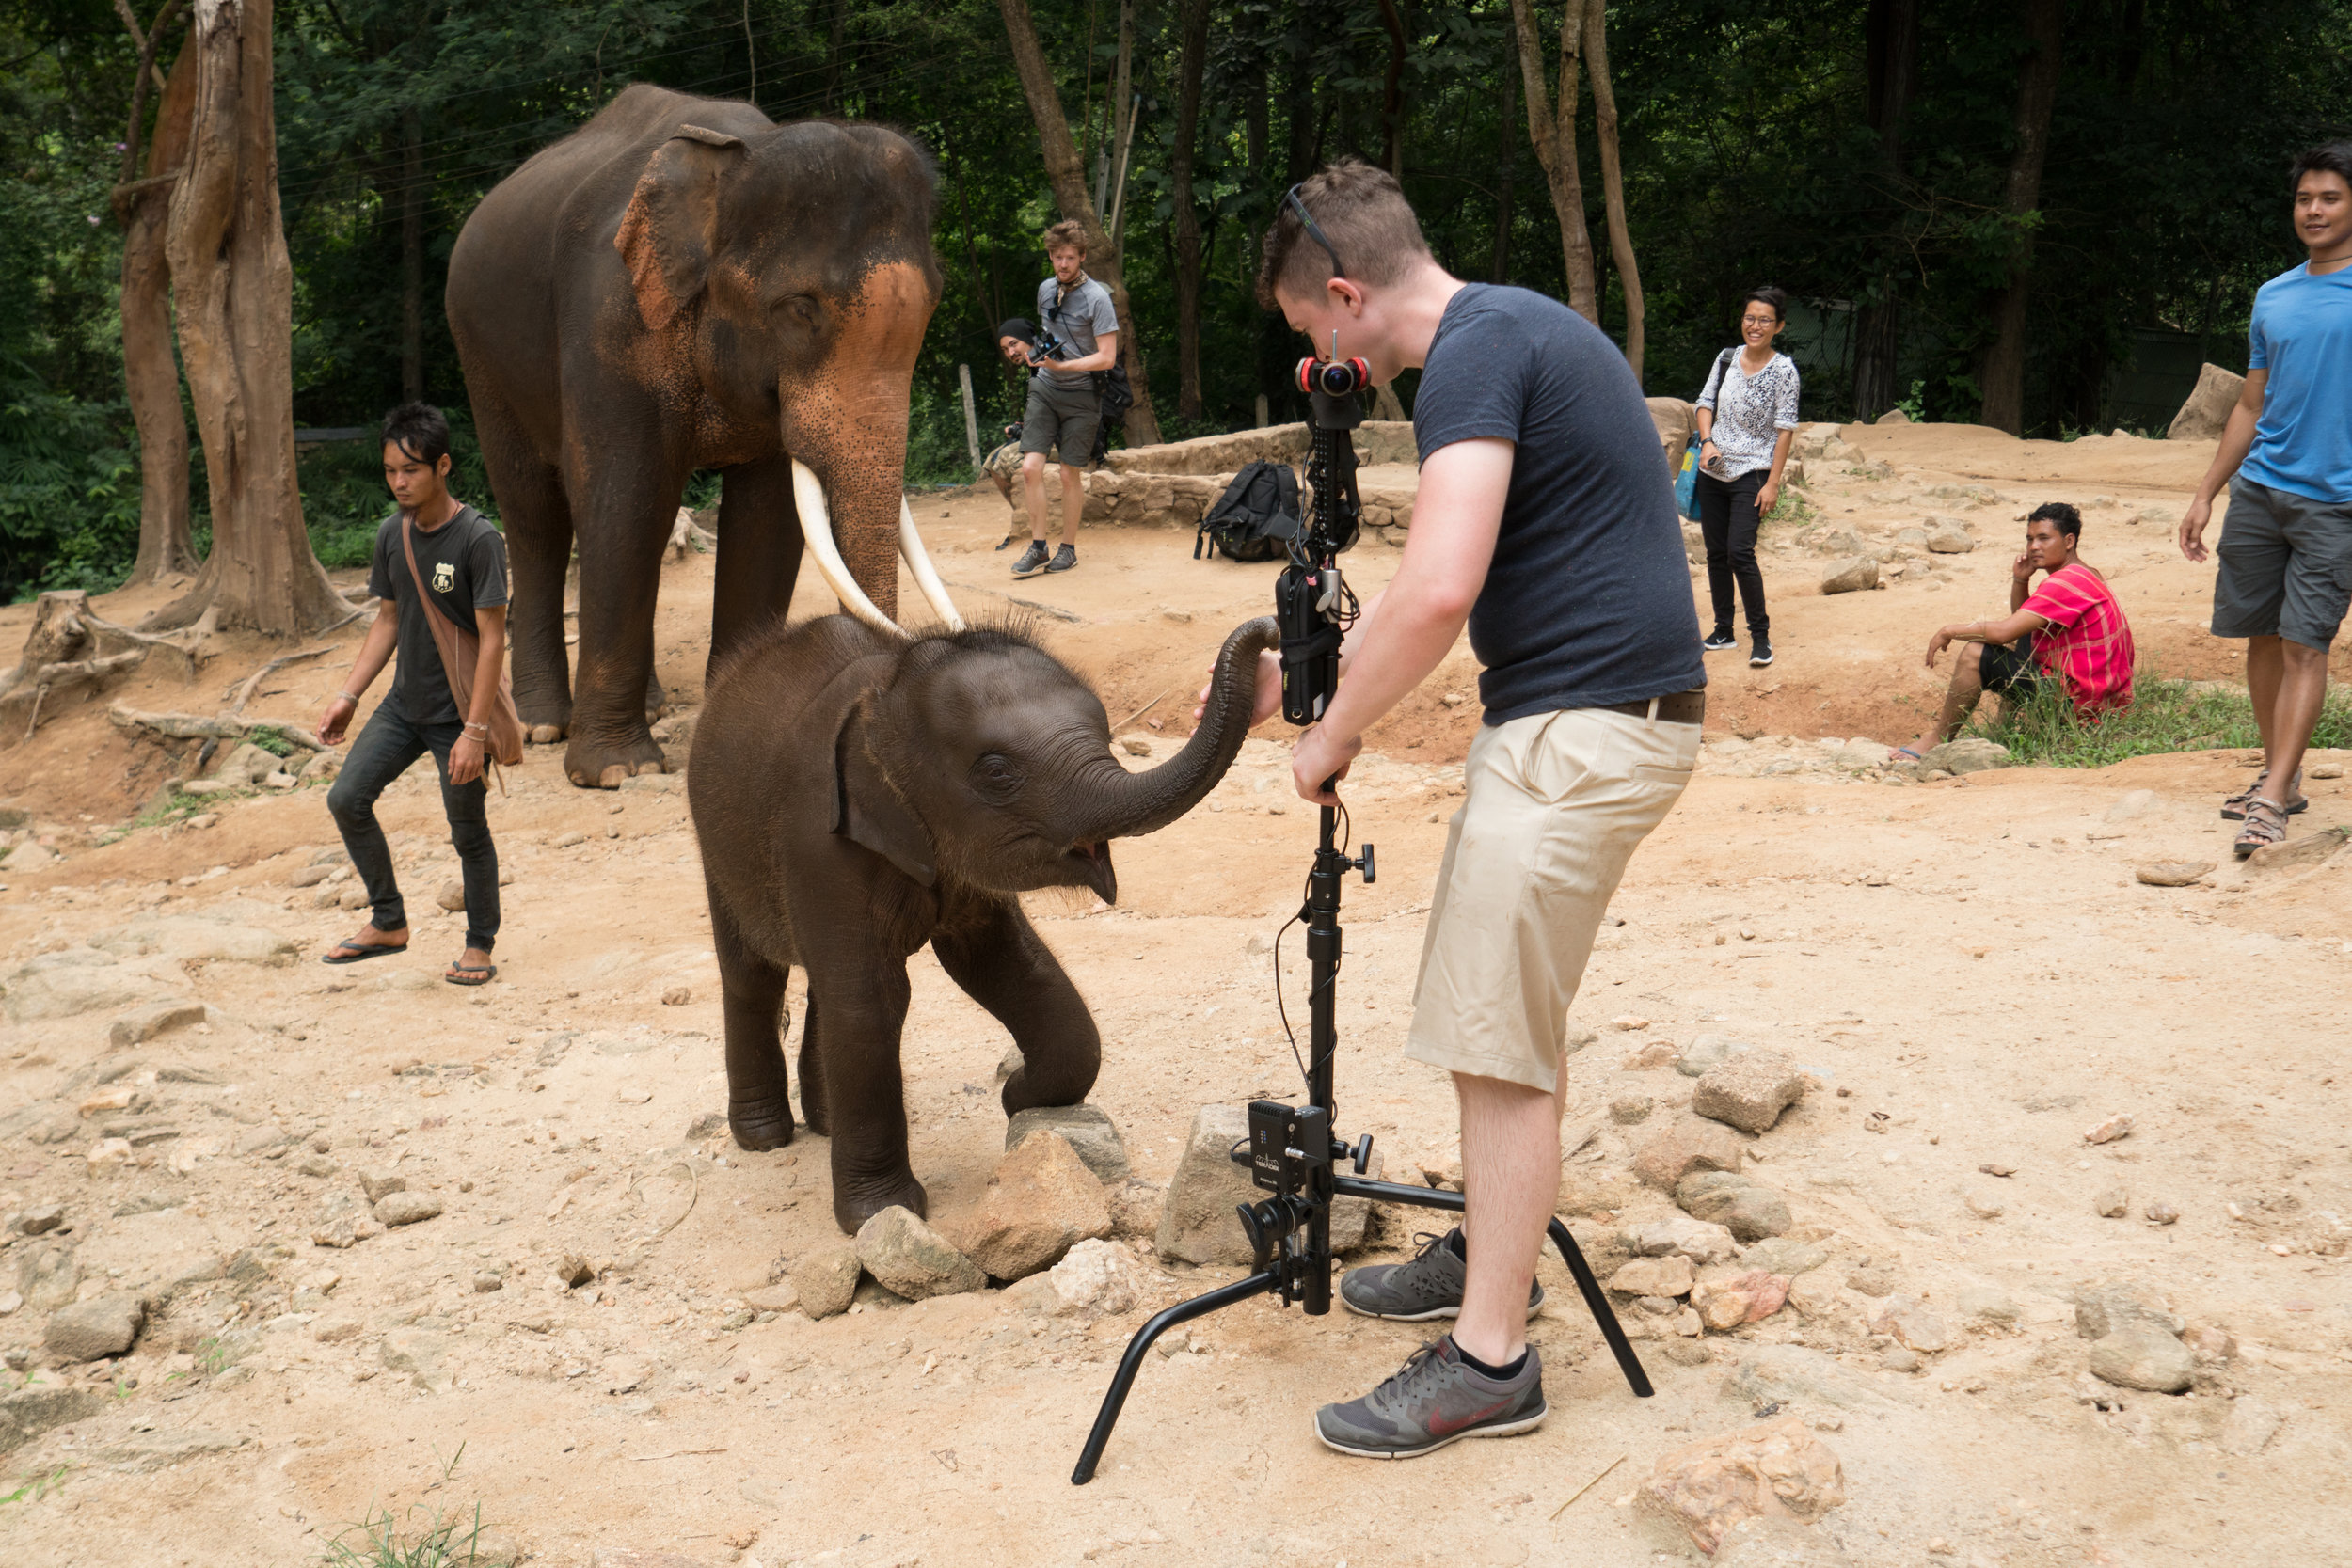
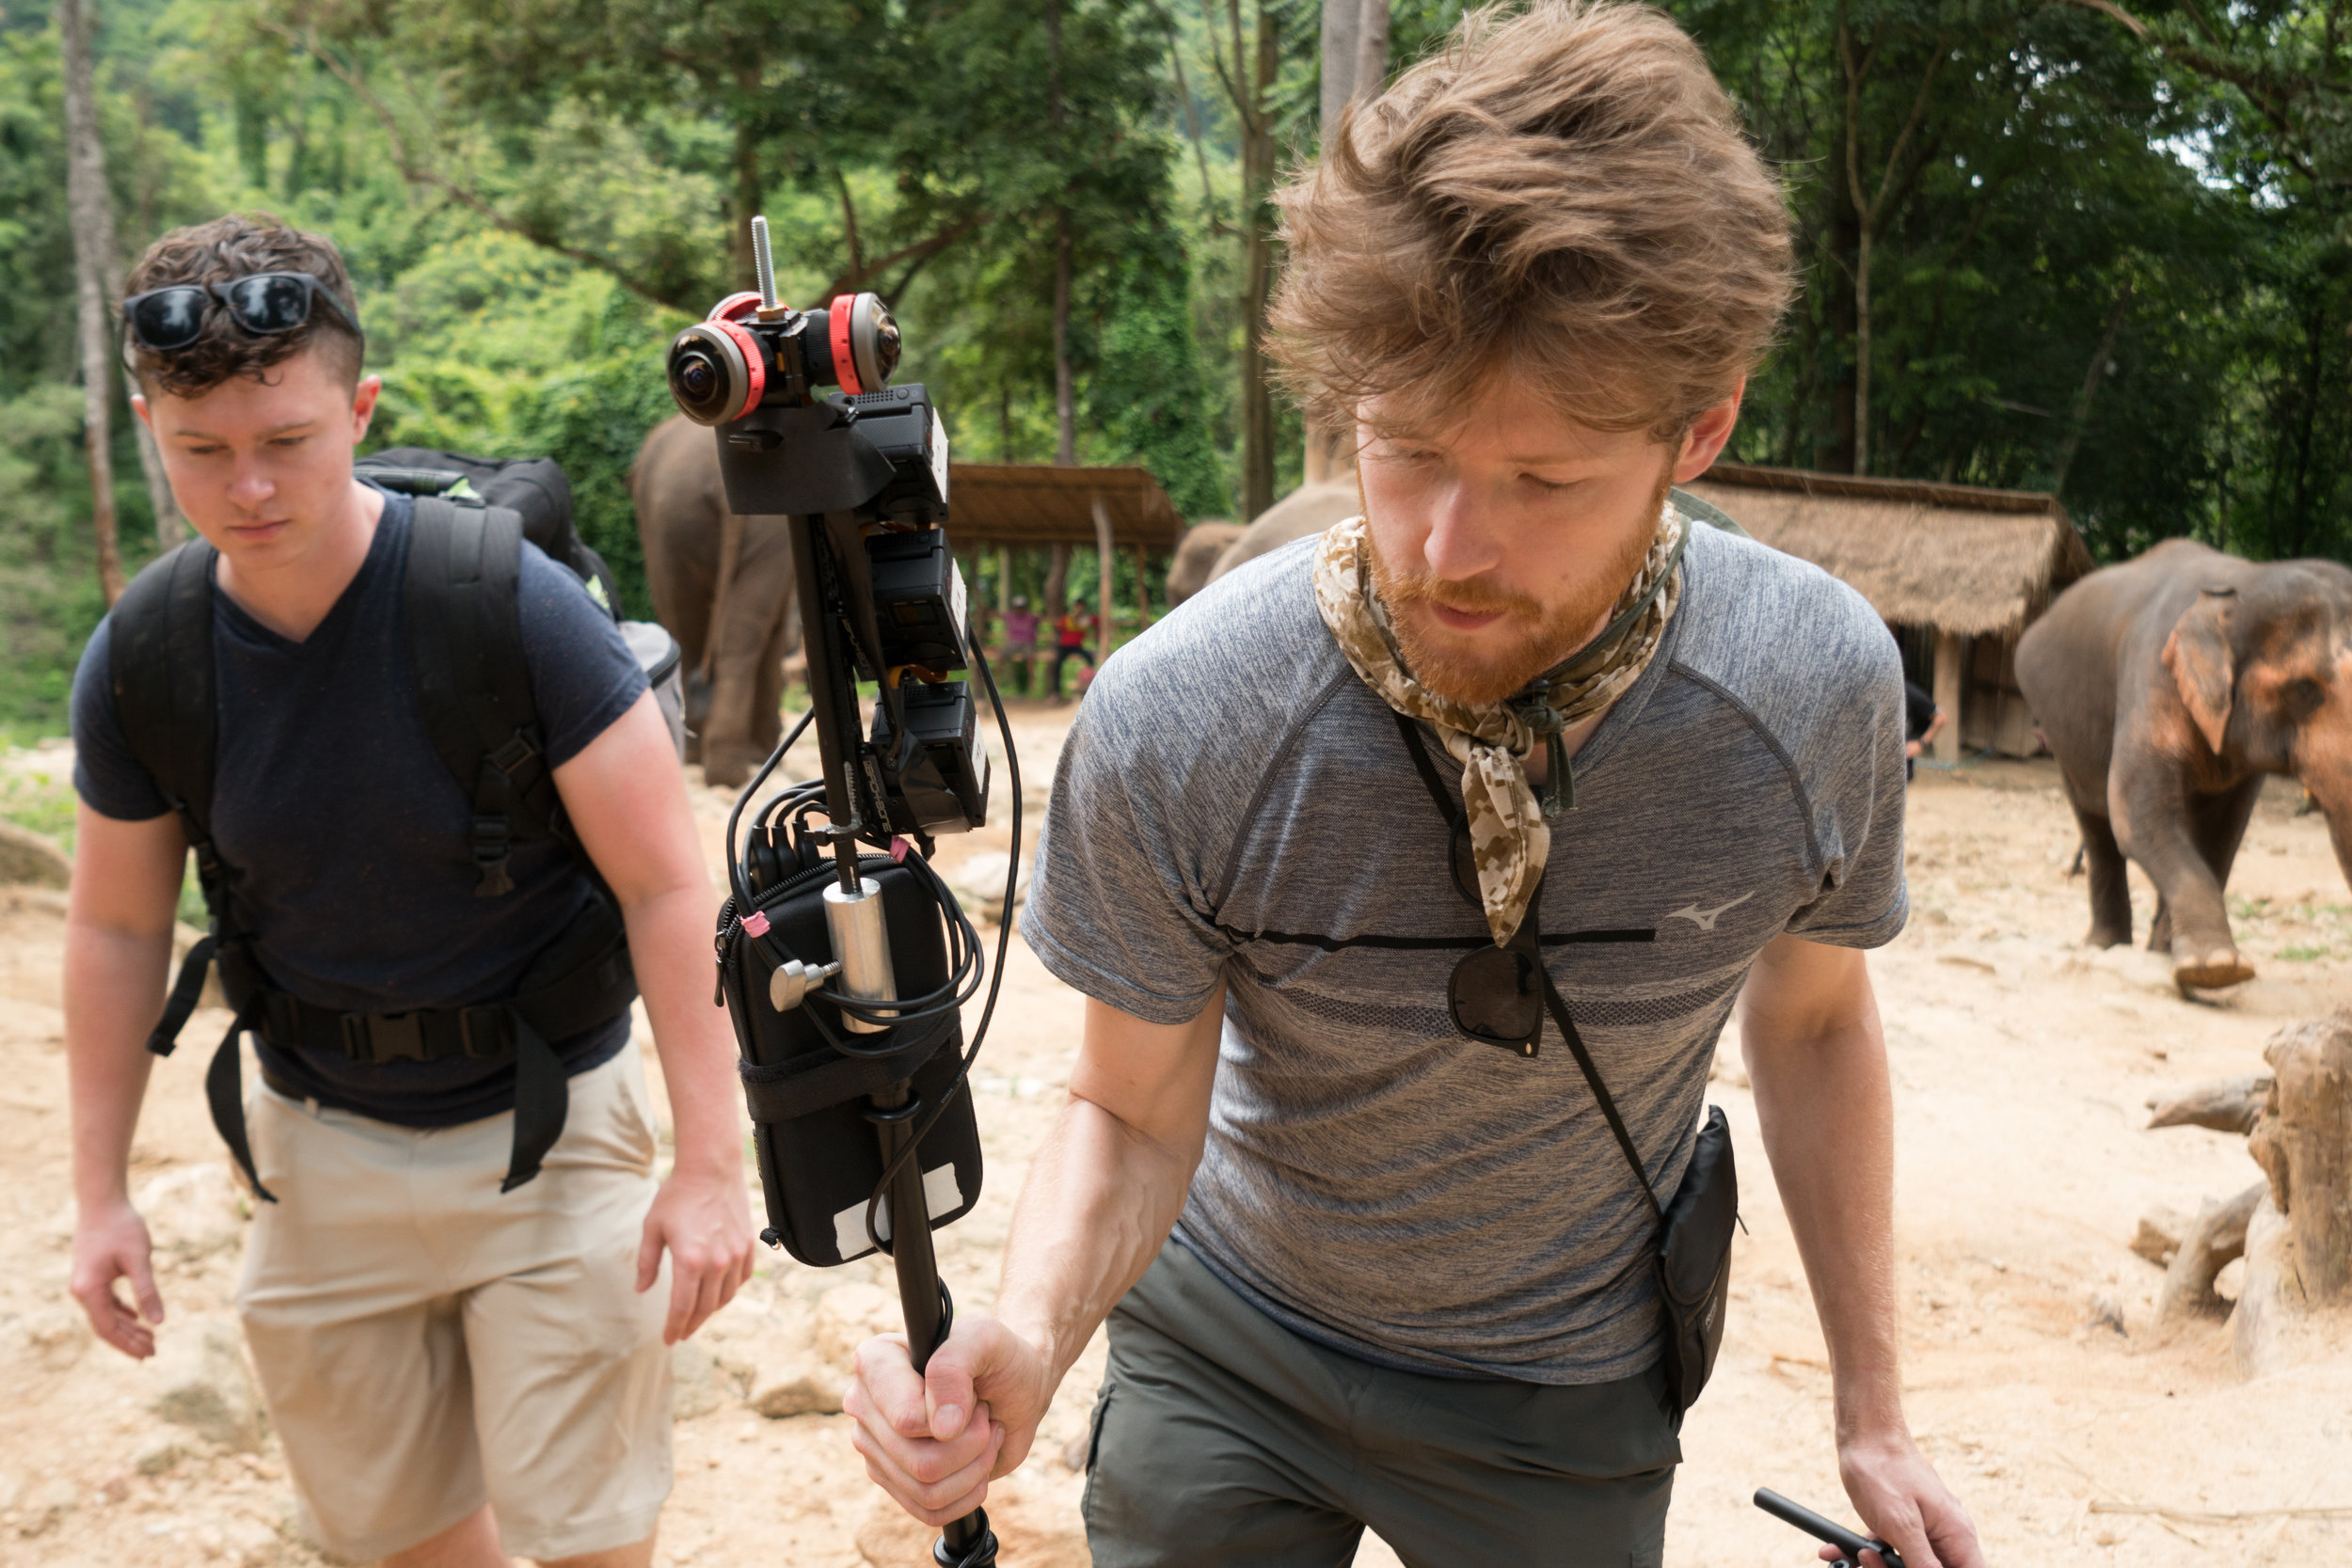
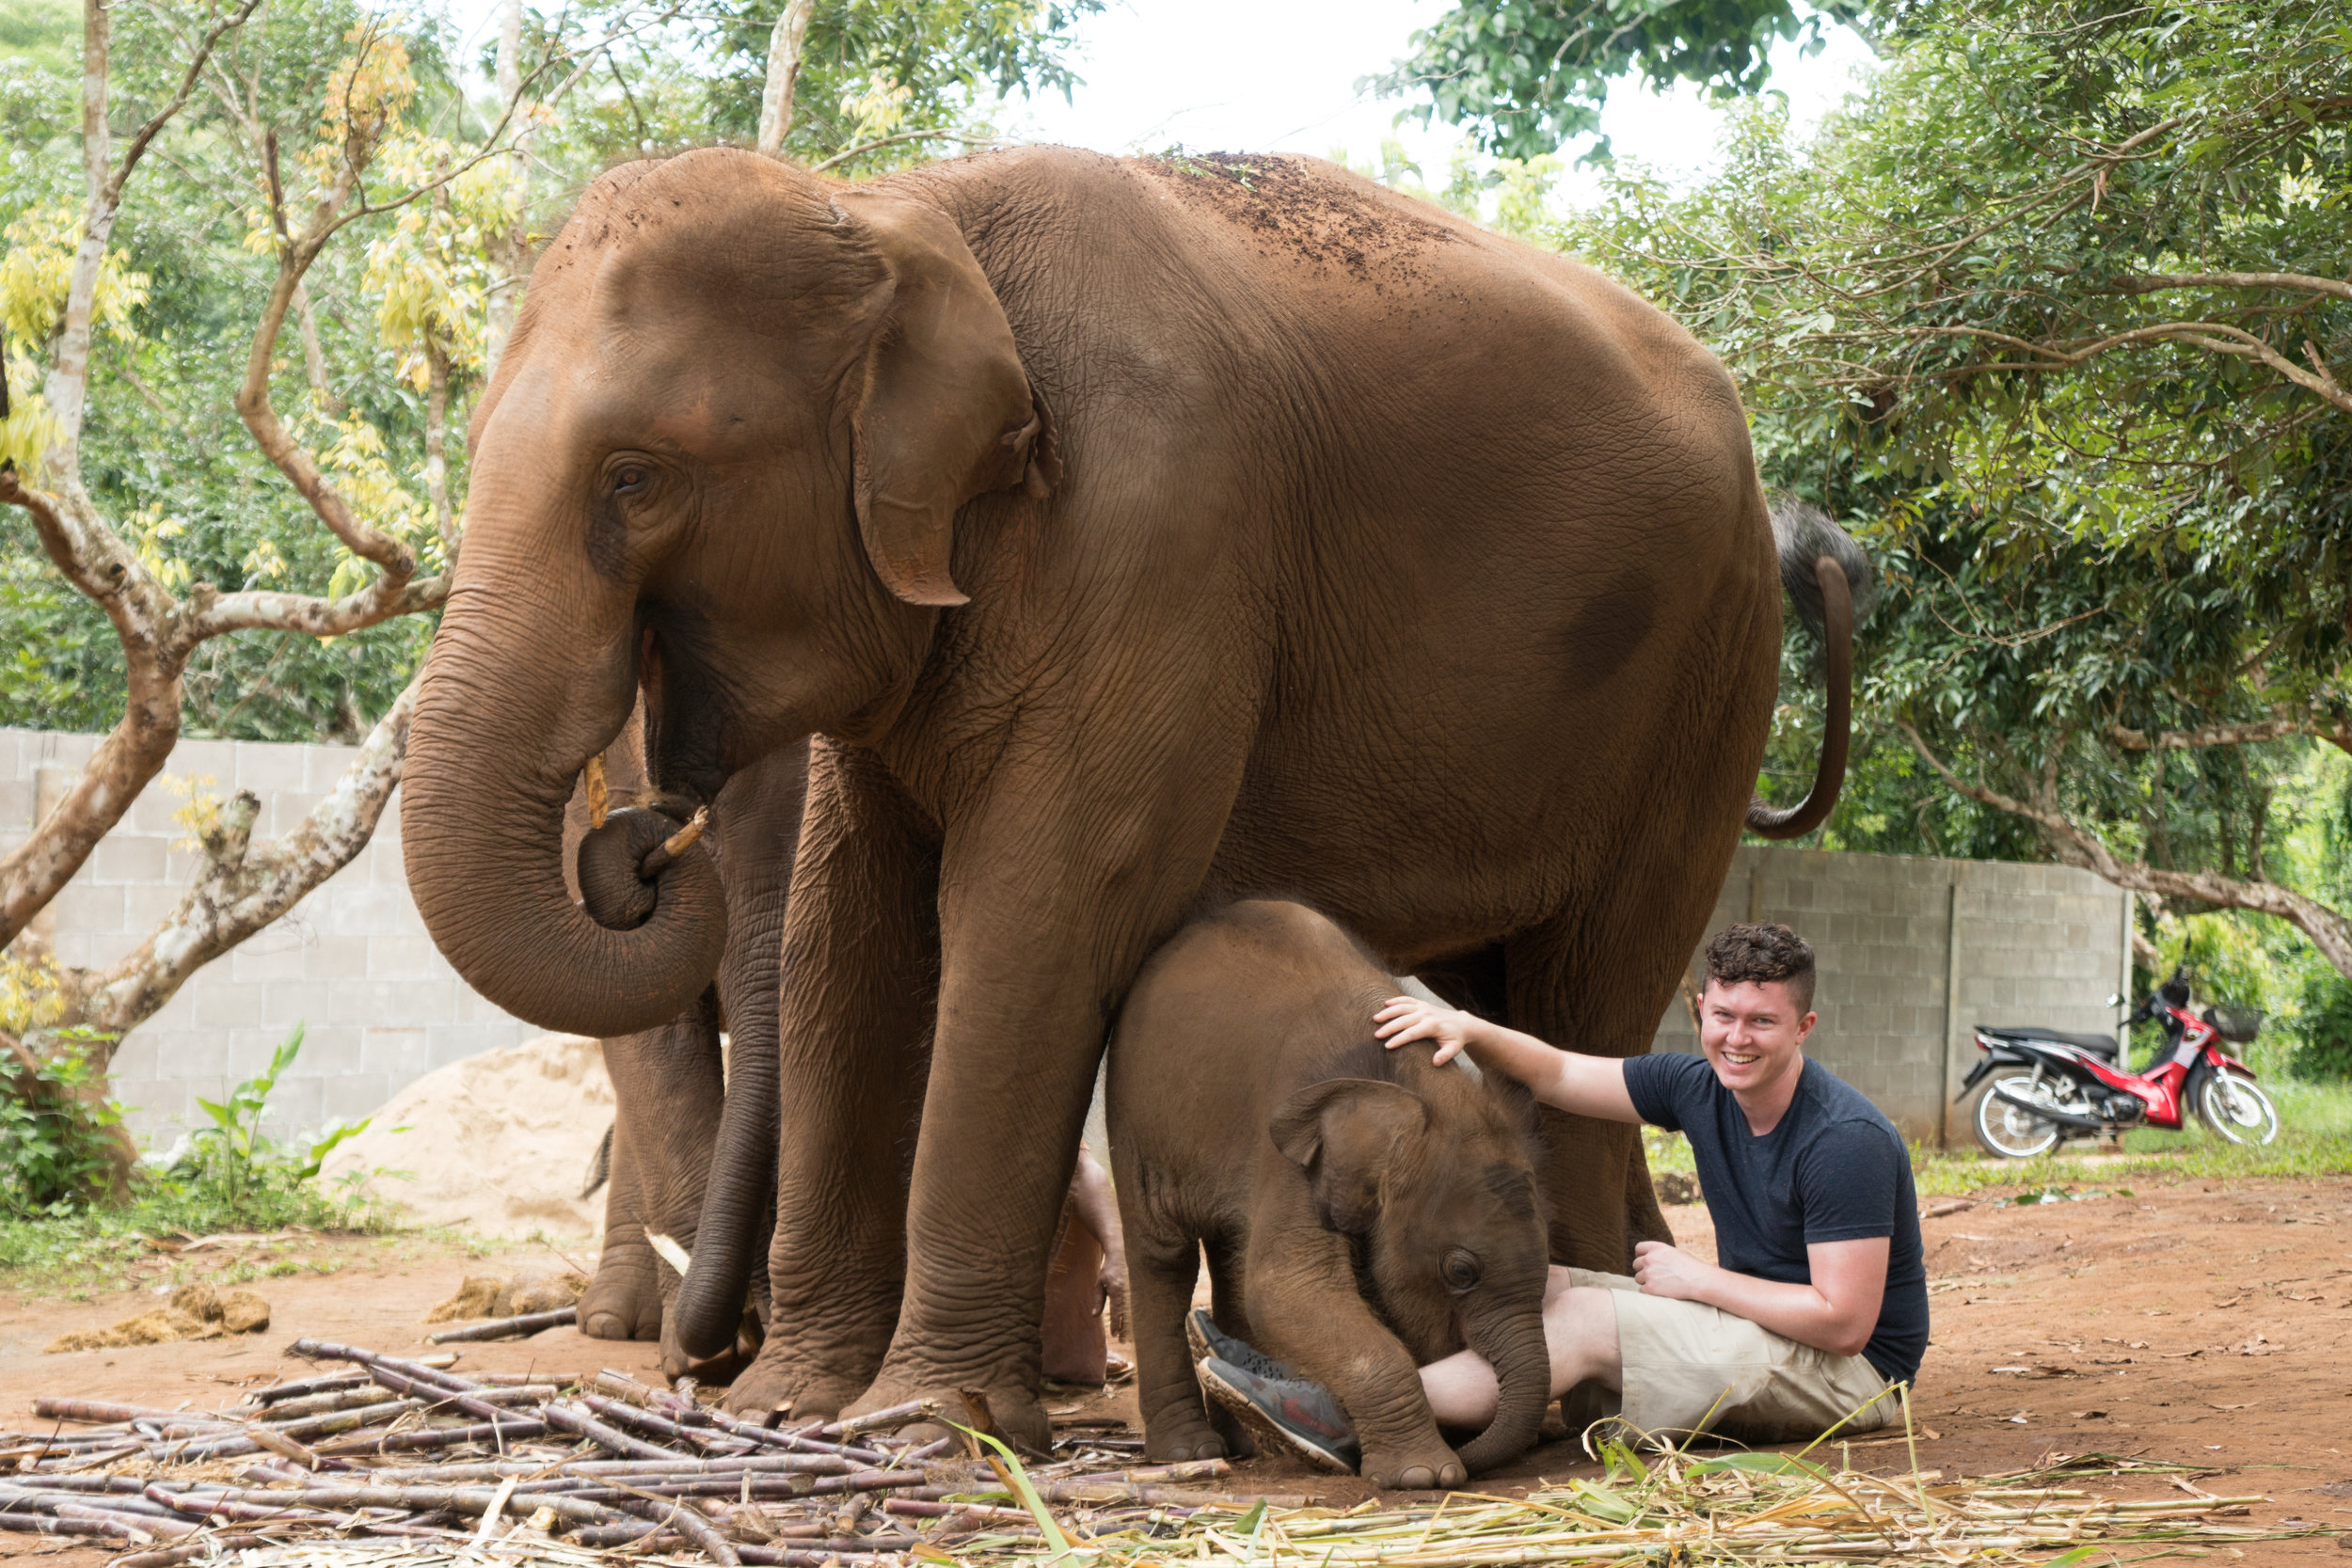
Our first filming location, and one of the most remarkable stops on our entire journey was the Patara Elephant Farm. Nestled in the lush rainforest of Doi Inthanon National Park, the Patara Elephant Farm provides a safe home for abused and neglected elephants while also working to increase elephant population and educate the public to the challenges that elephants face through allowing visitors to spend time with the elephants and help care for them. When we arrived we were immediately greeted by the team of trainers who work with the elephants and introduced to Boonyen, who would be the main elephant we'd be shooting with. Boonyen was amazingly well trained and gentle around people. Over the course of our time there we shot with almost 15 different elephants, and had the chance to meet a 10 day old baby elephant and her mother and and brother. It was a day that none of us will ever forget.
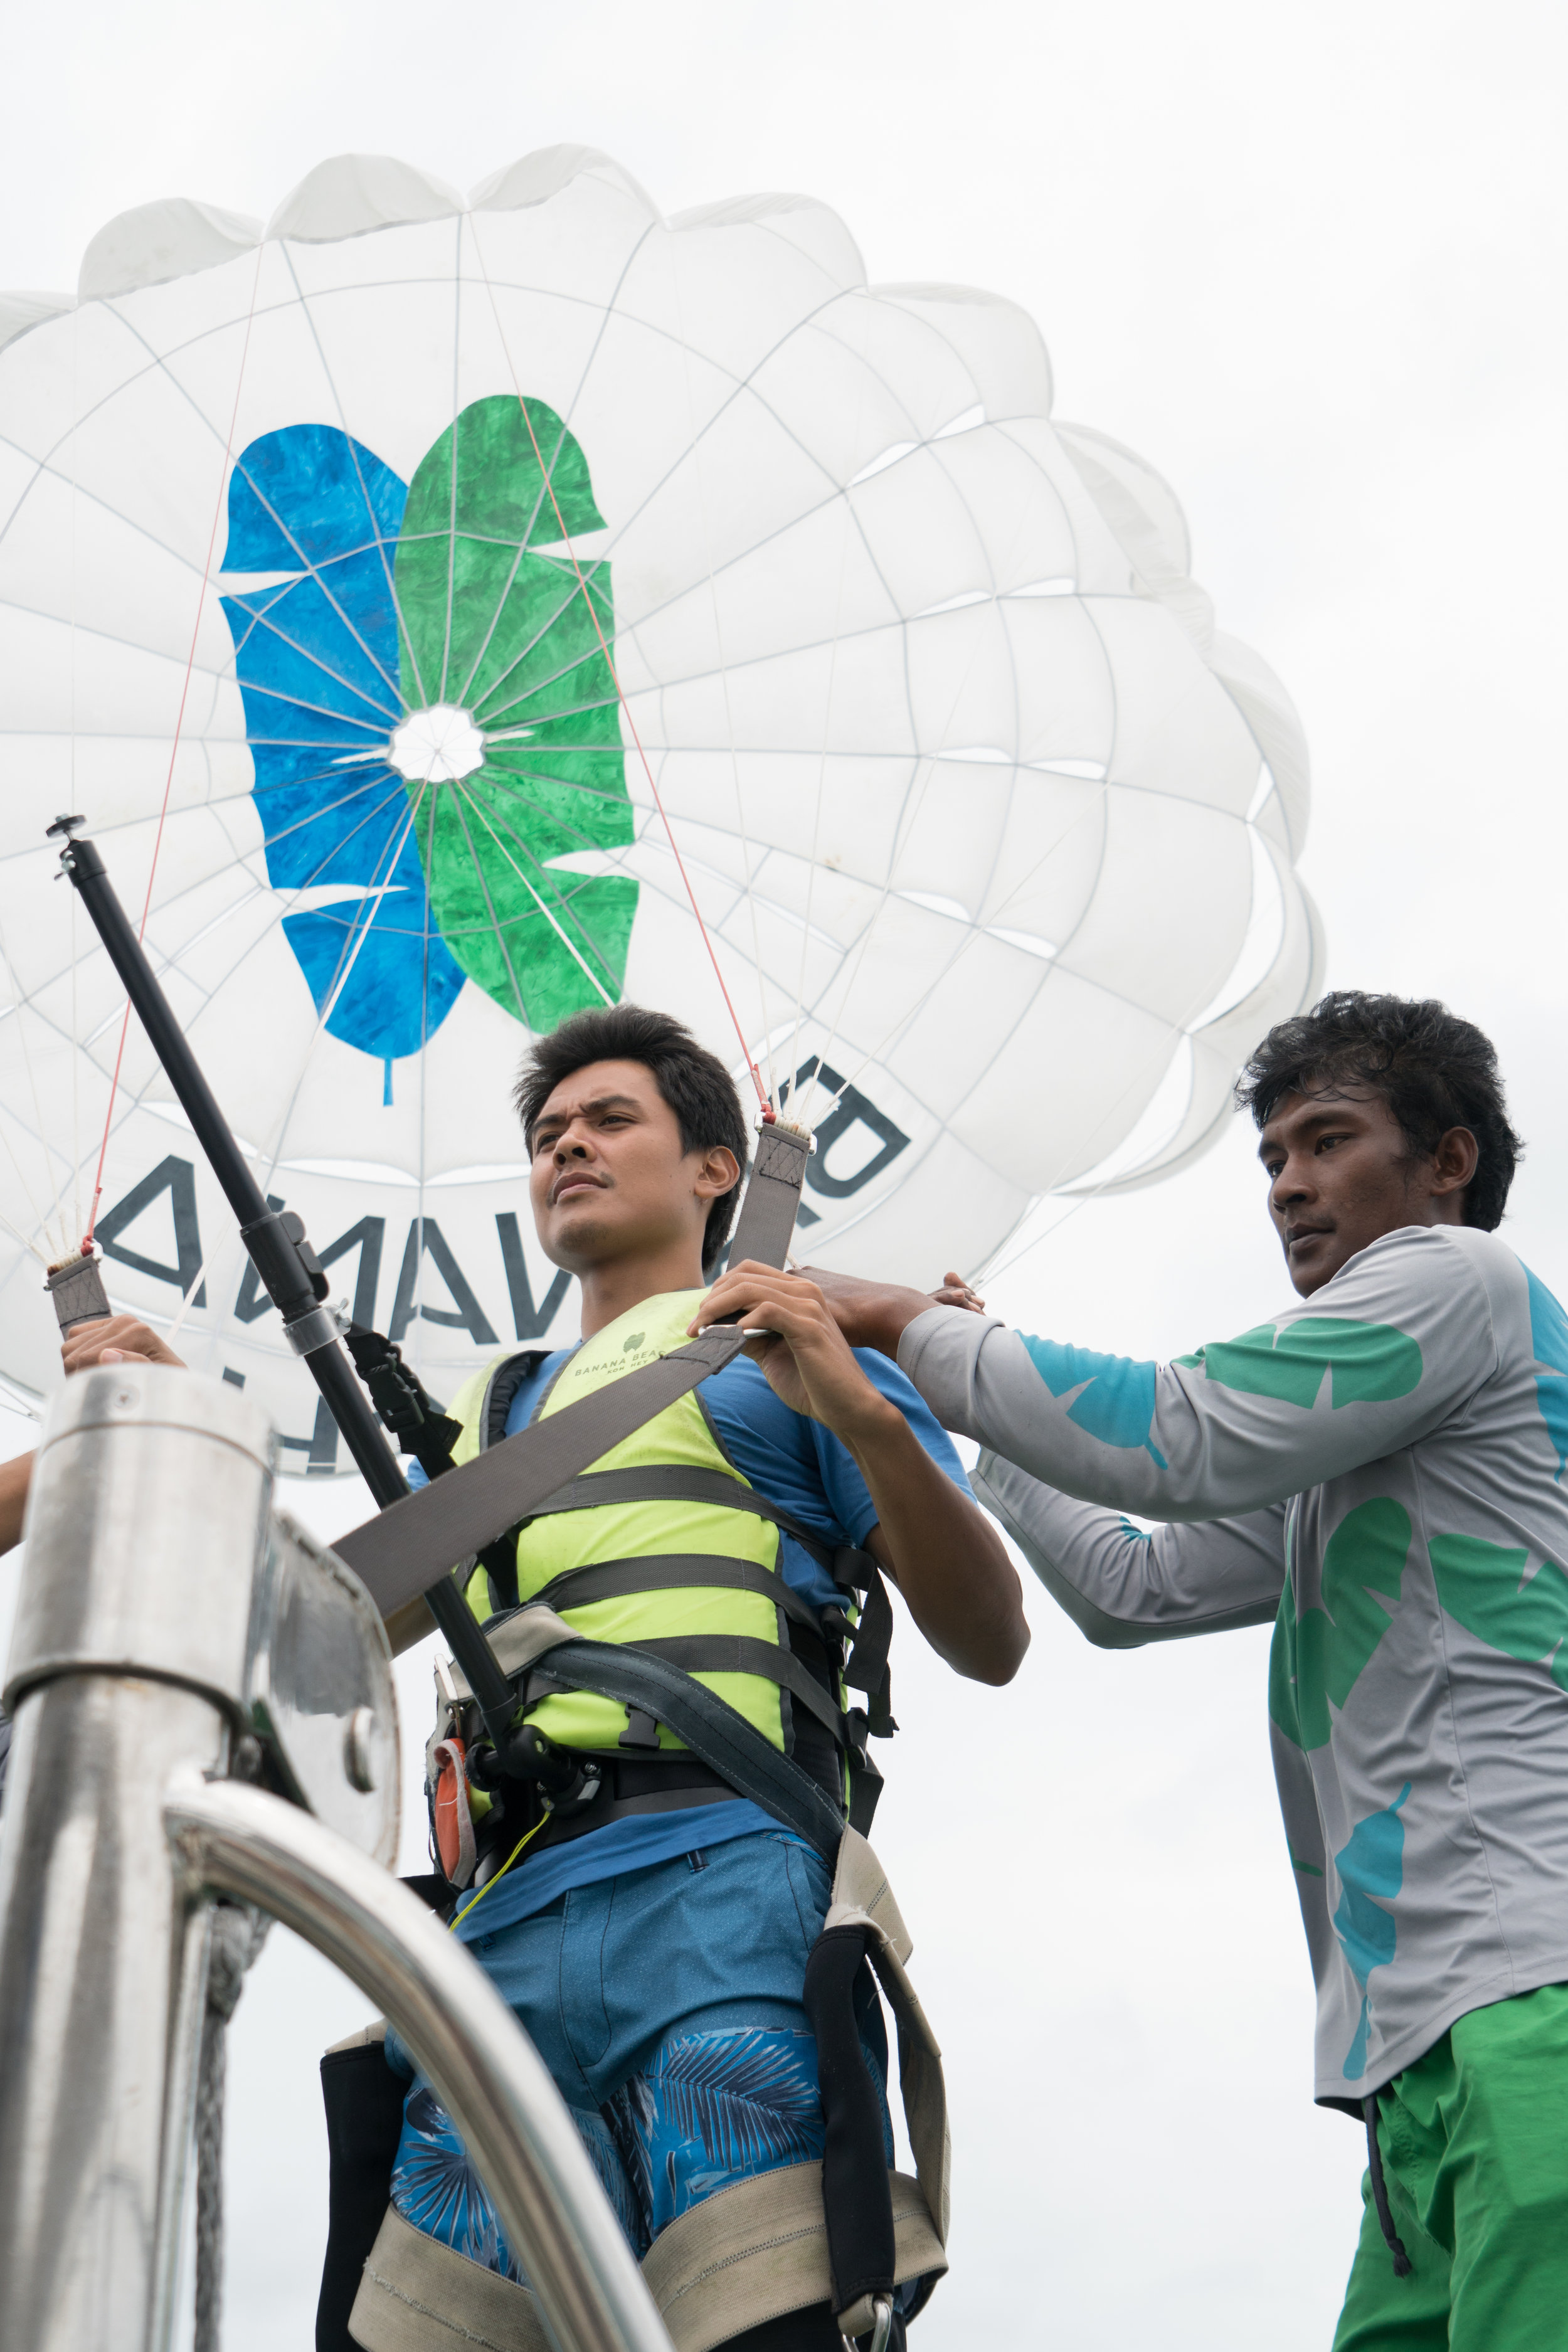
Phuket


After our time in Chiang Mai we got on another flight and headed Southwest down to the coastal city of Phuket. This area of Thailand is usually a tropical paradise, however we happened to be shooting at the tail end of monsoon season which would prove challenging.
For the opening shot of the brand film, we had been planning an aerial shot going over one of the Limestone islands of Phang Nga Bay. This shot was one of our main goals while staying in Phuket, and it would prove to be one of the most difficult and nerve racking of the entire shoot. To get the shot we took a motorboat out into Phang Nga Bay where we searched for the right spot to shoot and the right spot to launch our drone. After settling on a spot on Hong island we set up our drone and then, as it often does in monsoon season, it started to rain. After waiting out the rain for a while we finally got a clearing and we decided to launch. The wind had picked up and made it very difficult to get even a large, powerful drone like our M600 to make it across to the island we wanted to shoot. After two attempts which yielded less than stable results because of the high winds, we decided to give it one more shot before the rain came back again. This third run ended up being the opening shot of the brand film, and one of the best shots of the entire campaign. Our drone pilot Jesse Nelson (@Nelsonaerial) breathed a big sigh of relief when the M600 finally touched down from that final flight. The conditions had been terrible, and it had been really difficult, but finally, we had the shot we needed.
The final stop on our trip was a tree house villa overlooking Kamala Beach inside of "Keemala", a luxury resort with an elegant, natural style. We had planned this location to be where we shot the final two shots of the brand film. Unfortunately, the day we had scheduled to shoot there ended up being a massive rain storm all day making shooting those two final shots pretty much impossible. After talking it over with our local production manager we decided to change our flight times back to Bangkok the next day in order to see if we could get another chance at the final shots in the morning. It was still raining in the morning when we left for Keemala, but after waiting for a little while in one of the villas, the clouds suddenly broke, and the sun came out. We managed to get both of our final two shots that morning and make it to the airport just in time to catch our flight back to Bangkok. We were finally wrapped.


Post Production
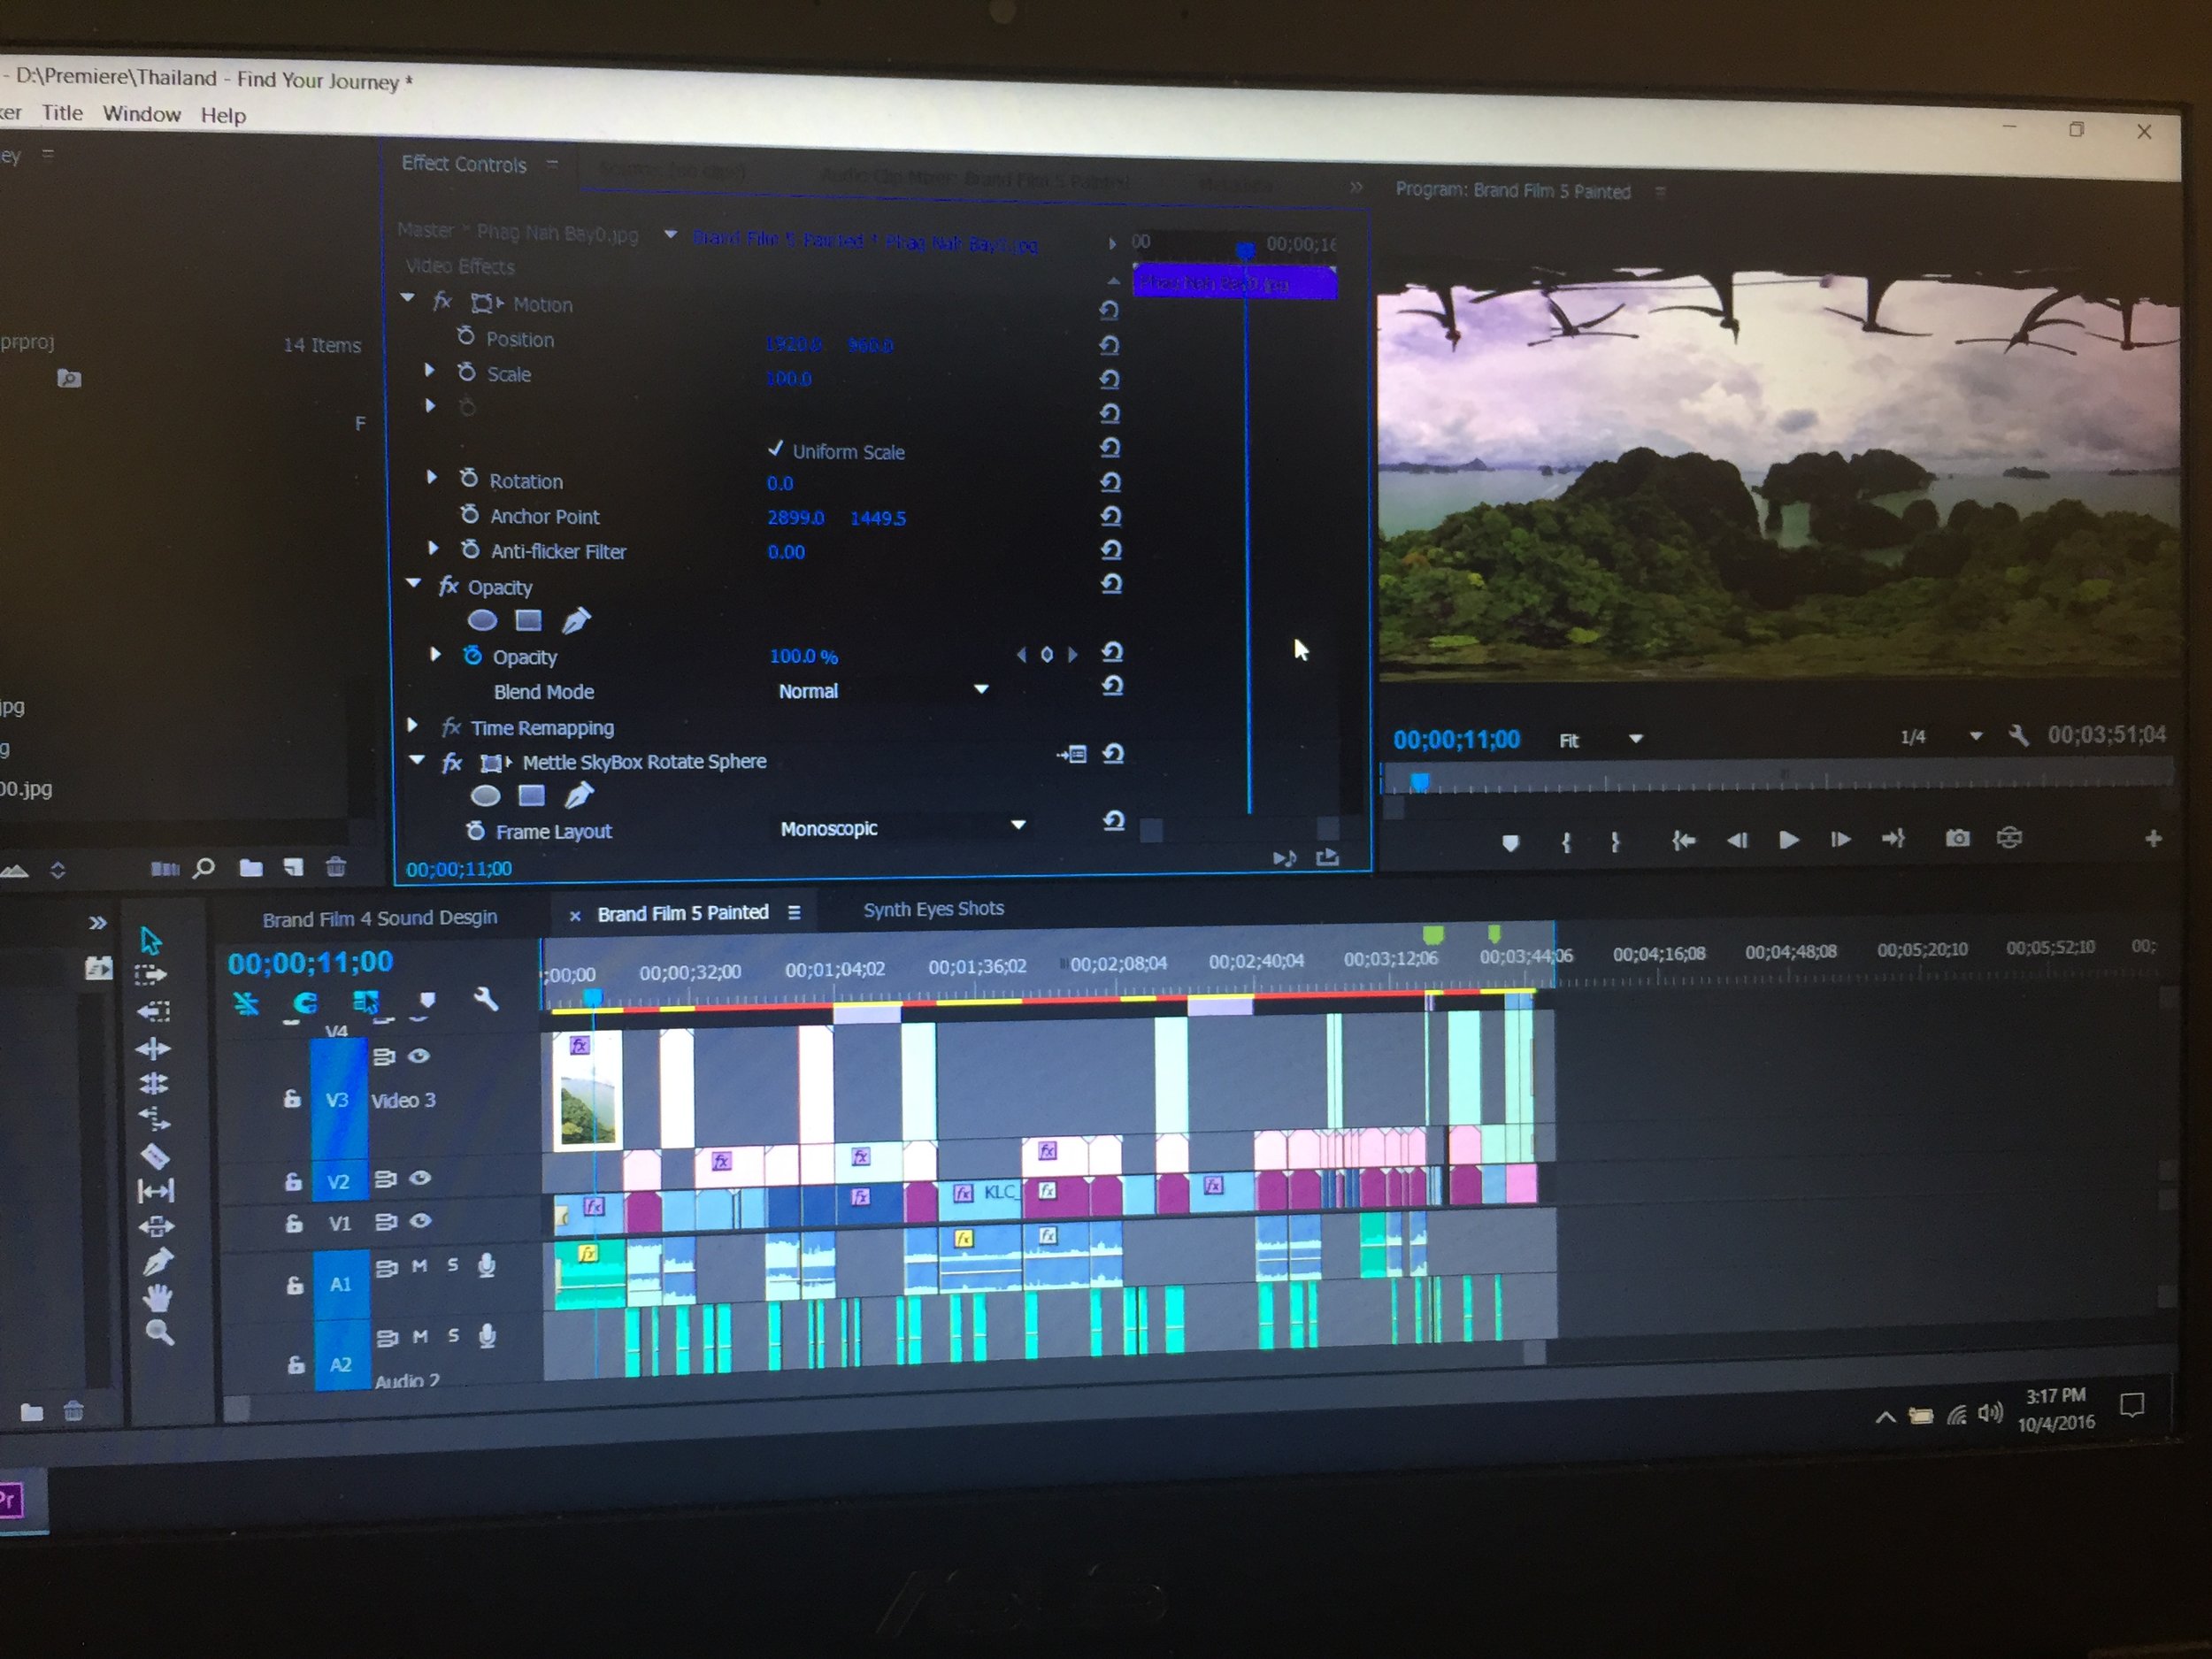
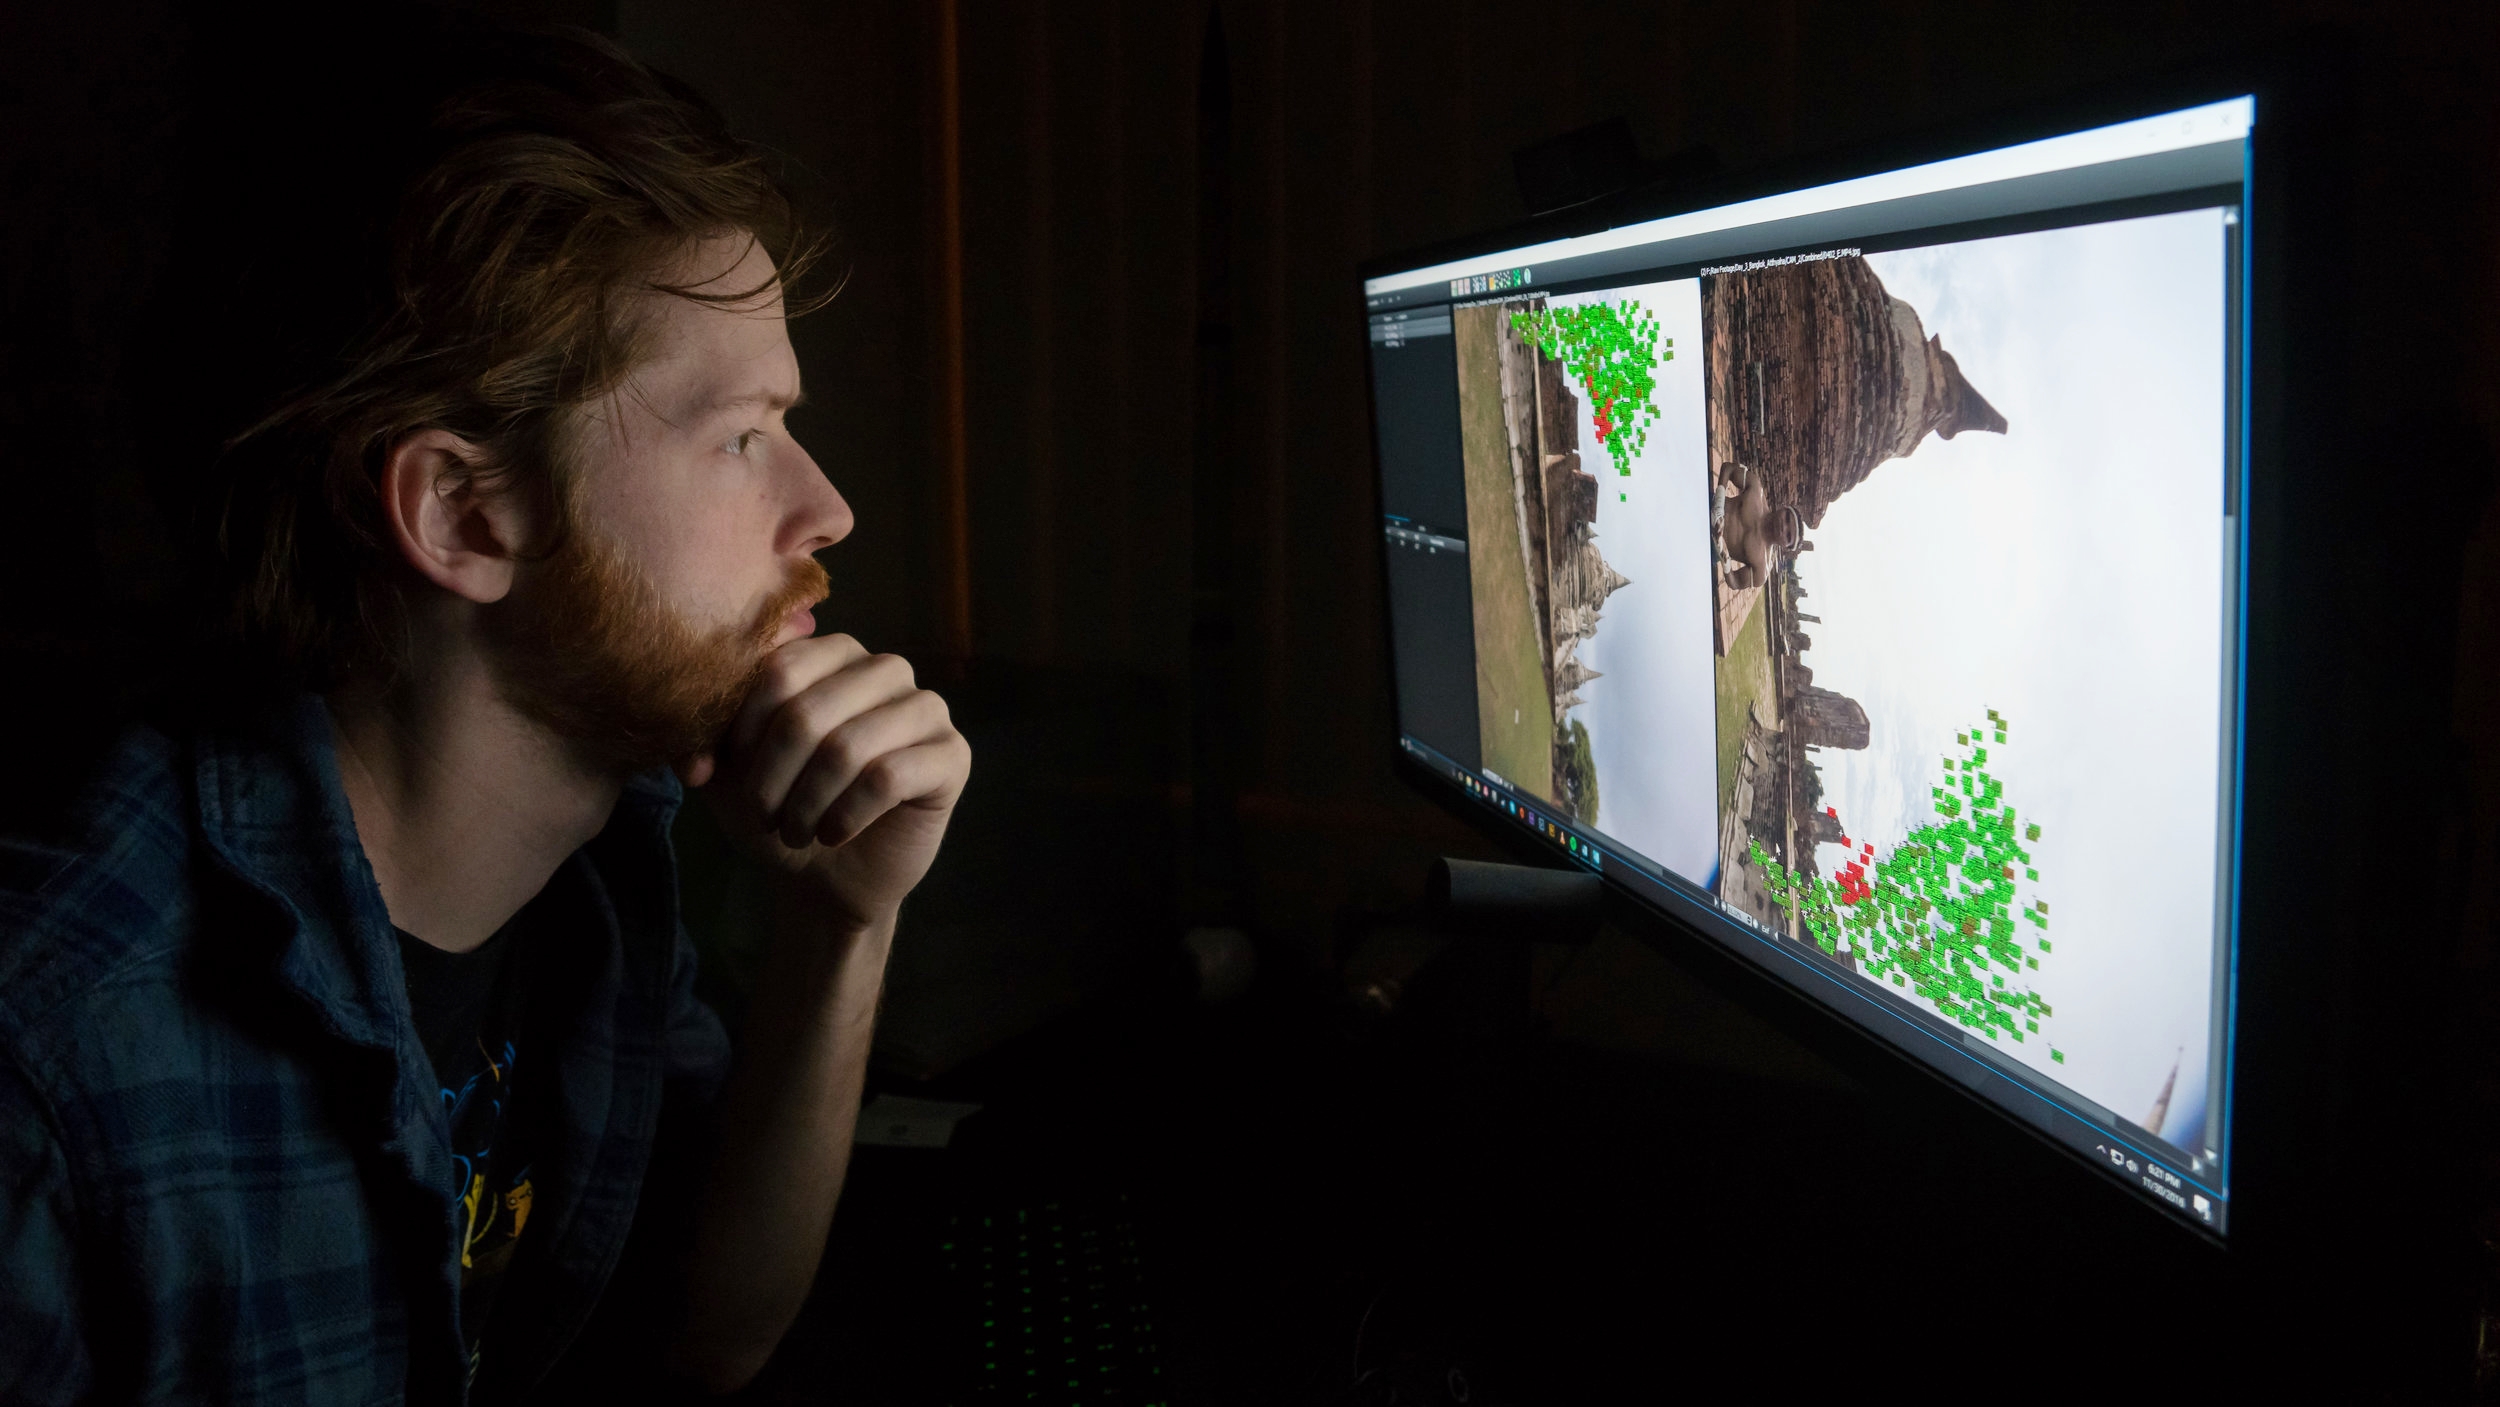
Post production for VR is much more involved than it is for traditional films. We start by organizing and stitching all the camera feeds in Autopano Video Pro and Autopano Giga. This is where all of the individual camera feeds are combined to make a single 360 equirectangular video.
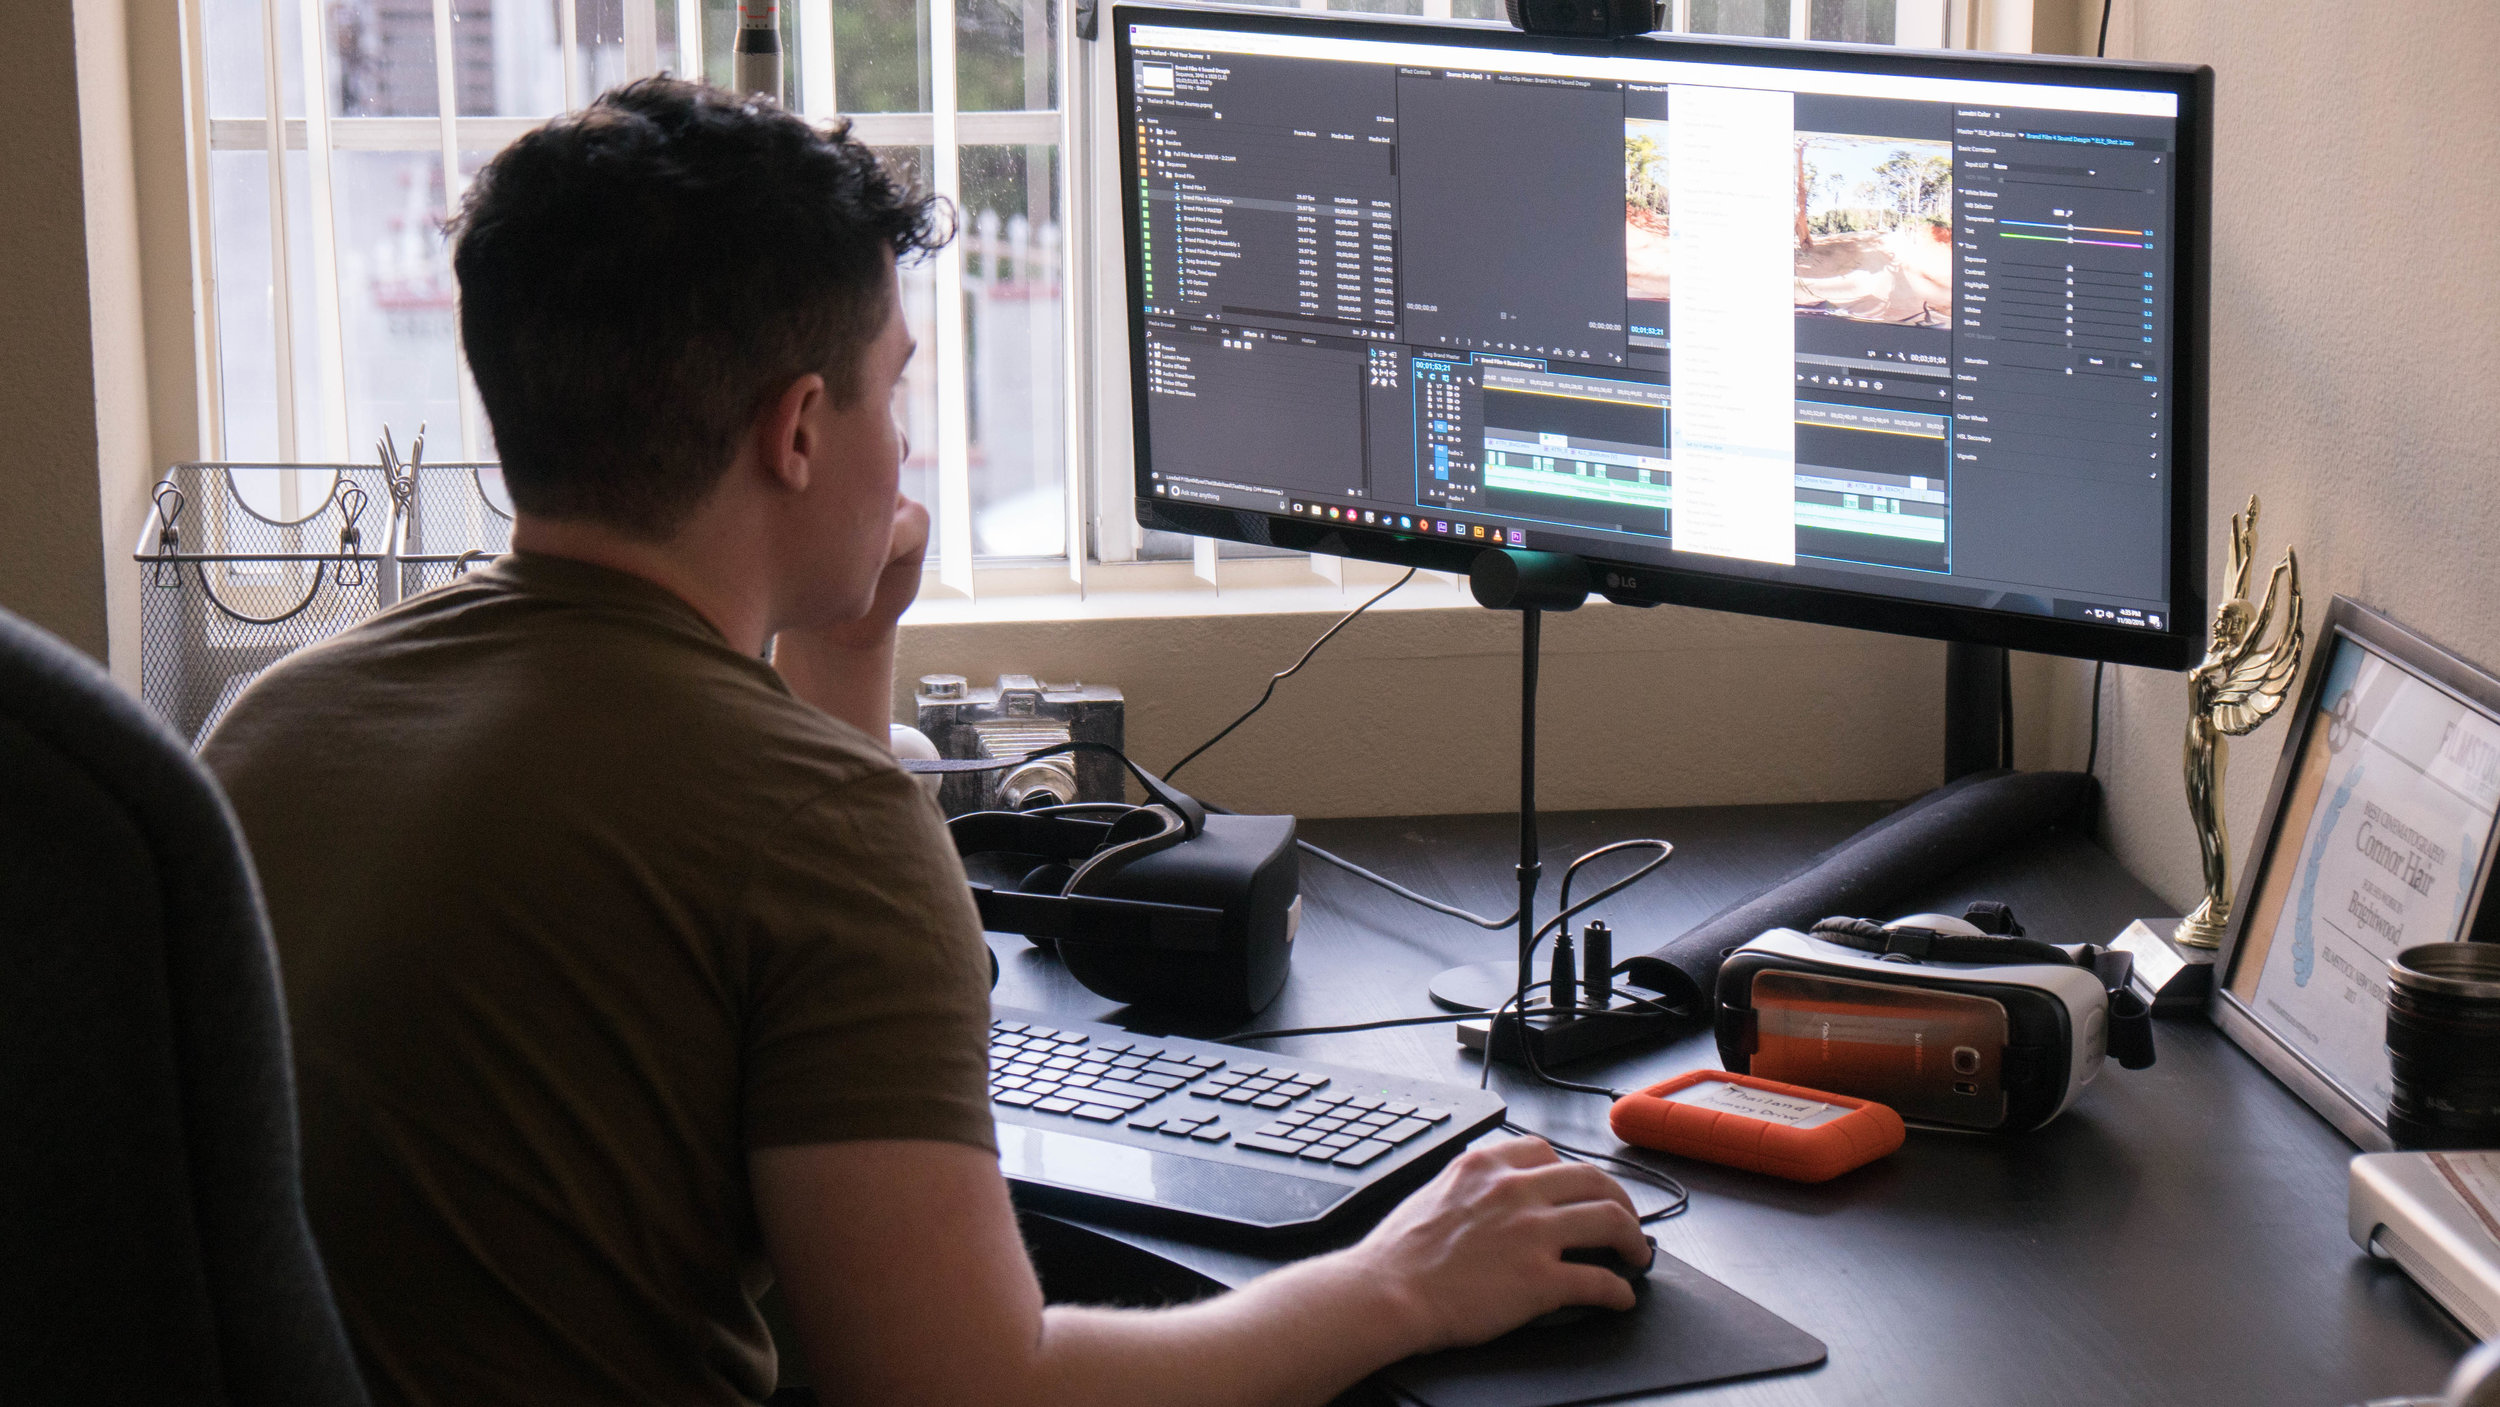
Once we have those feeds stitched we move to editing the film. Mettle's VR plugins for Adobe Premiere Pro and After Effects greatly simplify the editing process for VR. While editing in Premiere Mettle allows us to view the shot in a headset in 360. Allowing us to see the shot as the end user will see it. We are also able to rotate, pan and roll the shots to make adjustments to the eye trace of the edit without having to open the files again in Autopano.
Once the edit is locked we then have to take each shot into After Effects and use Mettle's Skybox Converter plugin to make a cube map image of each shot and use that to paint out the tripod and drone with an undistorted image. That cube map image then gets reconverted to equirectangular and then sent back to Premiere for final mastering and color correction.
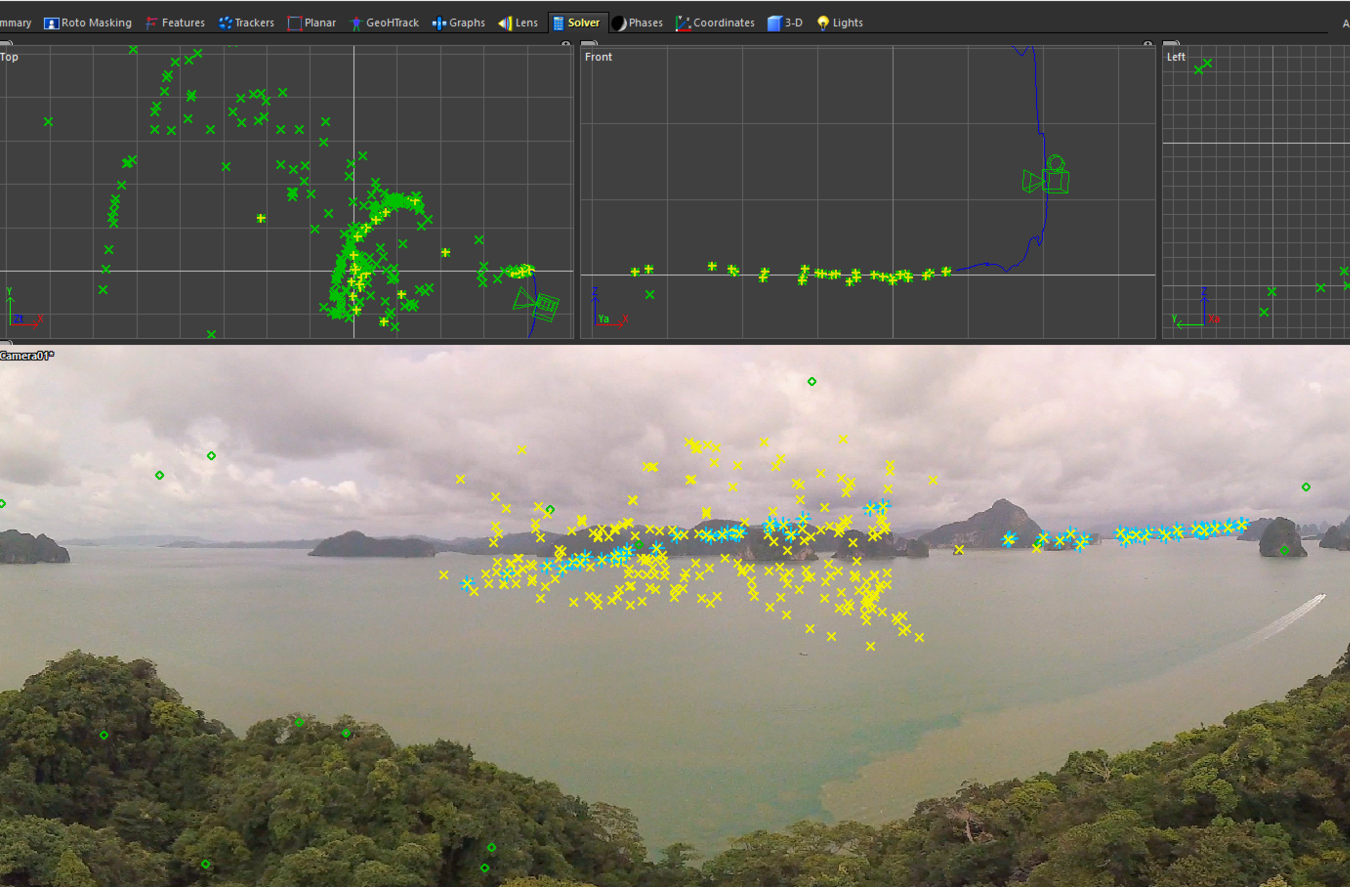
We also did some stabilization to our drone shots and the shots we did with the Sail Video rig with the 3D tracking and stabilization tools in SynthEyes. This software essentially allows you to create a 3D map of the camera path and apply that stabilization information to the 360 degree ball. It then rolls and tilts the shot to perfectly stabilize it and lock your horizon. This process was intensive but made it so that our viewers won't sick from unwanted camera motion.
After everything was mastered it was sent to the client for loading on GearVR headsets and uploaded to Facebook 360 and Youtube 360 for social media release. Curate Directive also created custom Amazing Thailand VR goggles to give away at events.
Finished Films
You can view the final Brand film and social media teasers below.